Automatically backup the system using Back In Time
Back In Time is a backup software for Linux developed from Timevault and Flyback. Both Timevault and Flyback are two great software that allow you to back up your system and roll back and restore your system to its original state before making changes. What Back in Time does is integrate the best features from these two software and put them into a complete version.

Back in Time has features in Timevault and Flyback. If you have ever used one of these software, then you will not be far away from Back In time.
Setting
To enable Back In time to run in your system, you can use:
- Package deb
- Add the archive folder to your sources.list.
Installed via the archive folder
In your terminal,
gksu gedit / etc / sources.list
Add the following line at the end of the file. Then save and close the file.
deb http: // backintime.le-web.org / repository stable main
then add the main information of GPG:
wget http: // backintime.le-web.org / repository / le-web.key
sudo apt-key add le-web.key
To install the application for Gnome:
sudo apt-get updatesudo apt-get install backintime-common backintime-gnome
If you are using KDE 4.1 and on it, use this command instead:
sudo apt-get updatesudo apt-get install backintime-common backintime-kde4
Using
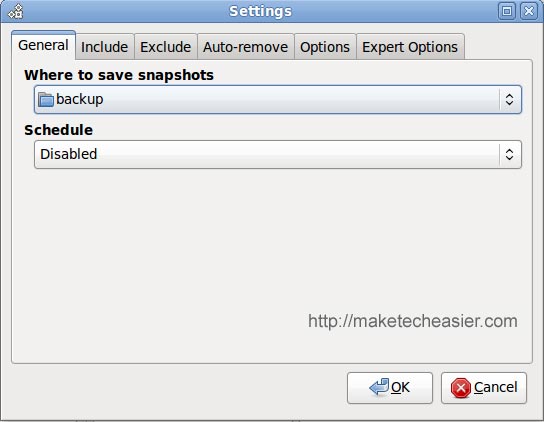
First, you launch the application, it will prompt you to configure the backup settings. There are four main tabs: General, Include, Exclude, Autoremove.
The General tab is where you select the folder to backup your files and schedule the backup runtime. You should choose a folder, drive or partition to perform backup.
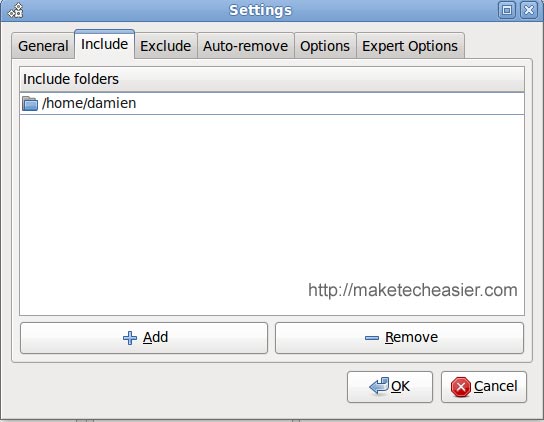
The Include tab is where you define the directory, which files will be backed up. You need root access to group folders and system files.
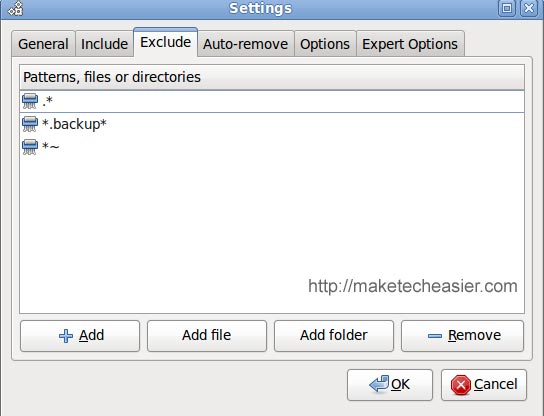
Next to the Include tab, the Exclude tab is where you define which folders or files are not included in the backup.
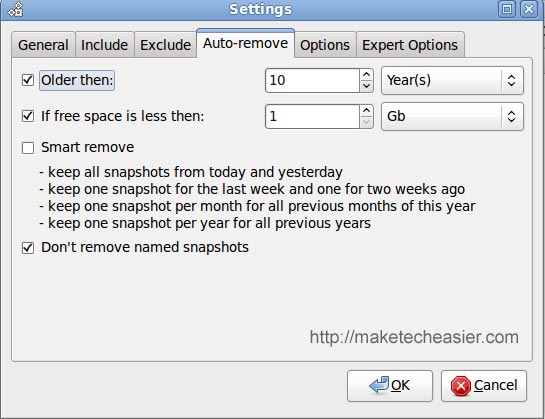
The Autoremove tab lets you specify how to handle old backup files. You can choose to remove backups that are older than a previous cycle, or when free space is smaller than a certain size.
Once you've done these settings, you'll see the main screen. To start the backup, simply click the BackUp Now button .
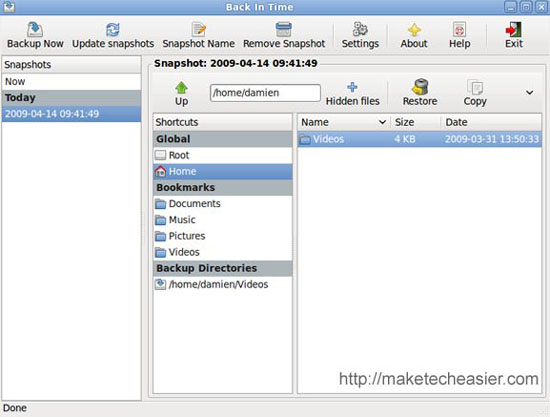
Depending on the number of files or folders that you specify to backup, the backup process can last from a few minutes to hours. As soon as the backup is complete, a snapshot entry will appear on the left side of the panel.
To see the snapshot entry, simply highlight the corresponding snapshot entry on the left panel, the folders and files that are backed up will be displayed in the right pane of the window. At any time, you can also right-click on the backed up files and select Restore to restore your backup.
Conclude
If you've used Timevault or Flyback, there's really no difference with Back In Time. However, if you want to search for backup software with extended features, Back In Time is exactly what you need to find.
Download Back in Time here.
 Fix 'Generic Volume Cannot Be Stopped' error in Windows XP
 Windows 7 has an operating mode like XP
 Configure IIS for an FTP Site - Part 3
 5 features to prepare for Windows 7
 Gmail supports viewing PPT and TIFF files directly
 8 reasons to buy a Windows computer