Table of Contents
A new Obsidian vault starts with its own configuration. Hotkeys, appearance, enabled plugins, and plugin settings are stored inside that vault’s hidden .obsidian folder, so they do not automatically match your other vaults. A short setup pass makes the new workspace easier to use without filling it with unnecessary customization.
1. Set the hotkeys you use every day
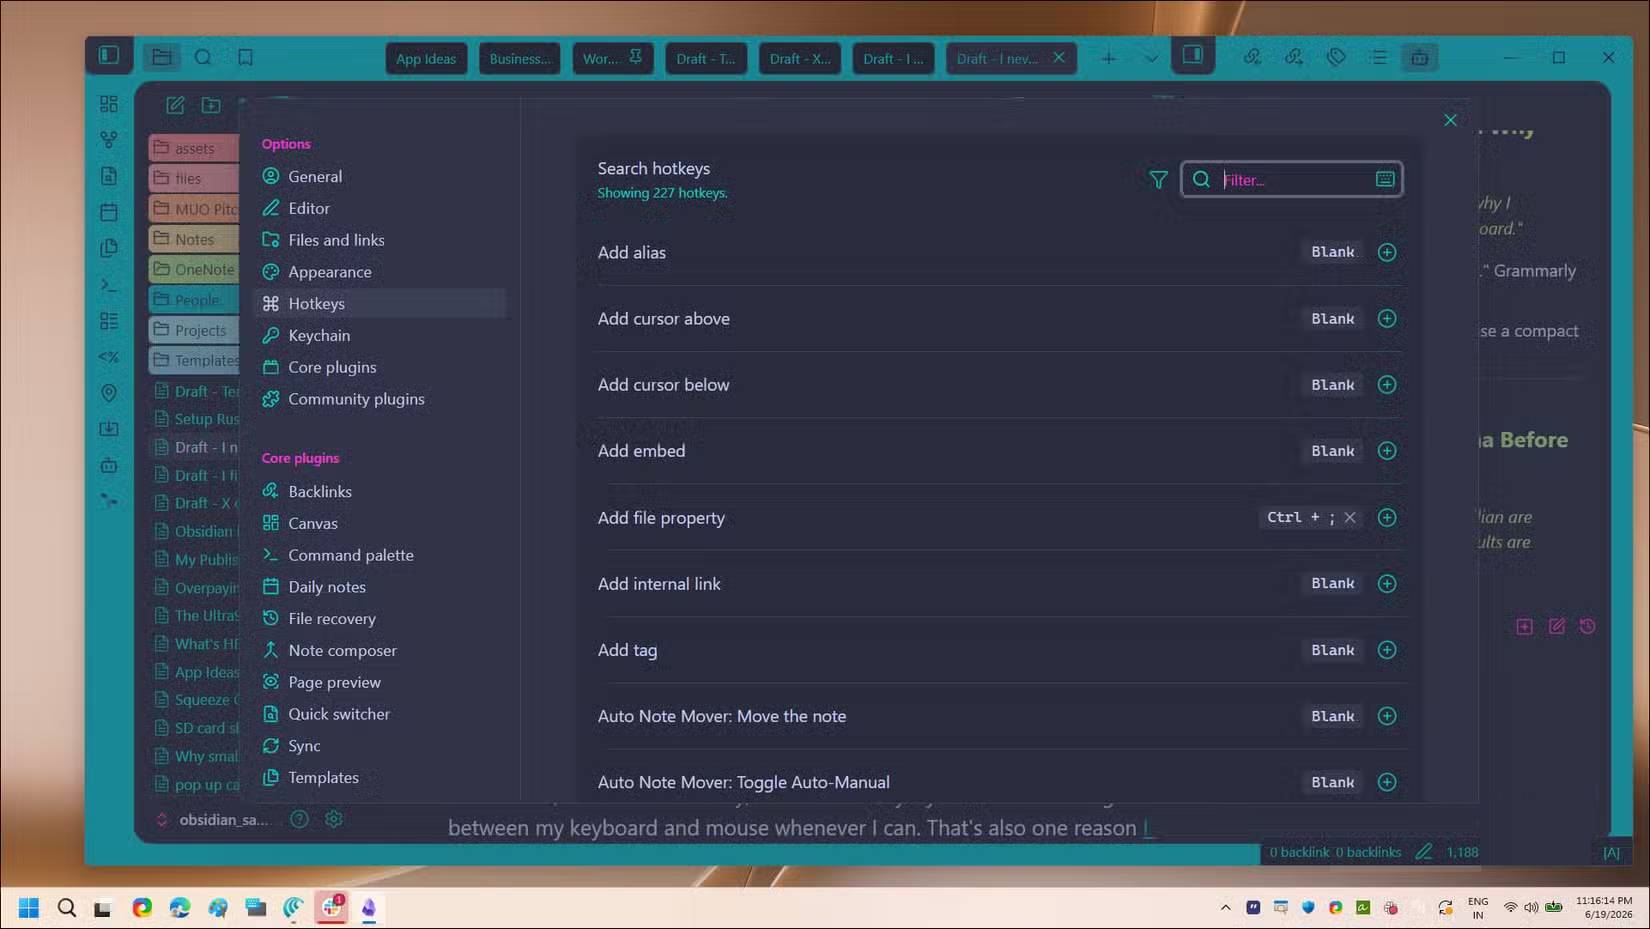
Open Settings > Hotkeys and assign shortcuts to the commands you expect to run often. Search for a command before creating a shortcut so you do not conflict with an existing binding.
Useful defaults include Ctrl/Cmd + P for the Command Palette and Ctrl/Cmd + O for the Quick Switcher. Obsidian commonly uses Ctrl/Cmd + E to toggle Reading view. Check the Hotkeys screen on your operating system rather than assuming every shortcut is identical.
Start with three to five custom hotkeys. Too many shortcuts are hard to remember and can conflict with plugins added later.
2. Choose a readable theme and typography
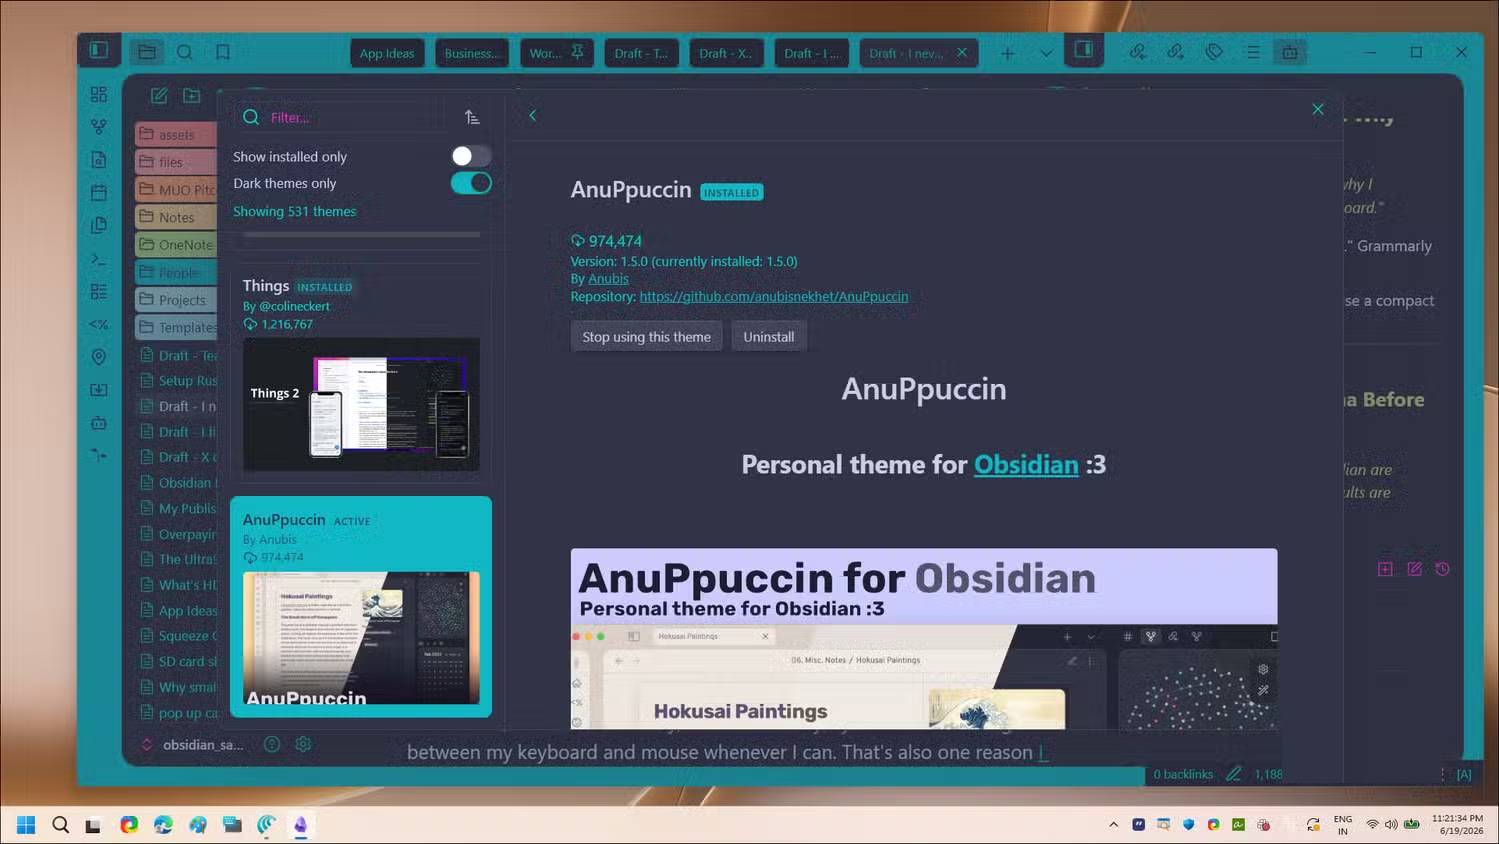
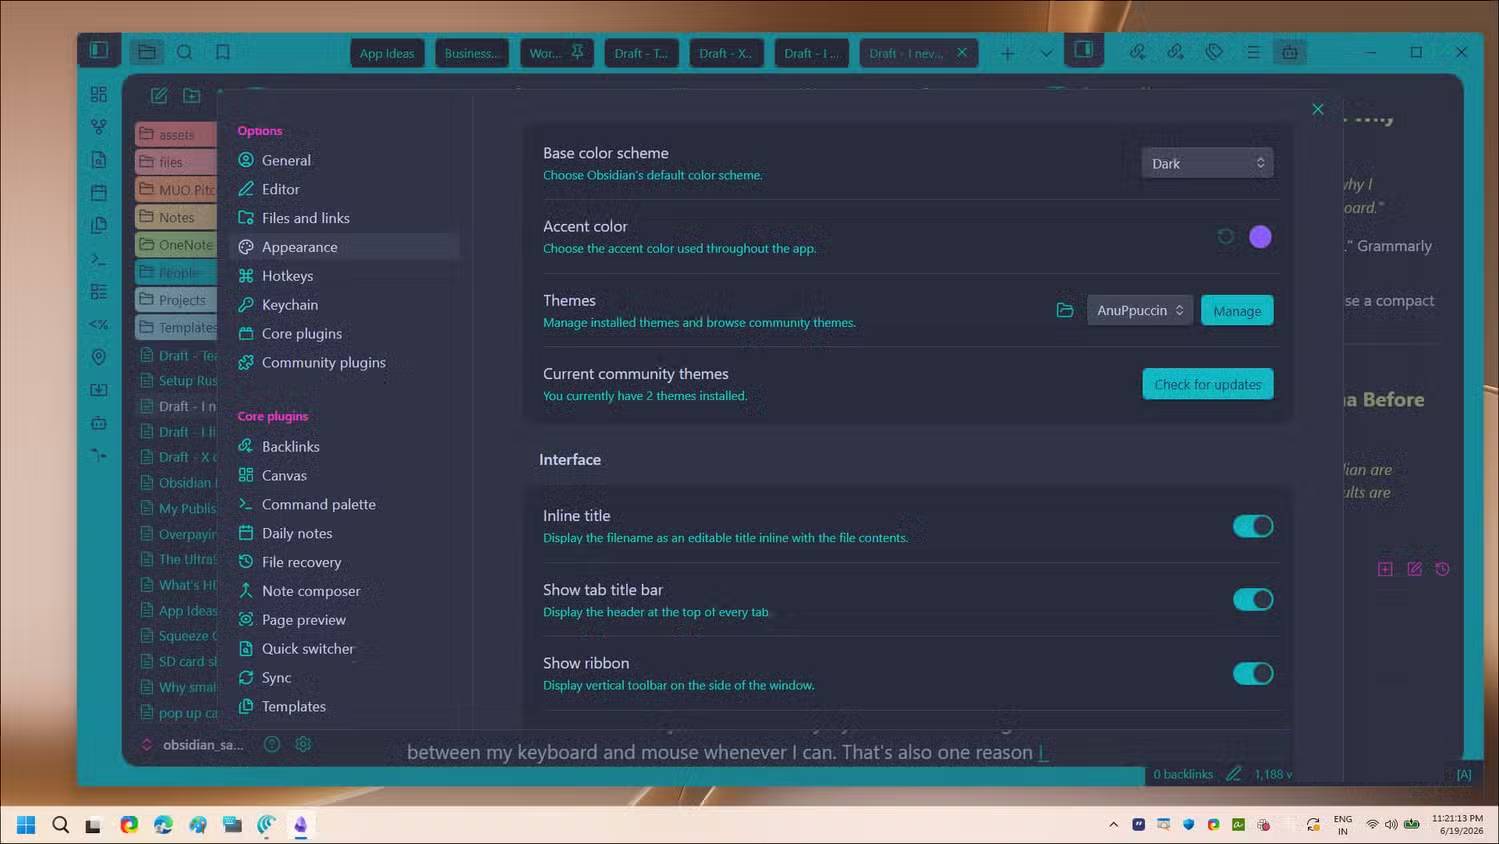
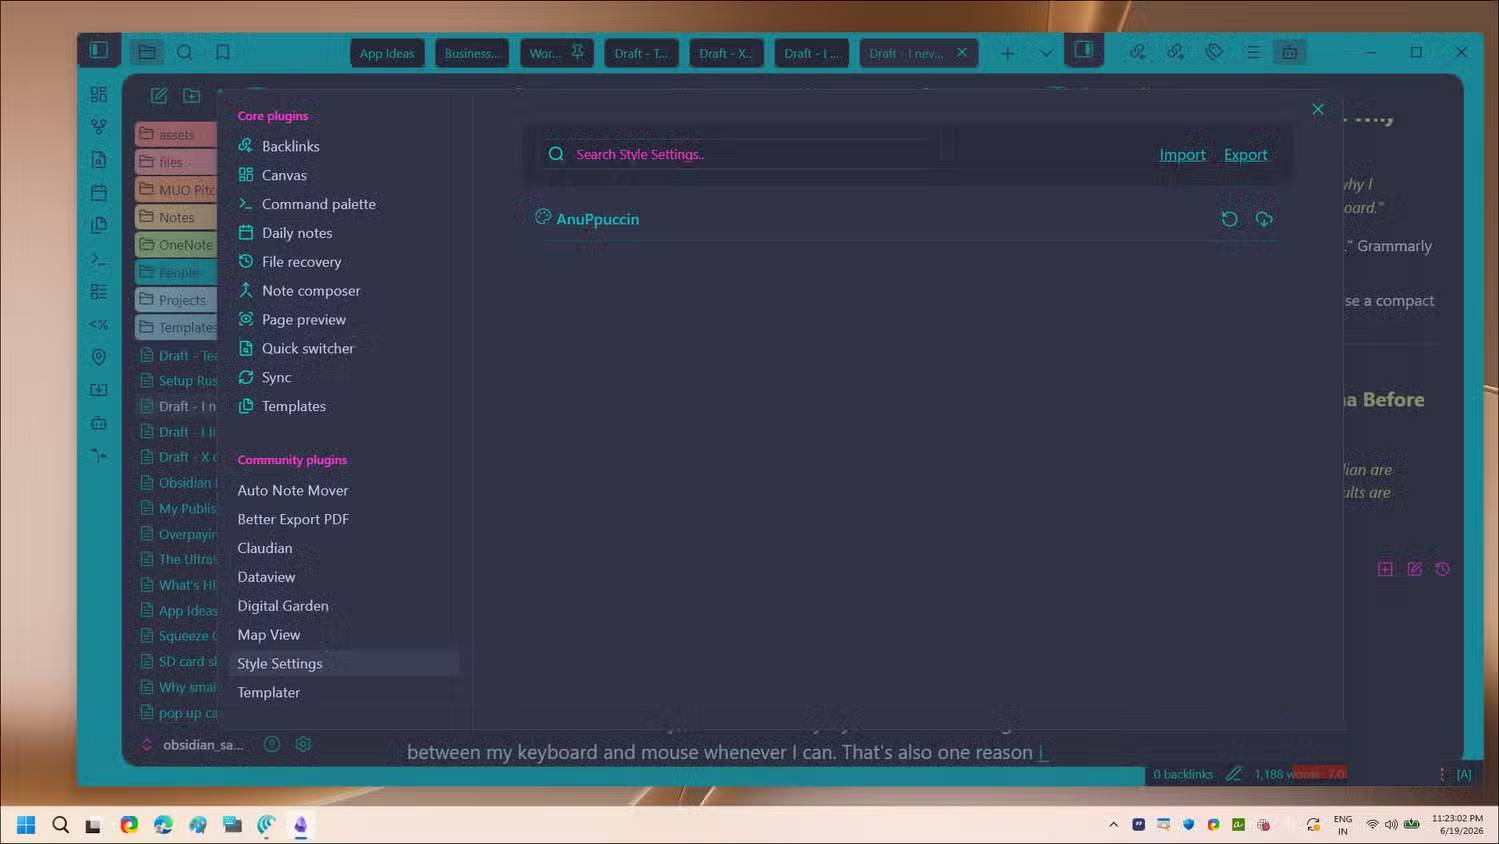
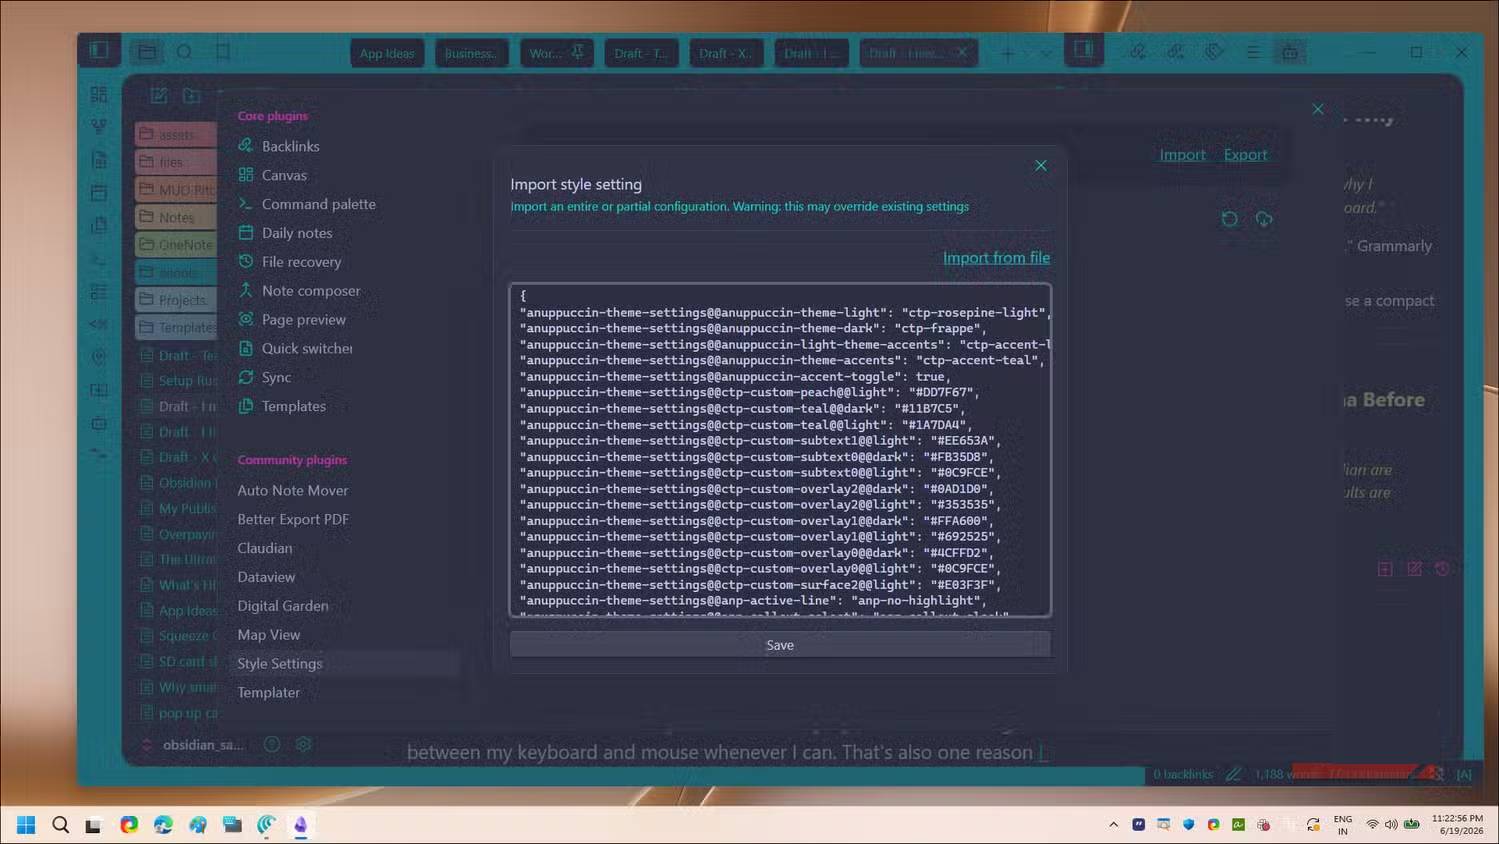
Go to Settings > Appearance to choose the base color scheme, font, text size, and interface density. If the default theme is comfortable, keep it; a theme should improve readability, not become a maintenance project.
To try a community theme, open Themes > Manage, review its screenshots and update history, and install one from a maintained source. Check both Edit and Reading views, headings, code blocks, tables, callouts, and mobile layout before committing.
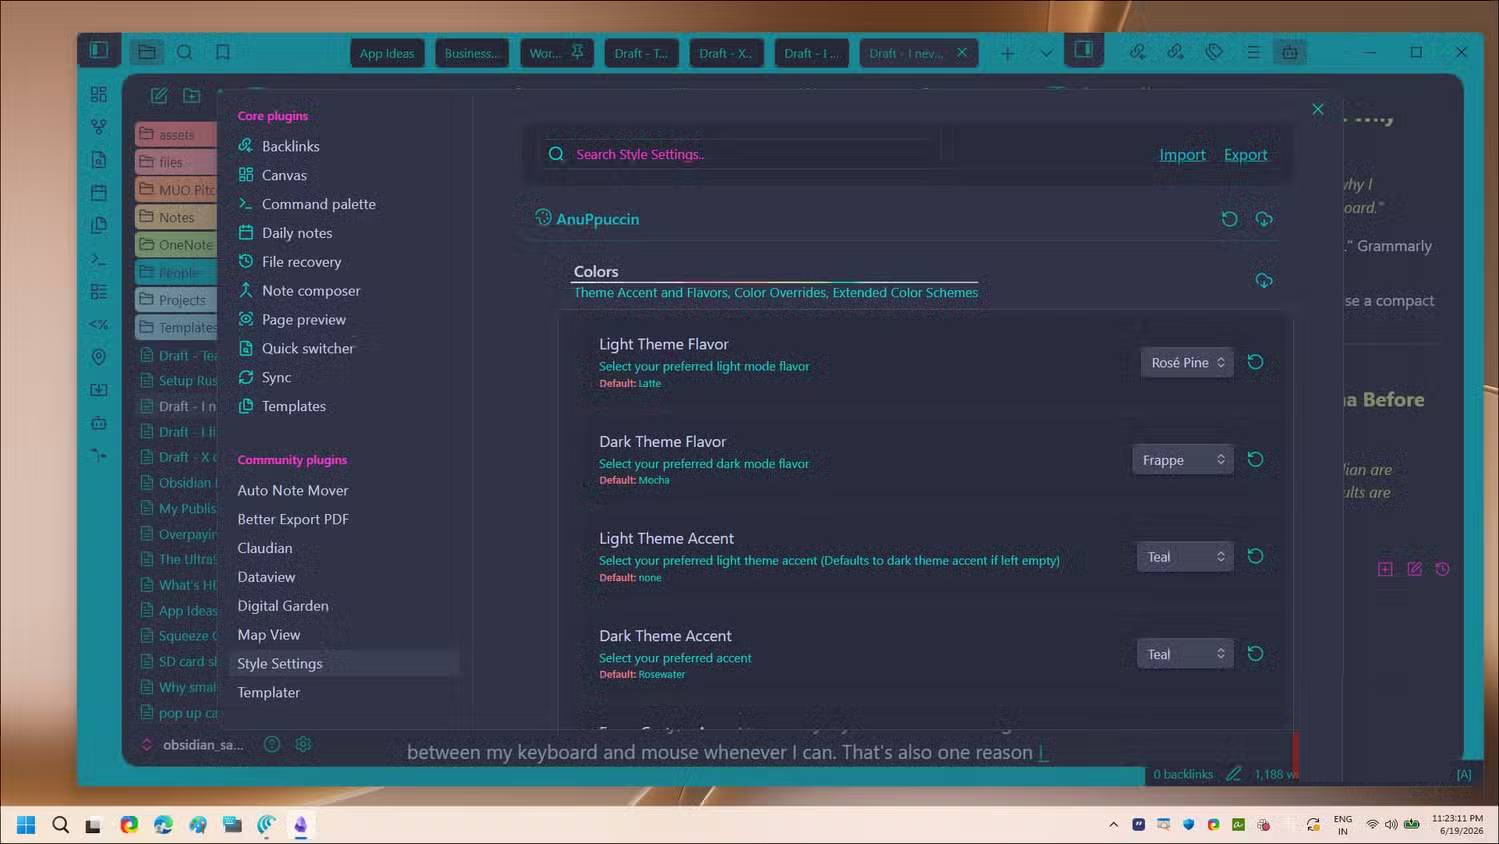
The optional Style Settings community plugin exposes supported theme variables without requiring custom CSS. Install it only if the chosen theme uses it. Remember that community themes and plugins can break after app updates, so keep customization modest.
3. Bookmark the small set of notes you need constantly
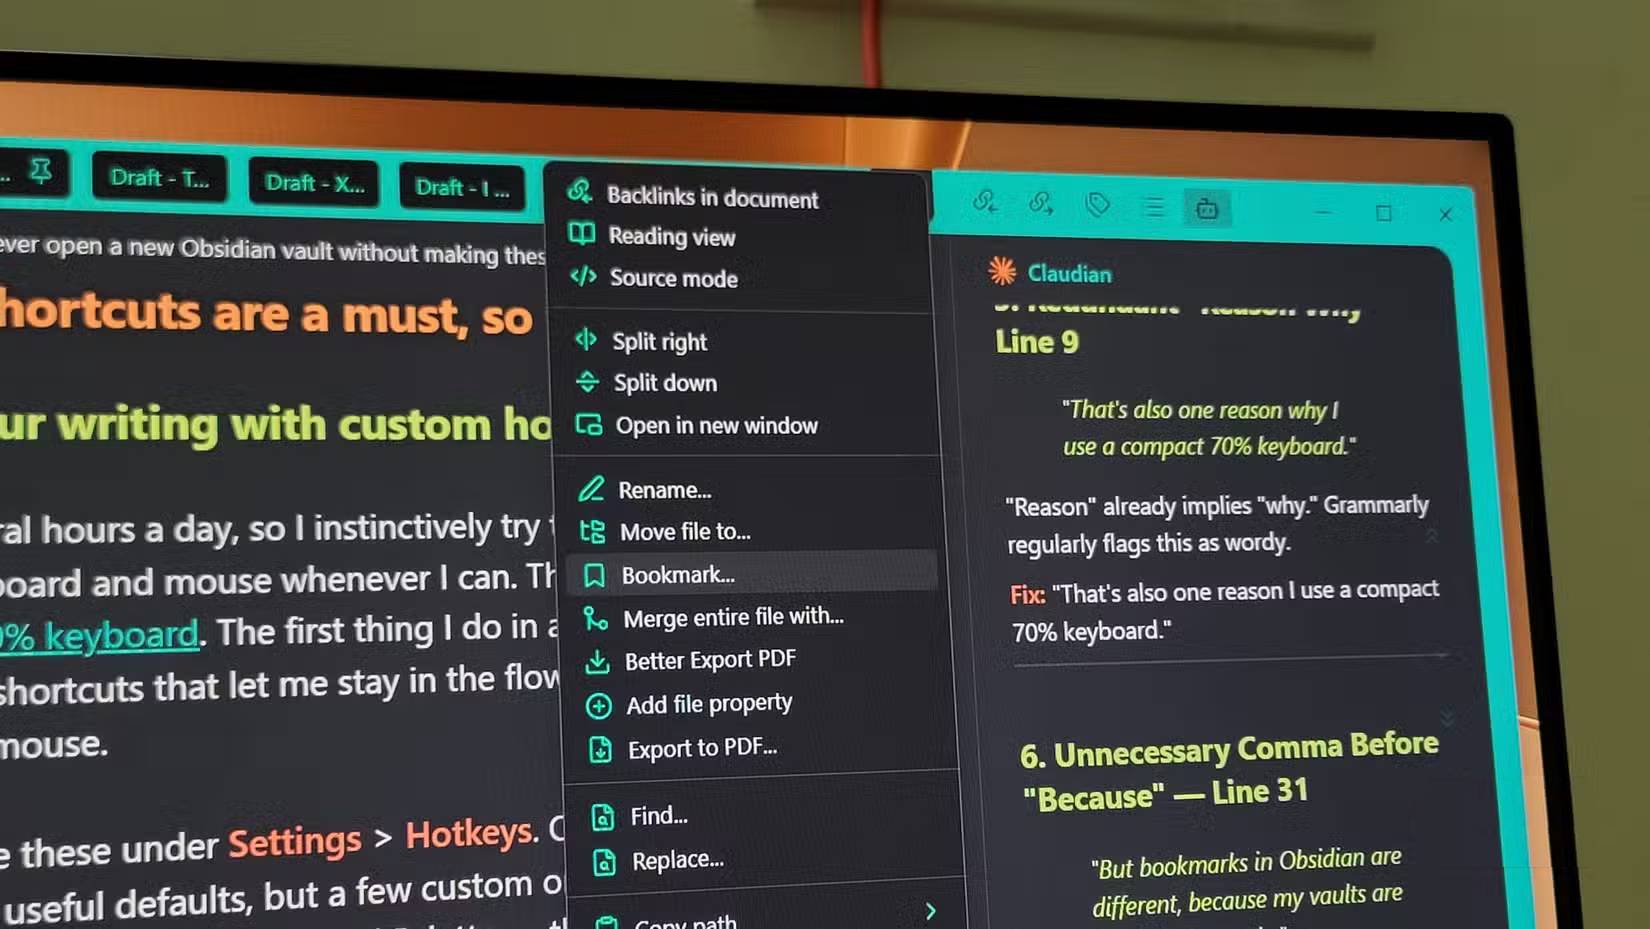
Bookmarks provide quick access to notes, headings, searches, and other frequently used items. Right-click a note and choose Bookmark, or run a bookmark command from the Command Palette. Keep the Bookmarks view visible in the sidebar if it is central to the vault.
A useful starter set might include the vault index, an inbox note, a project dashboard, and a checklist. Avoid bookmarking everything: when the list becomes a second file explorer, it no longer saves time.
4. Add plugins only for a demonstrated need
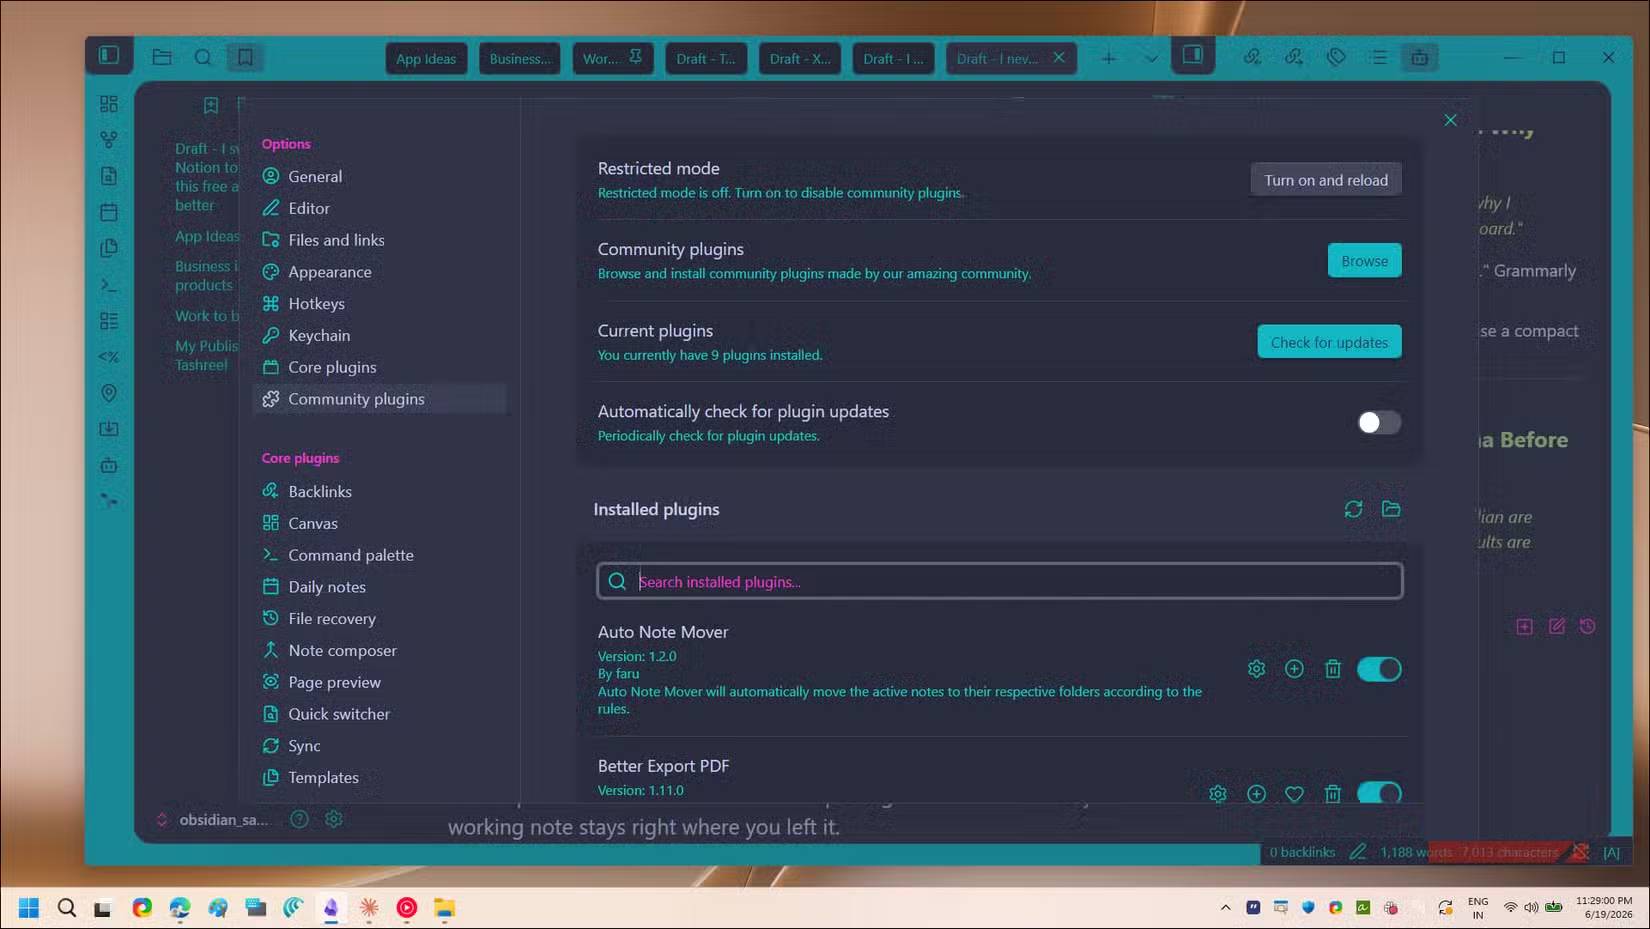
First review Obsidian’s built-in core plugins. Bookmarks, Templates, Daily notes, Properties, Backlinks, and Canvas may cover the workflow without third-party code. Enable only the core features you plan to use.
Community plugins can add powerful workflows, but each one is code that runs with access to the vault. Check the developer, update history, documentation, and requested permissions before enabling it. Add one plugin at a time so you can identify performance or compatibility problems.
Examples of needs that may justify a plugin include advanced task queries, better table editing, publishing selected notes, or Git-based versioning. Do not treat Git synchronization as a substitute for a backup: mistakes and deletions can also be committed or propagated. Avoid running two sync systems against the same vault unless both tools explicitly support that setup.
Reuse a trusted setup without copying problems
If you want several vaults to share a configuration, close Obsidian and copy only the required configuration files from a known-good vault’s .obsidian folder. Back up both vaults first. Plugins may contain vault-specific paths or settings, so test the copy before relying on it.
An even safer approach is to maintain a small template vault containing only your preferred hotkeys, appearance, folder structure, and a minimal plugin list. Duplicate it when starting a new project, then add project-specific tools later.
The goal is not to make every vault identical. Configure enough to remove friction, keep the vault portable, and let the actual notes determine what additional structure is worthwhile.
Related Articles
 How to Connect an Obsidian Repository to NotebookLM10 minutes read
 How to Combine Claude Code with Obsidian CLI8 minutes read
 What Is Obsidian Note-Taking? Obsidian User Manual6 minutes read
 What Is Password Vault? How to Create a Password Vault?6 minutes read
 This Minimal Setup Will Make Obsidian Your Favorite Writing Tool7 minutes read
 How to Use Obsidian with Local AI to Visualize Things9 minutes read
Reader Comments 0
Sign in with email or Google to join the discussion.