Wireless network design with NetSpot for OS X
Network Administration - This article will introduce a new tool called NetSpot, a tool that allows users to statistics and create maps in wireless network design.
Planning a design for wireless networks is not always a simple task. Sometimes we place too many access points in a defined environment and cause unnecessary waste.
NetSpot has created an application for OS X, enabling users to place wireless access points in their offices or companies appropriately. This guide will be based on the beta version of the NetSpot application and will show you how to create a wireless access point map. You can download the beta version of the software here.
Import floor plan
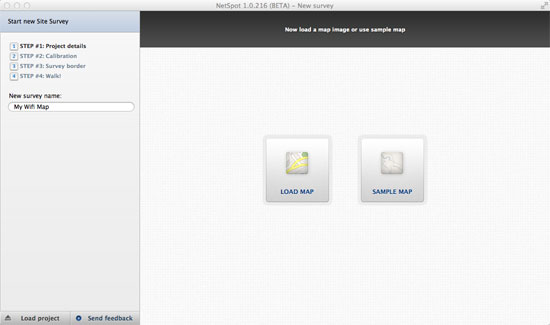
The first thing to do is to import the floor plan. The program will use it as a diagram and help you place access points.

Floor plan
When the floor plan is loaded, NetSpot will ask you to place at least two access points in the drawing. After placing, you need to enter the distance between them. Click on the map to set the access point.
Note : When adding another access point, NetSpot will consider the scope of the drawing.
Next, set at least two access points. Dragging them to the appropriate location will help you create a plan for your network. When the access points are set, click Next to continue.

Set at least two access points
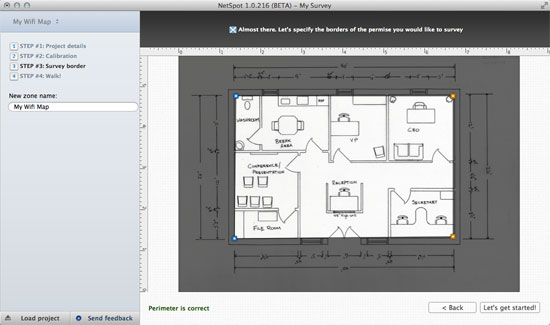
In the next screen, you have to show the organization boundary. Placing markers at the corners of the drawing will help you outline the scope of the area you want to statistics. This will localize access points within the environment and help create appropriate plans.

Create a border
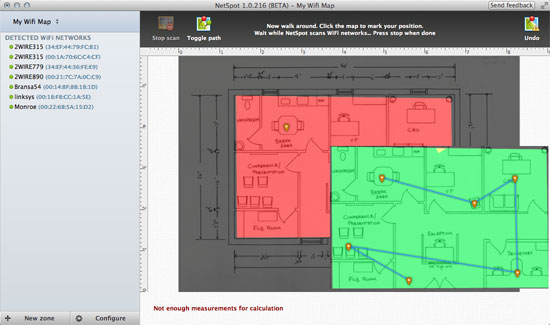
Now that you have defined the environment you need to cover. Go to the points around the office and mark your location. When you do this, the application scans the wireless access points and signal strength where you choose. Repeat this step with other points around the environment to create a complete coverage map.

Go to many points around the office
NetSpot will scan wireless networks in the range every time you click on a map related to your location. This will help determine the coverage of the access points.
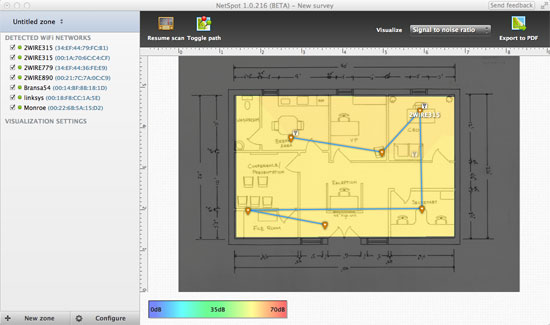
Once you've checked all the necessary points, click Stop ; The diagram will change color based on the intensity of coverage it detects. The default view displays the signal ratio on the noise it finds. You can change this display component as follows:
- Signal Level : displays the wireless signal level
- Noise Level : displays the noise level
- Qty of access points : Displays the signal strength of the environment based on the quality of the access point.
When the scan is complete, the map is created, you can export to PDF via one click.

Report completed
Conclusion
NetSpot is an easy to use tool in the process of creating wireless network deployment maps. Organizations can use this tool to test the locations they need to access in their environment so that they can best set up wireless access points.