Ways to fix BlueStacks not working on Windows 10
Despite being constantly updated, BlueStacks still encounters some problems from time to time, in which the inactivity error is the most common. In this article, let's learn how to fix BlueStacks not working error on Windows 10 to continue playing games smoothly.
Check BlueStacks for any errors

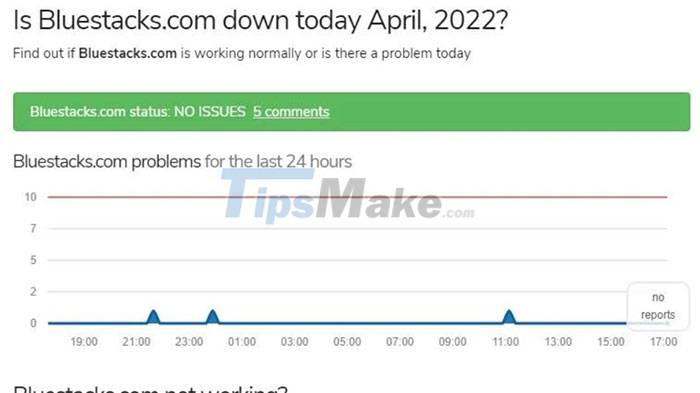
The first thing users need to do when BlueStacks is to check if this emulator is getting any errors. Visit the official updownradar website and check the status of the app and any bugs reported there. However, if the app is working fine then the problem might just be with everyone's computer
Turn off anti-virus software
Depending on how the anti-virus software is set up, BlueStacks can be interpreted as a threat to the system, thereby preventing the application from working. So, temporarily disable your anti-virus software to get the emulator running again.
In addition, people can temporarily disable Windows Defender Firewall to ensure that the firewall does not interfere with the operation of the application. If Firewall is the cause, add BlueStacks to the exclusion list.
Restart BlueStacks and device
If neither of the first 2 fixes solve the problem, try restarting BlueStacks and see if it works. If it still doesn't work, restart your computer too.
If restarting the computer and the application does not solve the problem, then it is time to check if BlueStacks has enough memory to work.
Close parallel applications
Every process running on the computer puts a strain on the system memory. When many resource-hungry programs consume memory concurrently, there may not be enough resources for other software to operate efficiently.

To close parallel applications, making room for BlueStacks to work, go to the Start menu and open Task Manager.
On the Process tab, check the Memory percentage. Turn off all items with a high percentage to free up memory.
The user can close any process by right clicking on it and selecting End task.
Besides checking memory, monitor usage and troubleshoot issues due to high disk and CPU to make sure there are enough resources for BlueStacks to function properly. When freeing memory is not helpful, people should update the Graphic driver.
Enable Virtualization
BlueStacks recommends that users turn on CPU Virtualization for the program to run efficiently. Depending on the CPU type, the way to enable Virtualization will be different.
Launch SFC Scan

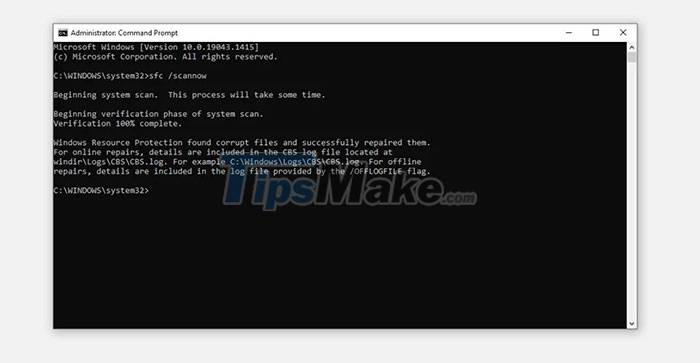
If enabling Virtualization doesn't make any difference, run an SFC Scan to make sure there are no corrupted Windows files causing the problem. To run SFC Scan, follow these steps: