Steps to recheck thermal paste for computer CPU
It's not uncommon for desktops and laptops to overheat after being stable for a few years. A bad CPU cooler not only reduces the remaining life of the PC, but subsequent thermal throttling also negatively impacts performance.
Table of Contents
Usually, the error is caused by the old thermal paste between the CPU and the cooler that has dried.
Thankfully, it's not too difficult to re-apply the CPU thermal paste in a laptop or desktop computer. Read the following article to know how to check the CPU thermal paste.
Tools needed to apply thermal paste
Applying thermal paste is quite simple and can be done with available tools. However, since you are working with sensitive electronic components there is a risk of damage, so be sure to always follow the safety guidelines detailed in this manual.
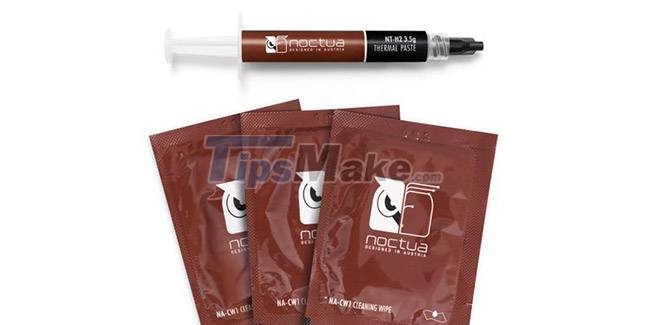
Tools needed include:
- Screwdriver.
- Anti-static wrist strap.
- Nitrile rubber gloves (powder-free).
- Isopropyl alcohol (purity 70% or higher).
- ESD wipes or coffee filter paper.
- Heat sink.
Steps to check CPU thermal paste
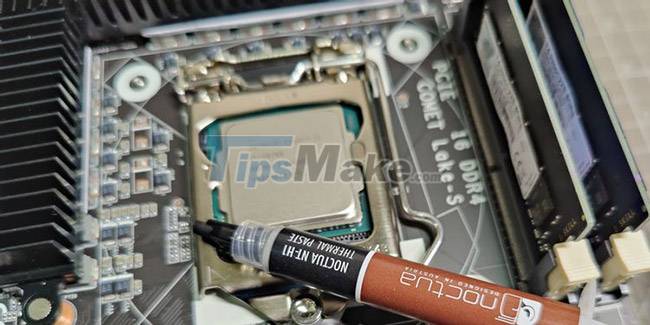
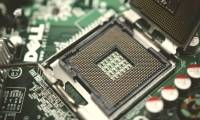
Step 1: Approach the area where the CPU cooler is located
Refer to the manual that came with your desktop or laptop computer to disassemble the chassis and access the CPU cooler location. Wear an antistatic wrist strap and when making sure it is grounded. Before continuing, don't forget to turn off your computer and disconnect all power cables.
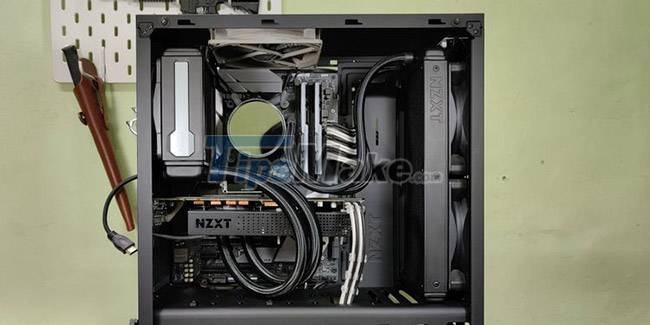
This is a fairly straightforward process for desktops with tower cases. Just unscrew all the screws to remove the left guard (when viewed from the front), then place the case on its side, preferably on a desk, for easy handling.
Laptop users should consult the manufacturer's manual to confirm the location of the screws and that the retaining tabs must be removed before accessing the interior. This varies greatly depending on the manufacturer and model of the laptop in use.
Some MacBooks and Microsoft Surface laptops are notoriously difficult to open. You can check out this excellent iFixit site here.
In case you can't find the manual for your particular laptop, chances are iFixit will have disassembly instructions for that laptop.
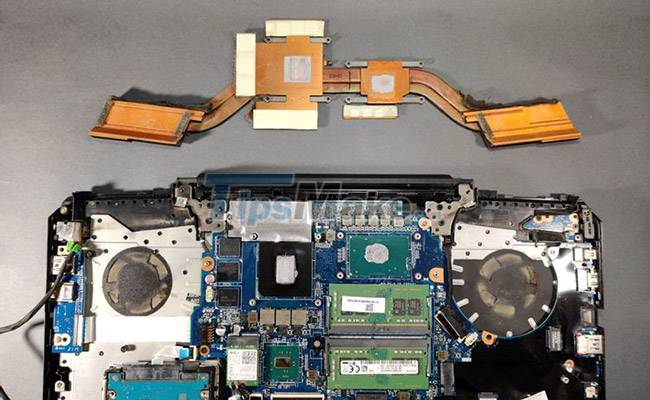
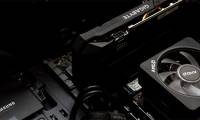
Step 2: Remove the CPU cooler
Desktop CPU coolers, either liquid or air cooled, are typically secured to the IHS CPU with 4 screws. Some CPU coolers may involve non-permanent motherboard racks and require special handling instructions. The article recommends that you refer to the CPU cooler assembly instructions to find the right disassembly method.
Laptop coolers also involve a very different number and placement of the screws that secure the heatsink on the CPU. Refer to the appropriate manual or the aforementioned iFixit laptop repair information archive for exact instructions regarding your laptop model and make.
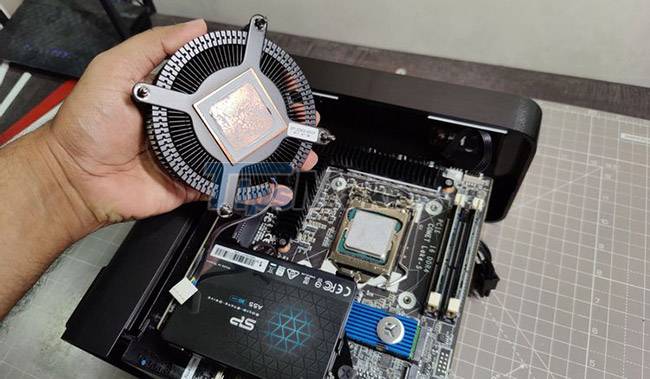
Regardless of the nature of the device, make sure you don't try to pull the CPU cooler away from the IHS. Start by turning the cooler slightly. This will make it easier to get the cooler out of the IHS CPU.
Do not apply excessive force if you feel the cooler is attached too tightly. In that case, the heatsink compound may have stuck too firmly to the CPU IHS. Using a blow dryer on the CPU will help melt the hard dry glue.
Step 3: Wipe off the old thermal paste
This is why you should wear powder-free nitrile rubber gloves to protect your skin from toxic heat glue. Gloves also protect the IHS block and CPU from finger oil, which can reduce heat conduction.
Dab a little isopropyl alcohol (IPA) on an ESD wipe or clean coffee filter paper and proceed to wipe away any remaining thermal paste on both the IHS CPU and the copper block.
Make sure you don't use regular paper towels or cloths, as they can leave behind lint or dust. ESD wipes are a bit pricey, but they are best suited for this task. Coffee filter paper is the second best choice. It may not be as good as an ESD towel, but at least it won't leave paper residue on cleaned surfaces.
Continue to wipe the thermal paste with a new cleaning cloth until the cloth/paper is no longer discolored. If using 99% IPA, you don't have to wait too long before you can reapply the thermal paste. Lower concentrations of IPA will increase the waiting time.
Wait at least five minutes if you used a 70% purity IPA.
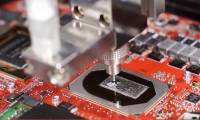
Step 4: Apply new thermal paste
The proper amount of thermal paste is a controversial topic in the PC hardware community. But there's one simple rule worth following: Avoid under-smudging the IHS CPU. Applying thermal paste too thin will create hot spots on the IHS, thus resulting in suboptimal cooling.
However, excess thermal paste is automatically removed when the CPU cooler is attached. That shouldn't be a problem if you're using a non-conductive one, so you should take extra care when injecting the glue in a cross, with small dots in between the quadrants, as shown in the illustration. below.
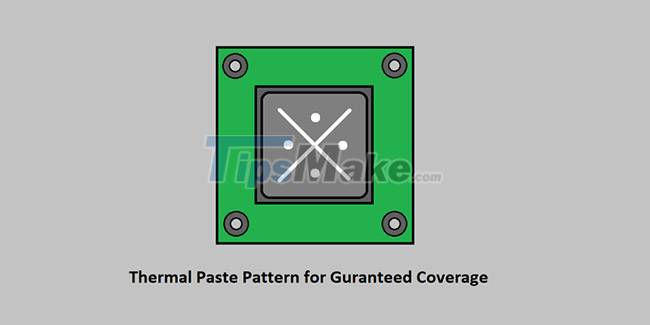
This is especially true for CPUs like the AMD Threadripper, as its unique chiplet design spreads the silicon over a much larger area than the IHS. On the other hand, the heat-generating silicon die in Intel processors is concentrated in the center and occupies only a small part of the total surface area of the IHS.
However, be warned if you must use conductive thermal paste. In this case, apply test glue and then install the CPU cooler. Next, remove the cooler to check for optimal coverage. Start over with adjusting the amount of glue if you experience spills or shortages, and clean the surface between each test application.
Repeat this process until you find the right amount of thermal paste required for optimal coverage. Do a final check with the right amount of thermal paste.
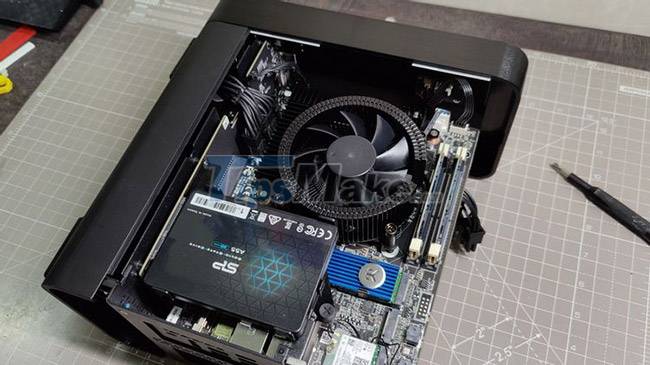
Step 5: Attach the CPU cooler
Follow the instructions provided in the manual to attach the CPU cooler to the IHS. In most cases this involves tightening 4 screws. However, it is important to tighten them in the correct order.
Start by positioning the copper block flat on the IHS CPU and turning each screw with your fingers. Do not fully tighten the screws at this joint.
Instead, slowly tighten the screws in the order shown in the image below. Repeat the process until all screws have been tightened.
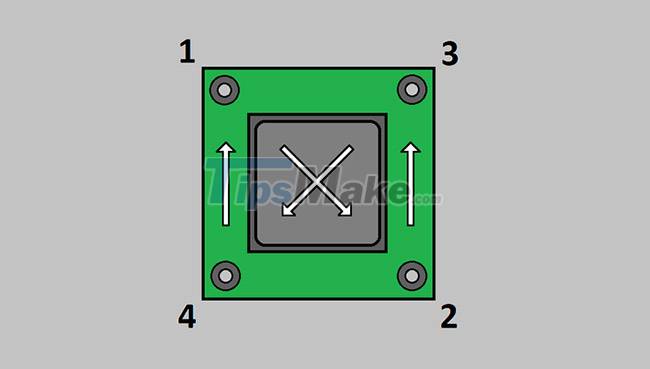
Following this procedure is important to ensure that uniform tightening is applied to the entire IHS CPU. Failure to do so results in uneven pressure, which can create hot spots that are detrimental to cooling performance.
Step 6: Reinsert the removed protective panels
Reverse the steps taken to disassemble the device and ensure that all screws are properly inserted and tightened. It's done! You have completed the necessary operations.
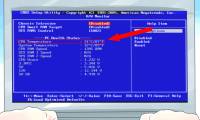
Confirm everything is fine
As a final step you need to confirm that the cooling system is working as intended. Download and install the free HWiNFO tool to verify if the CPU idle temperature exceeds ambient (room) temperature by 68°F (20°C) or more.
You can also use CPU benchmarks like Cinebench to evaluate CPU heat under synthetic load conditions. The HWiNFO tool also shows whether the CPU is overheated or reaching a critical temperature threshold during gaming.
If that happens, you have installed the wrong CPU cooler or it may not be suitable for your CPU. If your CPU's thermal performance is within the specification's allowable range, you've successfully re-applied the CPU thermal paste.
Was this article helpful?
Your feedback helps us improve.
Related Articles
 What is thermal paste?3 minutes read
 How to Clean Thermal Paste8 minutes read
 How to Apply Thermal Paste7 minutes read
 Using liquid metal instead of thermal paste, Asus laptops will be 10 to 20 degrees cooler than usual2 minutes read
 What does the hole in the back cover of some Intel CPUs do?2 minutes read
 3 ways to prevent GPU Thermal Throttling7 minutes read
Reader Comments 0
Sign in with email or Google to join the discussion.