Simple guide to adding SSD to MacBook
MacBooks come with SSDs, but not all models can be upgraded. If you have an older Mac, replacing it with an SSD will speed it up and give you more storage..
Upgrading your MacBook's SSD improves performance and increases storage capacity. Before you do, you need to know which Mac models can be upgraded, choose the right SSD, and install macOS after replacing it.
How to add an SSD to your MacBook
Note: This article does not apply to Macs from 2018 onwards because the SSD is soldered and cannot be upgraded. If your device is still under warranty, replacing the SSD yourself may void the warranty.
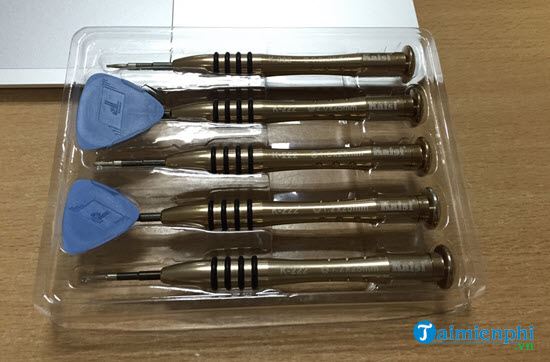
Tools to prepare:
- A used MacBook that is out of warranty.
- A professional screwdriver.
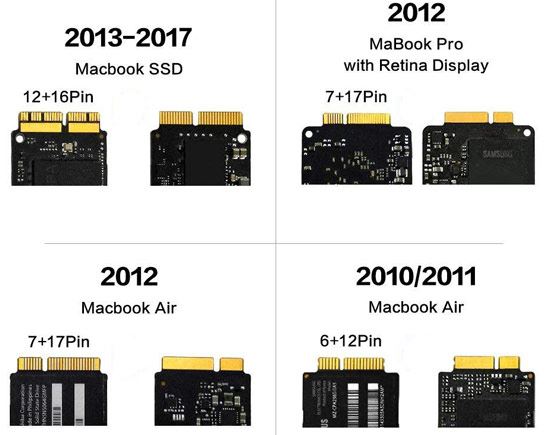
- Also you need to buy the right type of SSD for your MacBook.
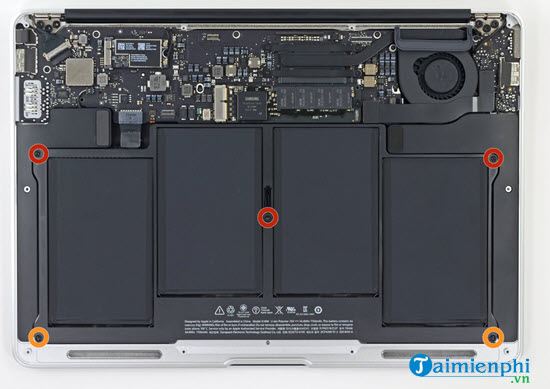
Step 1: Turn the MacBook over then use a screwdriver to remove the screws at 10 corners .

Step 2: Use a pry tool or an ATM card if you don't have one and pry from the part near the hinge shaft of the machine up. If it's too difficult to open, use an ATM card to help pry up. Note that you should do it slowly to prevent any pins or parts from breaking.

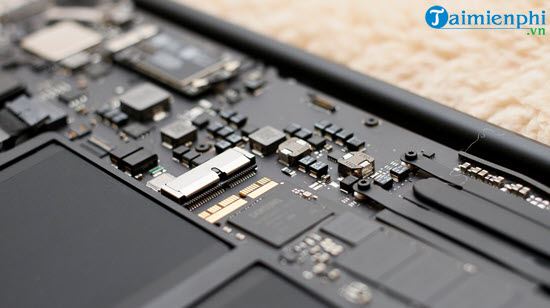
Step 3: Look down near the battery and RAM soldered on the MacBook, here you open the protective layer .
Next you remove the battery connector on the MacBook, this is a safe step if you want to add SSD safely and without any risk during the removal process.
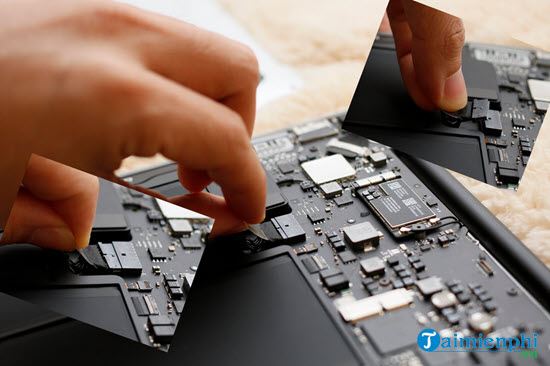
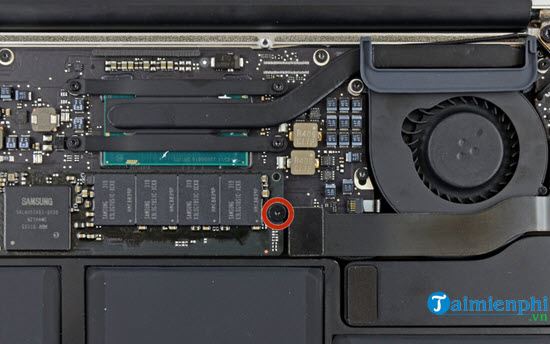
And now you will see the SSD bar appear, remove the screw that fixes the SSD and then we can add the SSD.
Step 4: Here you just need to remove the old SSD and replace it with a new SSD with higher capacity.
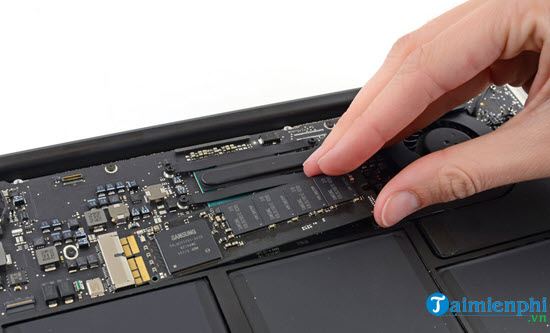
Close-up of the SSD tray, you just need to take another SSD and install it, then tighten the screws and you're done.
To add an SSD to your MacBook, you'll need to reattach the cables and tighten the screws in the reverse order of removal. Then, boot up your computer and install macOS on the new SSD to use. If you've backed up your Mac before, you can quickly restore it using Time Machine or other support tools.