Protects Flash drive data in a comprehensive way with TrueCrypt application
Today, security requirements and requirements, especially for personal data, are becoming more rigorous and demanding. What methods do you usually use to protect the amount of information and data safe from today's threats?.
TipsMake.com - Today, the requirements and requirements of the security field, especially for personal data, are becoming more strict and demanding. What methods do you usually use to protect the amount of information and data safe from today's threats? In the tutorial article below, we will cover the basic steps to ensure personal data in the Flash drive with the famous security tool - TrueCrypt.
Create TrueCrypt Volume partition:
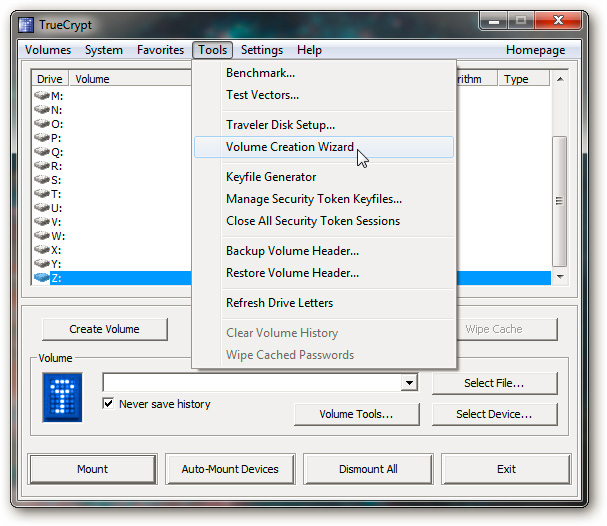
First, copy all the protected data to any folder on the hard drive. After finishing the setup process below, it will copy back to the USB drive. Technically, this process will create an encrypted file on the Flash drive, and there is nothing different from the regular TrueCrypt creation process. From the Tools menu, select the Volume Creation Wizard:
Here, we do not need to encrypt non-system partitions because this process will prevent the system from downloading the required files needed to combine TrueCrypt volumes on the Flash drive. This also means that the computer used to access the data later is required to be installed with TrueCrypt :

Select Standard TrueCrypt volume in the next window:

Set up the fixed file to create (* .tc) on the Flash drive:

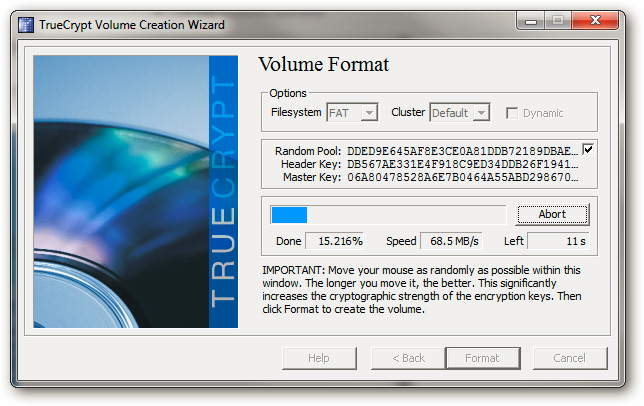
Other encryption options (you can keep the default level):

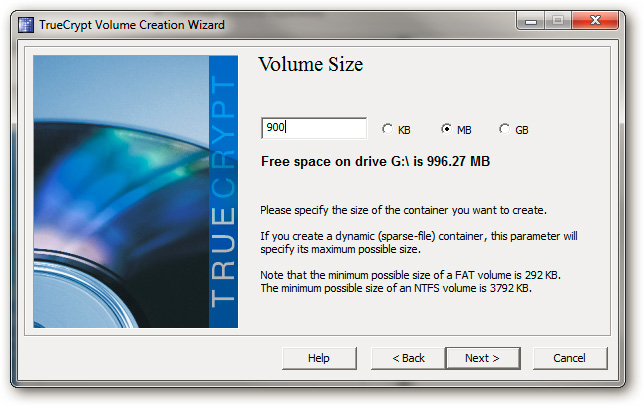
Next is the space needed for encrypted partitions, at least 10 MB to TrueCrypt can 'identify' the Flash drive later:
Set password protection:

And patiently wait for this process to end:
Download TrueCrypt's binary file to the Flash drive:
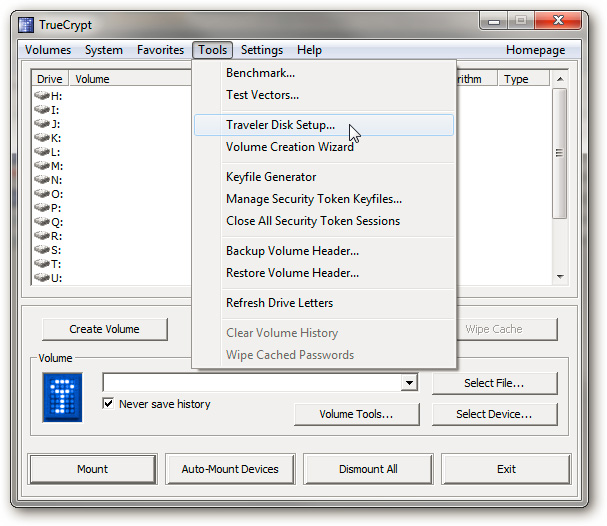
Besides, if we want to access and use encrypted partitions on normal computers (without TrueCrypt installed) it is imperative to download the necessary files to that system first. At the Tools menu, select the Traveler Disk Setup:
The program will display the message as shown below:
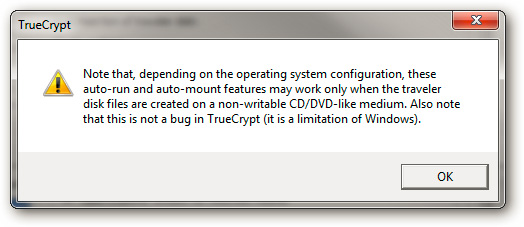
We will return to this message in the next section of the article
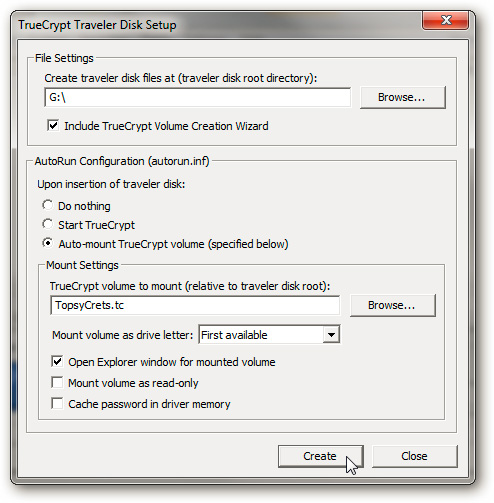
In the File Settings section, select the correct Flash drive on the computer. At AutoRun Configuration , select Auto-mount the TrueCrypt volume and continue the setup as follows:
- Enter the set file name of TrueCrypt at the previous step
- Select First available of Mount volume as driver letter
- Check the box Open Explorer window for mounted volume
Then press Create to start this process:
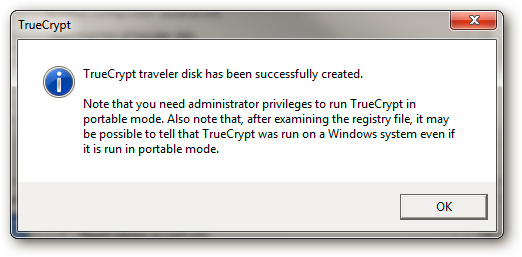
Before continuing, you need to pay attention to the following requirement if TrueCrypt successfully combines an encrypted partition on any computer:
- Requires TrueCrypt on the computer
- Users must have Administrator rights
After everything needs to be done on the completed Flash drive, we will see the TrueCrypt icon in the Windows Explorer window :
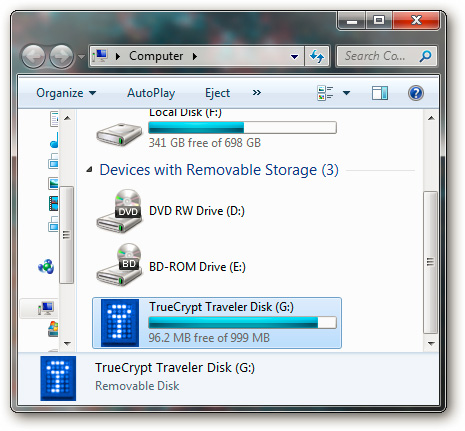
When the TrueCrypt Traveler Disk mode has been successfully established, the process of accessing and using data in the USB drive is as simple as the following:
Here, we will return to the pop-up notice board above. That's for the USB drive to work automatically when we plug it into the computer, but in fact today, most Windows computers have turned off Autorun function. And so, users will have to perform the process of 'identifying' TrueCrypt partitions manually, but if it is logical, it is not logical. Simply because people cannot combine and use the data with just a few clicks. Therefore, focus and follow the next steps.
Open the autorun.inf file , then copy the entire text of the line starting with open =
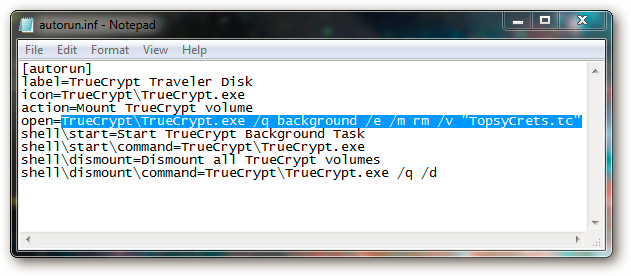
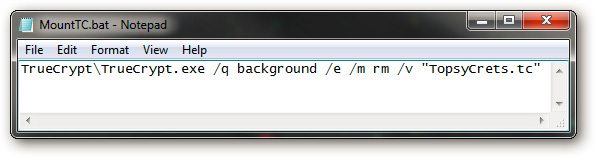
Then create a new text file, name it MountTC.bat and paste the copied code. When operating, this batch file will automatically combine the TrueCrypt partition on the Flash drive into the computer:
Then, go back to the autorun.inf file and copy the following code in the line shelldismountcommand =
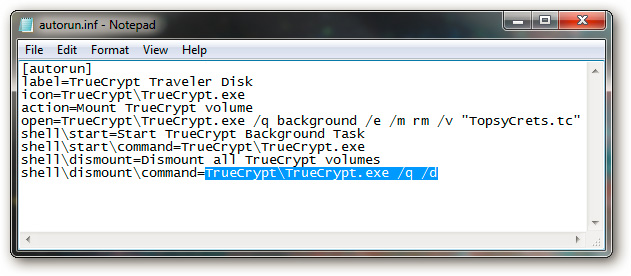
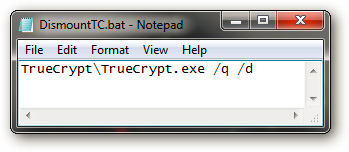
Continue to create new text file and name it DismountTC.bat, paste the above code. When running, this batch file is responsible for removing TrueCrypt partitions on the system:
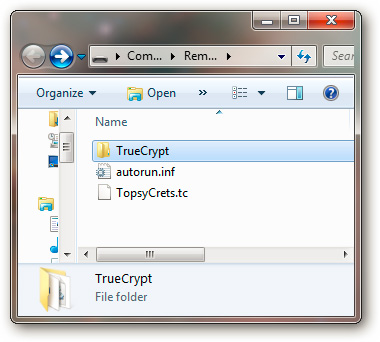
2 batch files just created, located in the same folder as the other files on the USB drive:

Access TrueCrypt partition:
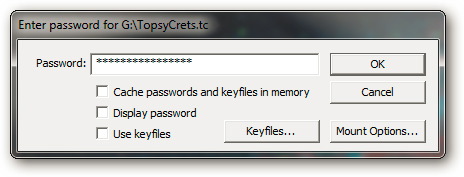
Back to our main problem, after connecting the Flash drive to the computer, if the TrueCrypt partition is not automatically activated, run MountTC.bat . And don't forget that on that computer there must be TrueCrypt preinstalled or an Administrator with an administrator right. The UAC bulletin board will display in case there is no TrueCrypt installed, click Continue to continue. Then, enter the access password of this partition:
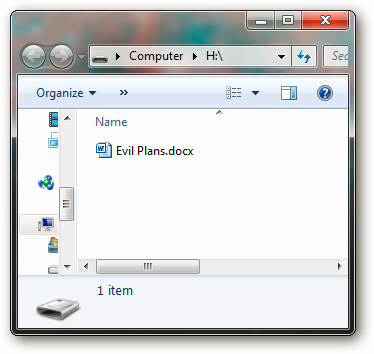
Immediately, the primary partition is incorporated into the system, and the encrypted data will be displayed. The rest is to copy the protected files into this folder, and of course, no one can access them without a password:
When finished, run the DismountTC.bat file to remove TrueCrypt partition from your computer. The above implementation process is slightly complicated, but the security effect is extremely secure.
Besides, you can refer to the sample video tutorial below:
Good luck!