Table of Contents
Illustrator’s Crop Image command permanently removes pixels outside a rectangular crop from one selected raster image. Use it when you want a smaller embedded photo. If you may need the hidden area later or want a non-rectangular crop, use a clipping mask instead.
Crop a placed image permanently
Save a copy of the Illustrator document first. Cropping is destructive to the image embedded in that document, and a linked image becomes embedded when the crop is applied.
1. Open the document
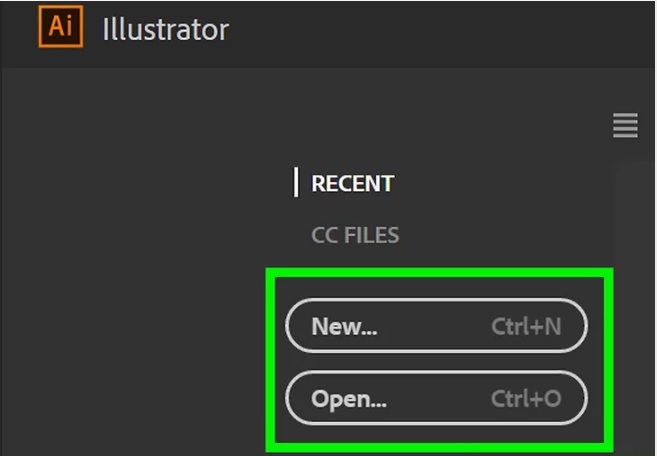
Launch Illustrator and choose File > New for a new document or File > Open for an existing AI file.
2. Select the image
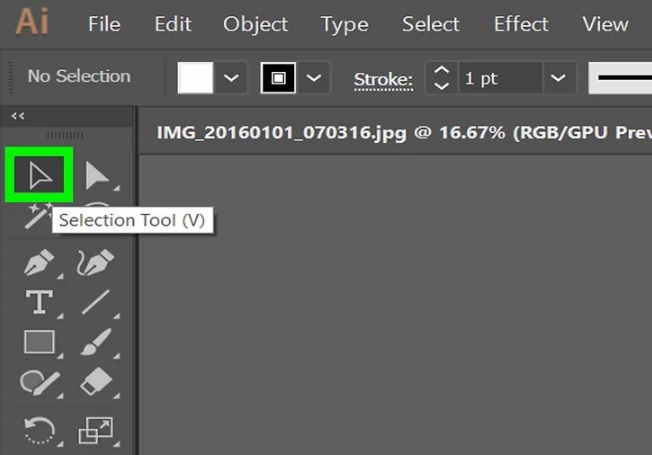
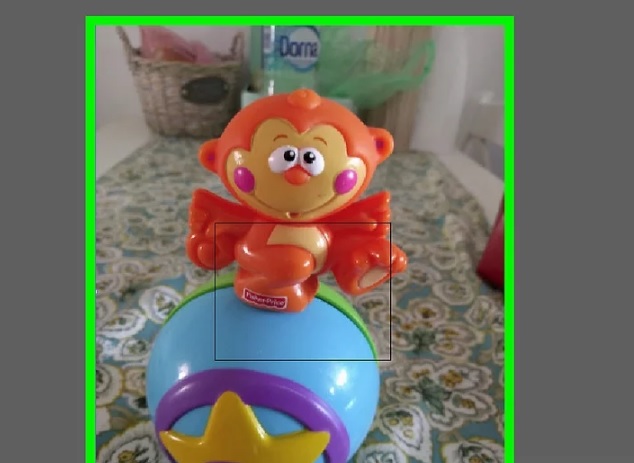
Activate the Selection tool (V) and click a single raster image. If the picture is not in the document, choose File > Place, select it, and click Place.
3. Start Crop Image
Choose Crop Image from the Contextual Task Bar, Quick Actions in the Properties panel, the Control panel, the Object menu or the image’s context menu, depending on your workspace. If Illustrator warns that a linked file will be embedded, choose OK only if that is acceptable.
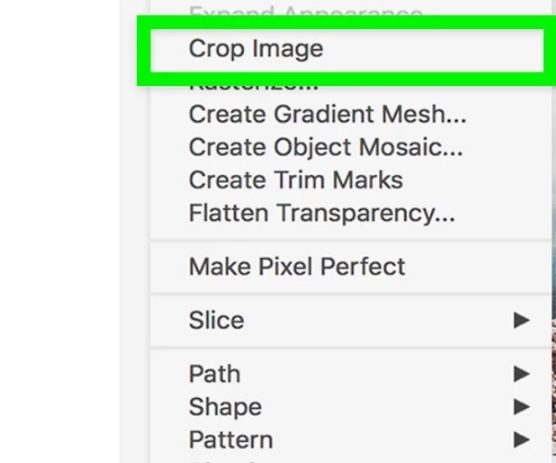
4. Define the crop
Drag the widget’s edge or corner handles until the box contains the pixels you want to keep. Reposition the crop box if needed. For precise output, enter width, height or resolution values in the available crop controls rather than estimating by eye.
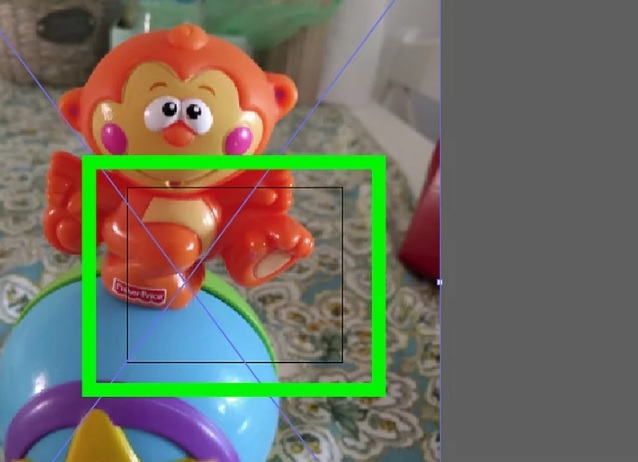
5. Apply and inspect
Click Apply. Zoom in to check the edge and save the AI document. If you removed too much, use Undo immediately or return to the saved copy; the hidden pixels are not available as editable content after the permanent crop.
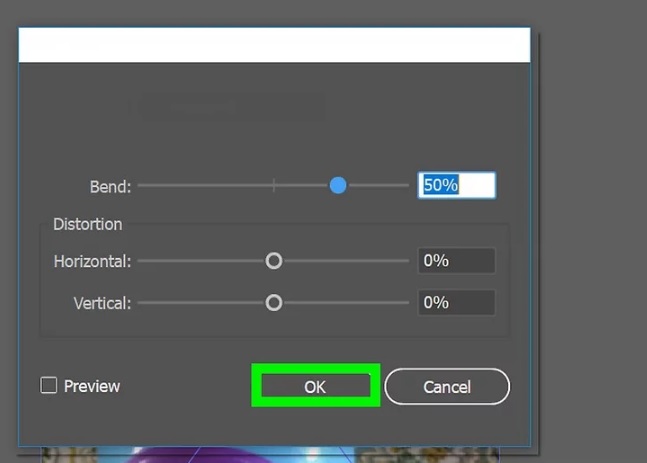
Use a clipping mask for a reversible crop
A clipping mask hides artwork without deleting it and can use a circle, custom path or other vector shape.
- Draw the vector shape that should define the visible area.
- Move the shape above the image or artwork in the stacking order.
- Select both the shape and the content.
- Choose Object > Clipping Mask > Make (Ctrl+7 on Windows or Command+7 on macOS).
- Use isolation mode or the Layers panel to reposition the image independently of the clipping path.
Trim or delete vector shapes
Crop Image does not work on editable vector paths. To remove part of a vector design, use a method that matches the intended result:
- Pathfinder: use Minus Front, Intersect, Divide or another operation to combine overlapping closed paths.
- Shape Builder: select overlapping shapes, activate Shape Builder, then combine regions or hold Alt/Option while clicking to remove a region.
- Scissors or Knife: split a path at controlled locations, then select and delete the unwanted segment.
- Clipping mask: hide vector artwork non-destructively when you may need to edit it later.
Which method should you choose?
| Goal | Best method |
|---|---|
| Permanently reduce a rectangular photo area | Crop Image |
| Hide part of a photo without deleting it | Clipping mask |
| Show a photo inside a circle or custom shape | Clipping mask |
| Combine or subtract vector regions | Pathfinder or Shape Builder |
| Split an open or closed path | Scissors or Knife |
Adobe’s Crop Image documentation explains the behavior of linked and embedded images, while its clipping-mask guide covers reversible masking. On TipsMake, see how Pathfinder edits overlapping shapes, how to hide an image background with a mask, and how to draw basic Illustrator shapes.
Related Articles
 Cropping and Deleting Shapes in Adobe Illustrator4 minutes read
 How to Cut Images in AI (Adobe Illustrator)2 minutes read
 How to Draw Basic Shapes in Adobe Illustrator6 minutes read
 Tutorial Drawing. 'Unicorn' in Adobe Illustrator11 minutes read
 Instructions for Combining Shapes and Cutting Images in Adobe Illustrator4 minutes read
 Adobe Illustrator: Complete Guide: Download Adobe Illustrator 2021.26.04 minutes read
Reader Comments 0
Sign in with email or Google to join the discussion.