Instructions for group work via Miro whiteboard
Miro is a whiteboard platform for online collaboration with members. You can create job boards on Miro at any time and on any device..
Working remotely is no longer difficult or difficult with modern technology. Miro is a whiteboard platform for online collaboration with members. You can create job boards on Miro at any time and on any device. Not only that, you can also share the board with anyone to work online. Below are basic instructions for using the Miro whiteboard.
Instructions for using Miro online whiteboard
Step 1:
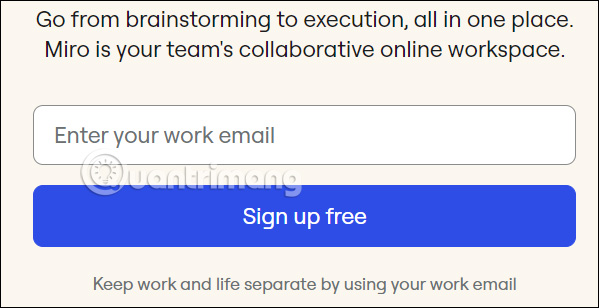
First, access the link below to go to Miro's homepage. Next, enter your email address and click Sign up free to register for an account.
Step 2:
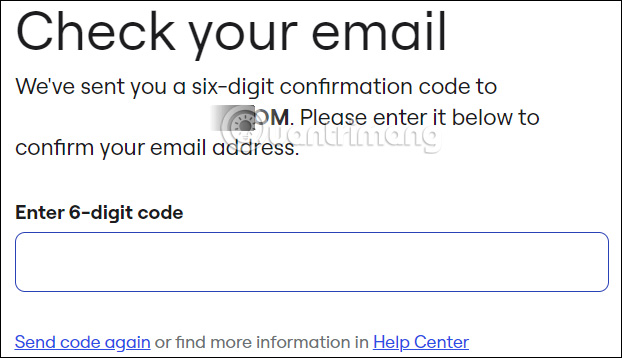
Then you fill in the password for your Miro account , enter the verification code sent to the registered email address.
Next we will fill in the basic job information that Miro displays on the interface.

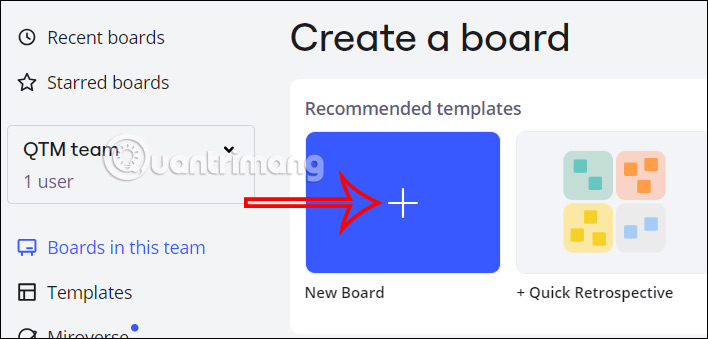
Step 3:
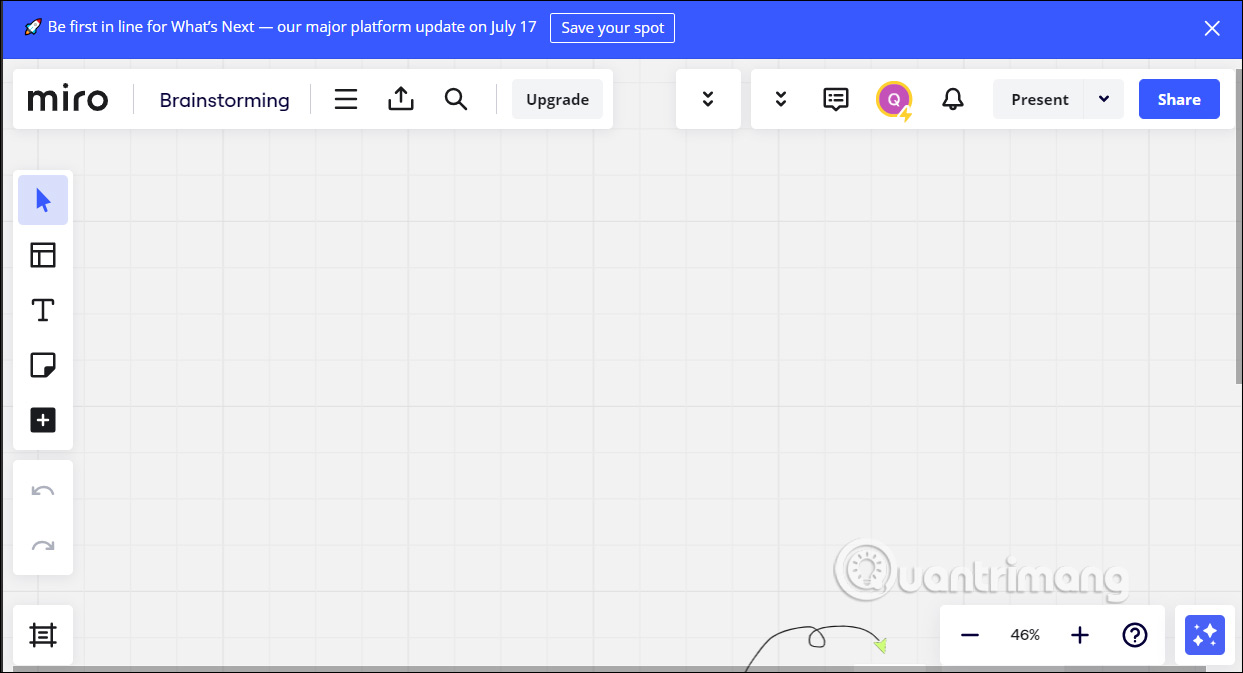
Below is the main interface of the Miro whiteboard. To create a whiteboard , first click on the miro icon in the left corner to access the control panel.
Next, the user clicks Create board to proceed with creating a whiteboard.
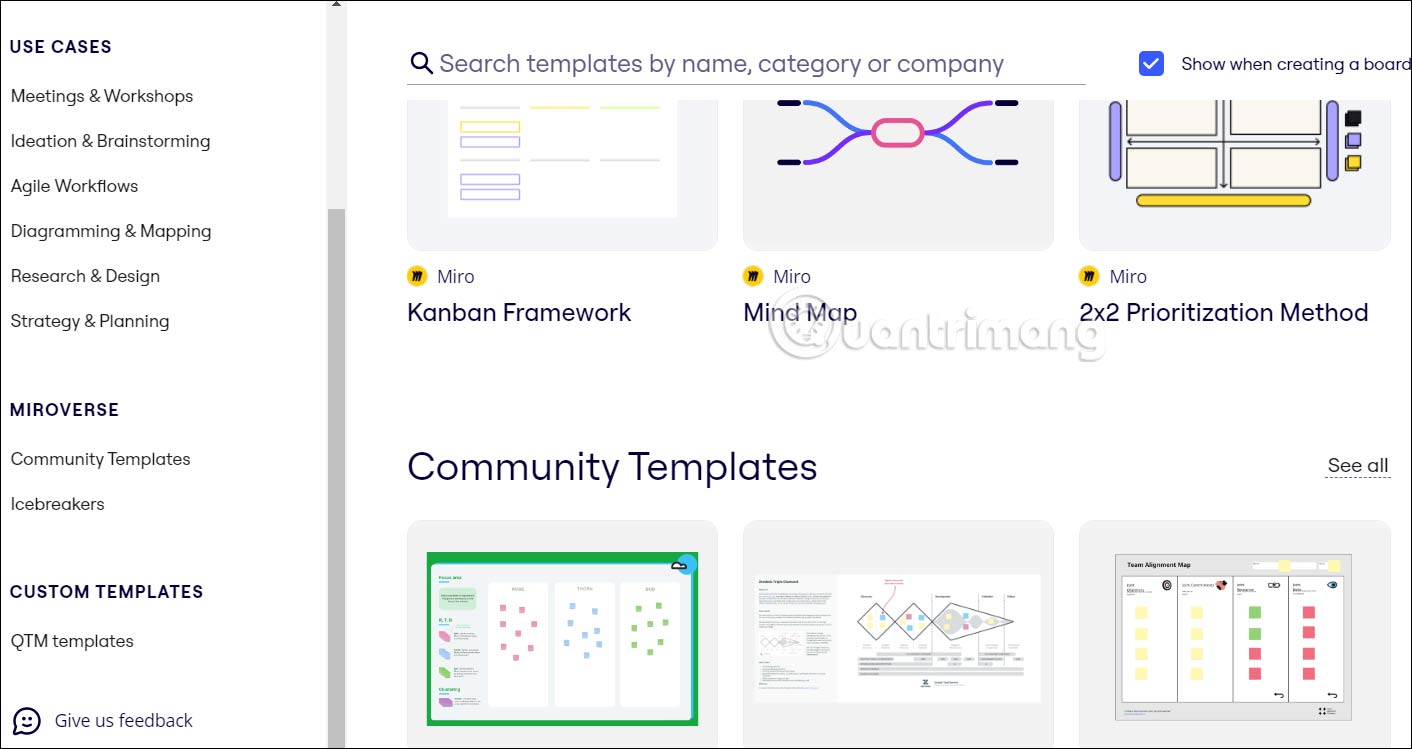
Step 4:
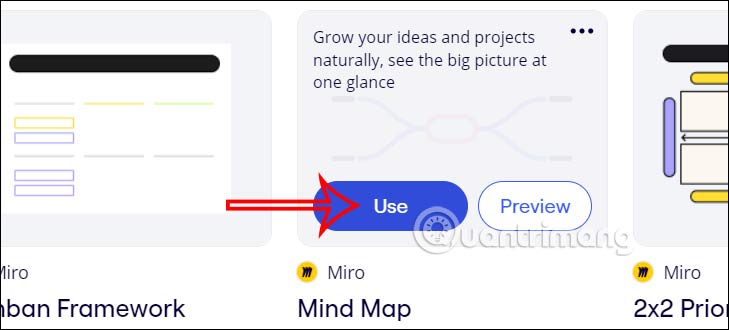
Now we will see many whiteboard models to use for different purposes. You can choose whiteboard templates from this interface.
If you want to use a template, click Use to use and create on the Miro whiteboard.
Step 5:
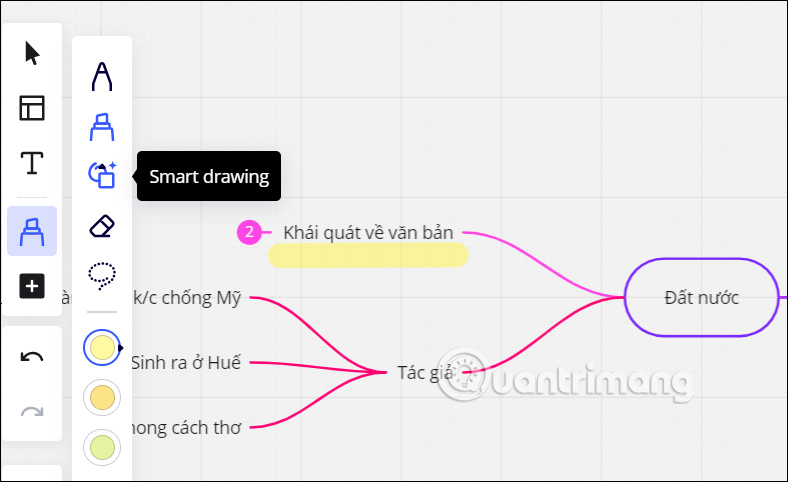
When you open a new panel, you'll see toolbars at the top, left, and bottom right. The empty area is what your table content looks like. To import content, select tools from the left sidebar. Press
You can create, import, move, edit, and delete objects on your board.
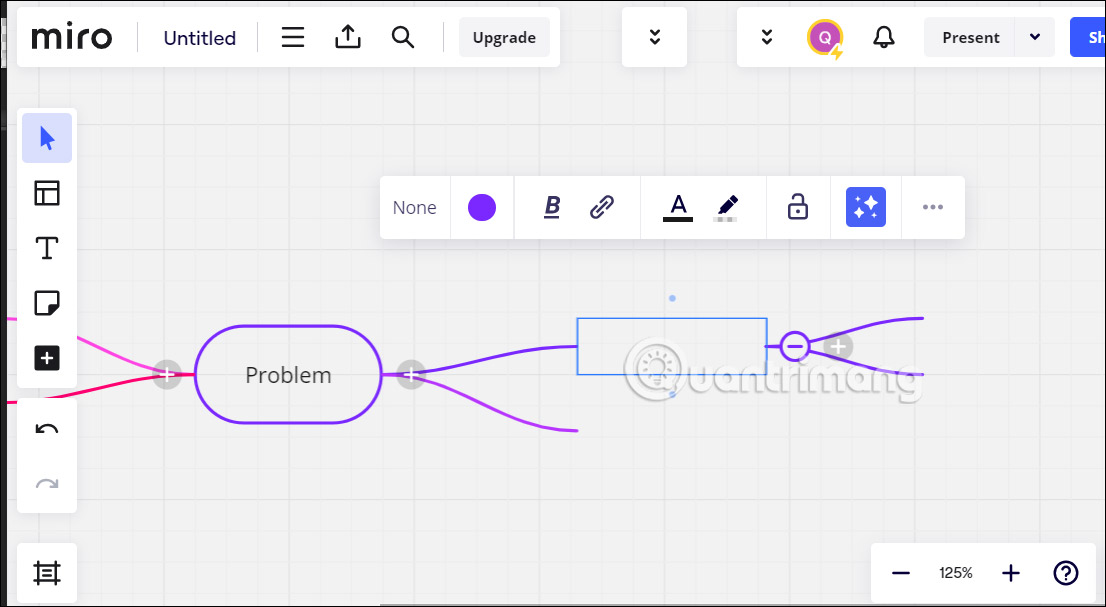
We import content as well as develop content in a whiteboard on Miro.
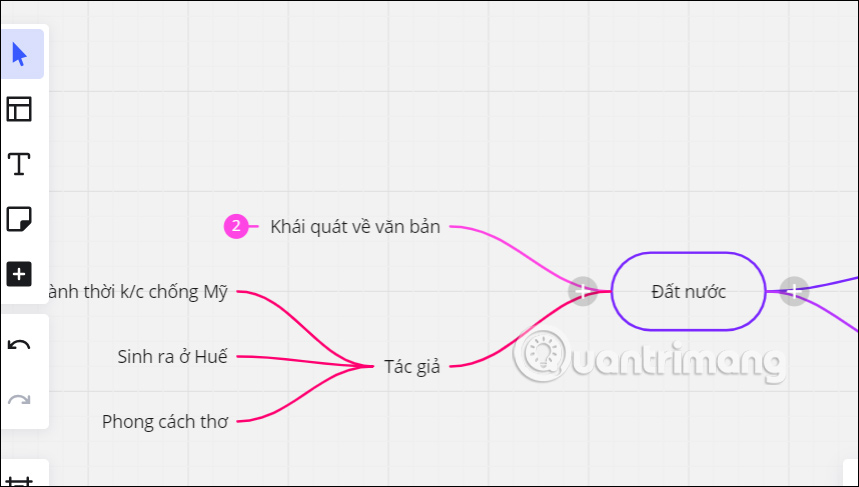
You use additional tools on the left of the interface to highlight certain content in the whiteboard.
Step 6:
After creating the whiteboard content, click Untitled and then enter a name for the whiteboard . Below click Share to share the whiteboard.
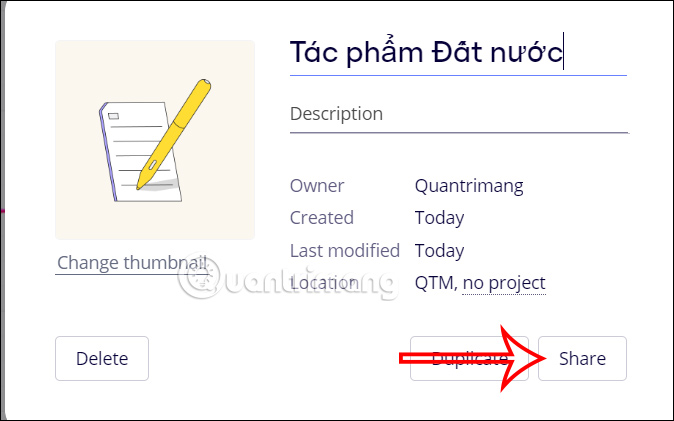
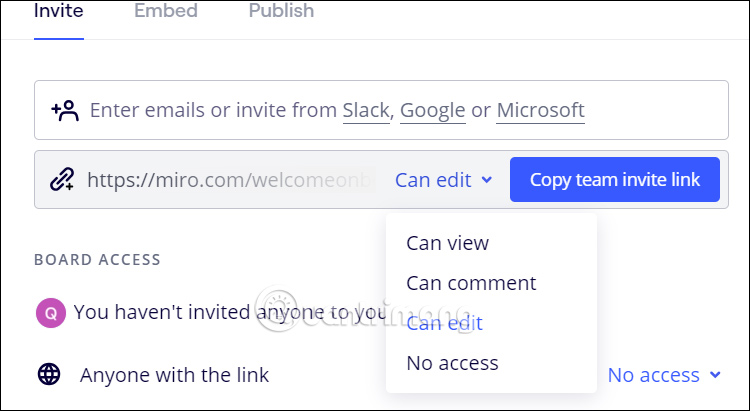
Step 7:
In the sharing interface you will see the link as well as customize the sharing mode , whether the recipient of the link will be able to edit, comment or not.