Table of Contents
The safest way to install CorelDRAW is to download the installer directly from Corel, confirm that your computer meets the requirements for the selected release, and sign in with the Corel account tied to your license or trial. Avoid third-party download sites and modified installers: they may be outdated, lack a valid license, or include unwanted software.
Before downloading CorelDRAW
- Choose the correct product: CorelDRAW Graphics Suite is the full desktop suite; other CorelDRAW editions and browser-based trials have different features.
- Check compatibility: verify the supported Windows or macOS version, processor, memory, graphics hardware and free storage on the current product page.
- Use an administrator account: installation may require permission to add applications, fonts and system components.
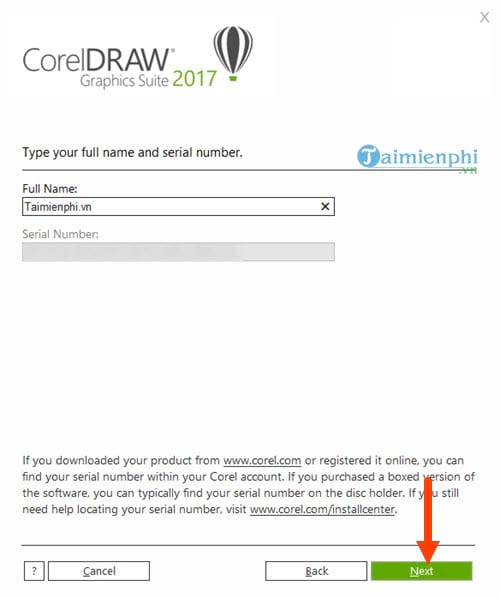
- Keep license details available: use the email address associated with the purchase and retain the serial number for any edition that provides one.
- Back up older customizations: save workspaces, macros, templates and custom palettes before replacing an existing version.
Start from the official CorelDRAW trial page or the download link supplied with your Corel purchase. Corel notes that an internet connection is required for installation and product authentication.
Install the current CorelDRAW desktop suite
- Close other applications and run the installer obtained from Corel.
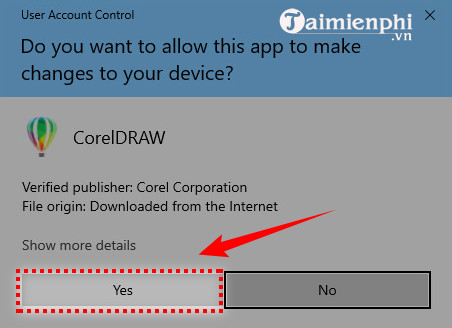
- Approve the operating system’s security prompt only after confirming the publisher and file source.
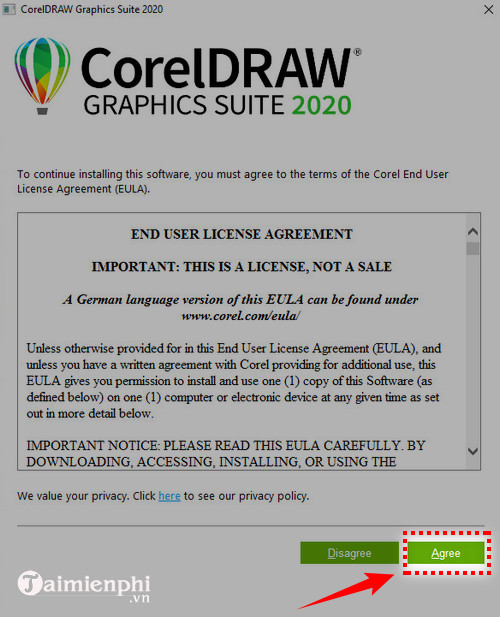
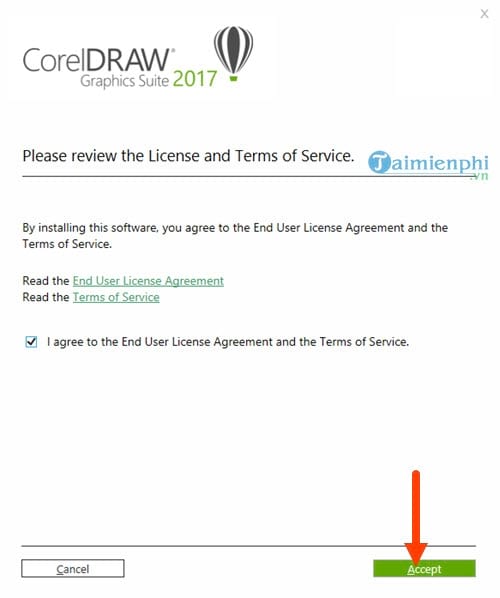
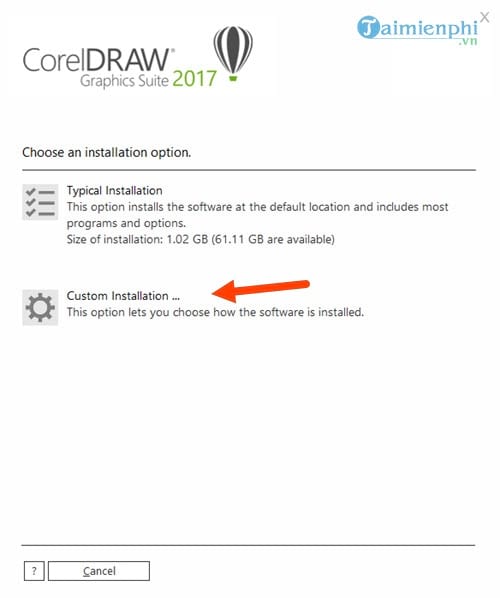
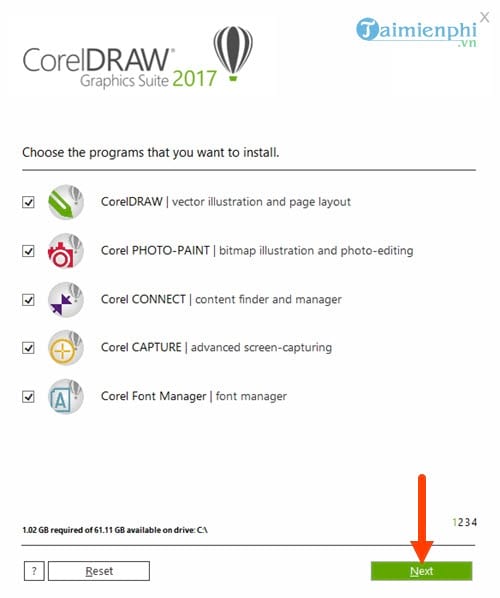
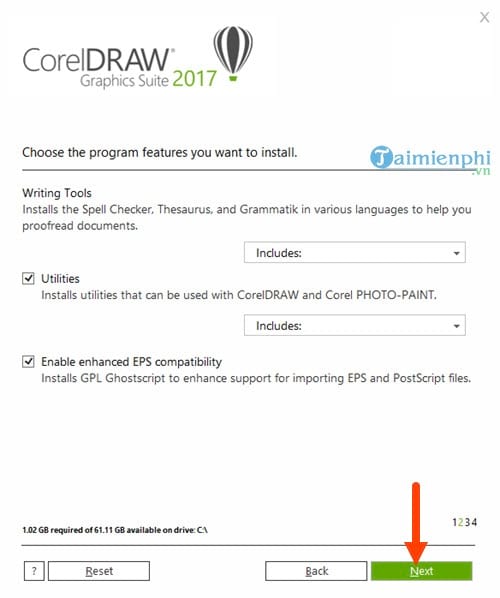
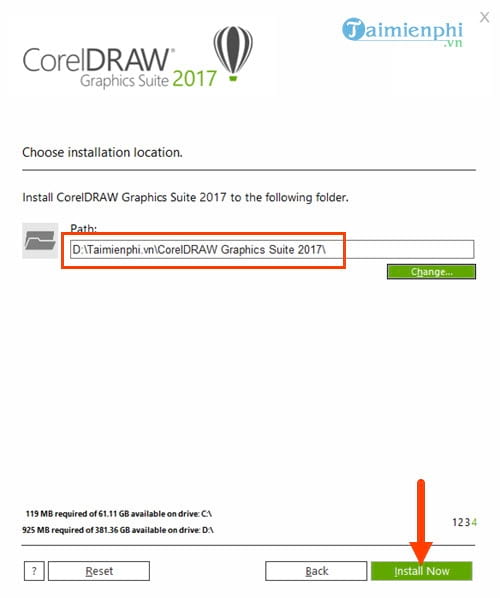
- Read and accept the license terms. Choose the default installation unless you have a specific reason to change applications, languages or the destination folder.
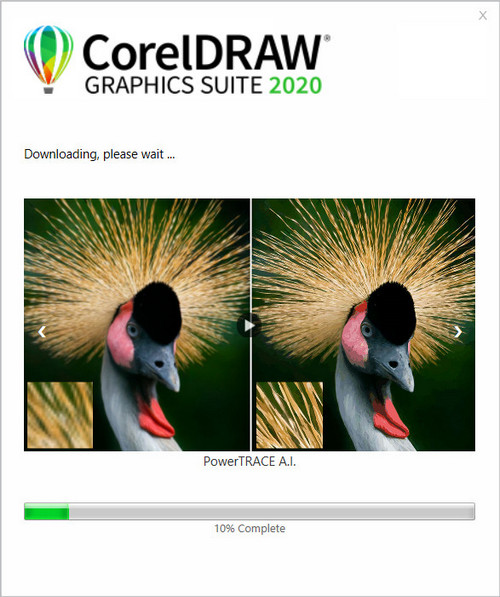
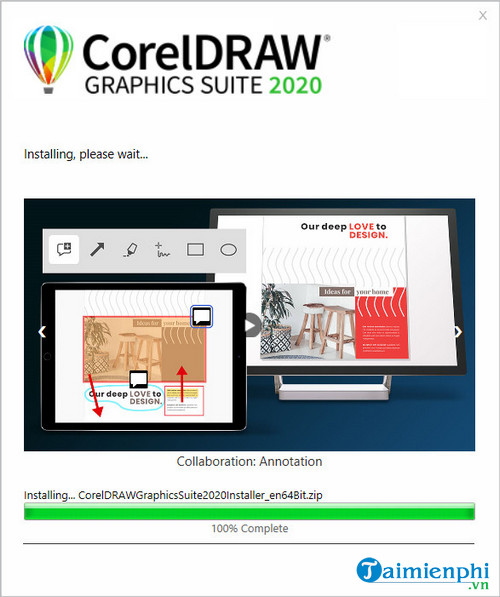
- Allow the installer to download and add the selected components. Do not interrupt the computer while setup is writing files.
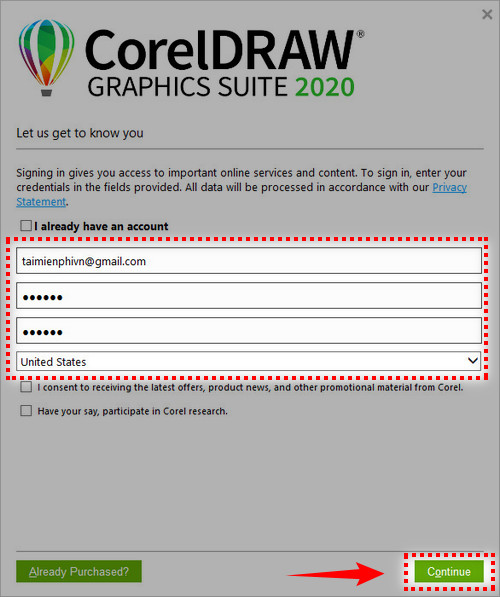
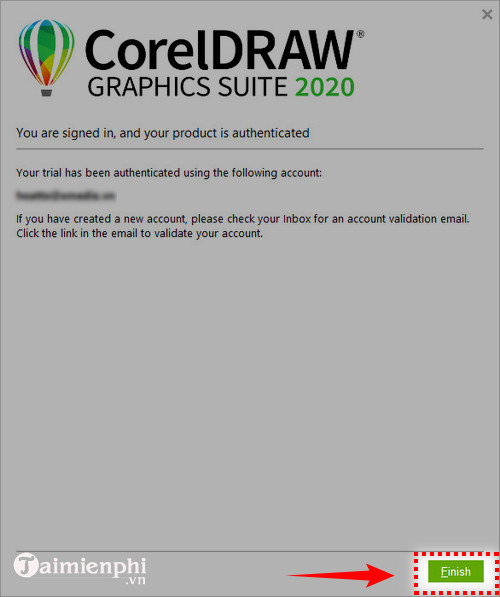
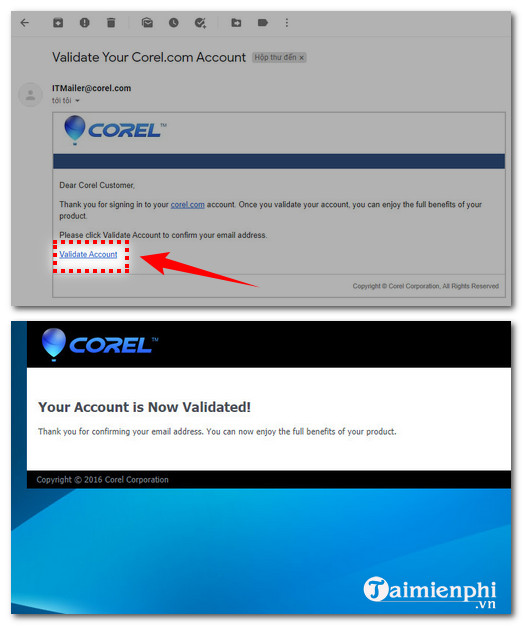
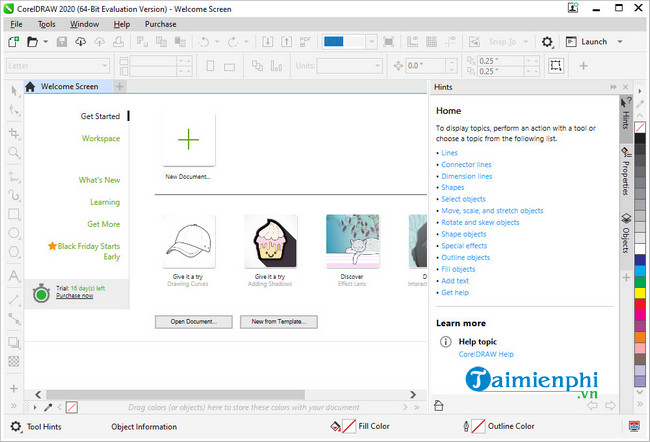
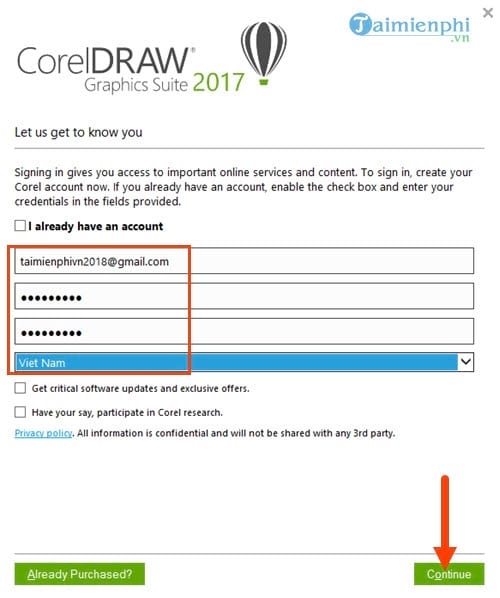
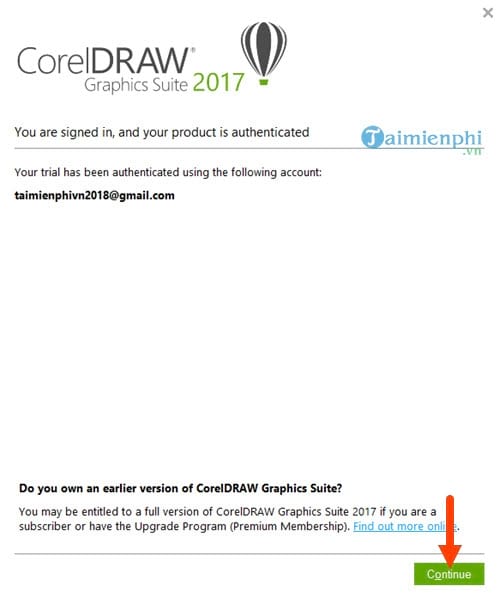
- Launch CorelDRAW and sign in with your Corel.com account when prompted. Authentication associates the product with that account.
- Install available updates, then restart the application if requested.
If activation or installation fails, use Corel’s official install and activation support. Do not try license “fixes,” patches or cracked executables.
Create a first document
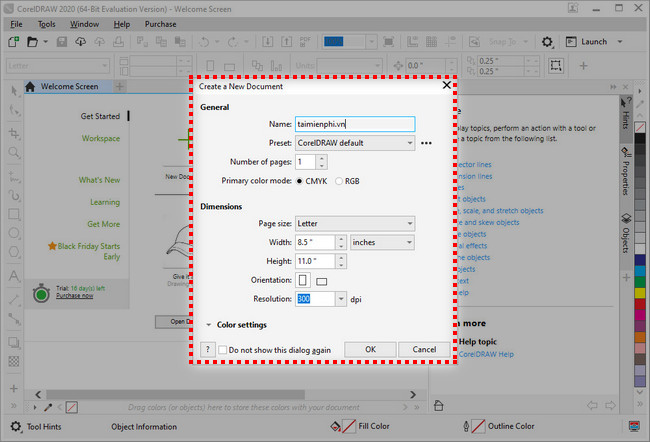
- Open CorelDRAW and choose New Document.
- Name the file and select the intended page size, orientation, units, color mode and rendering resolution.
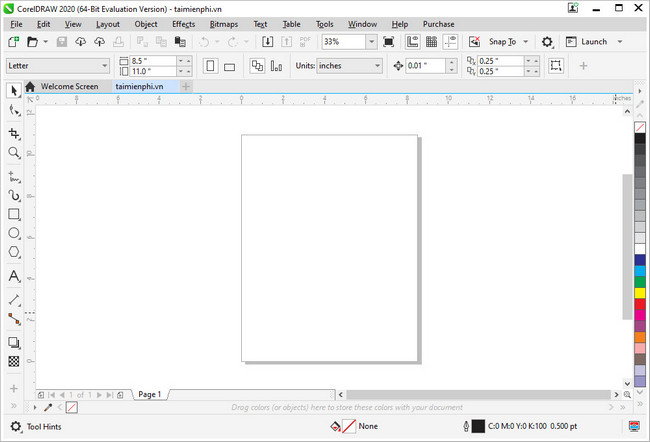
- Save the new CDR file before importing artwork.
- Use the Pick tool to select and transform objects, shape tools to create vectors, and the Objects docker to manage stacking and layers.
- Export a copy in the required delivery format while keeping the editable CDR source.
The CorelDRAW interface overview explains the toolbox, property bar, page and palettes. Beginners can continue with the shortcut reference and a practical vector logo exercise.
Legacy installer screenshots: what they still show
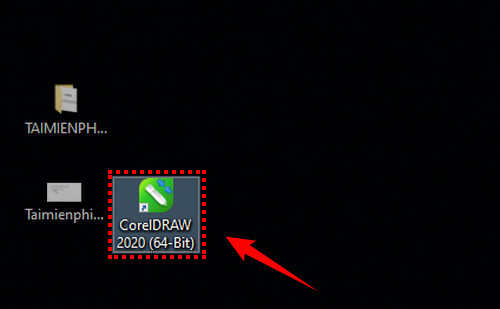
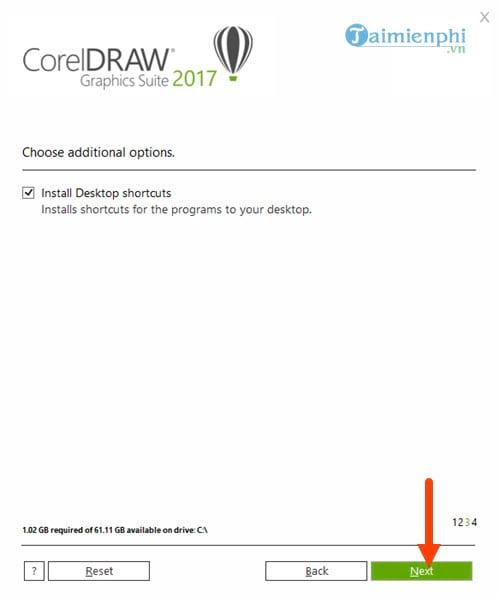
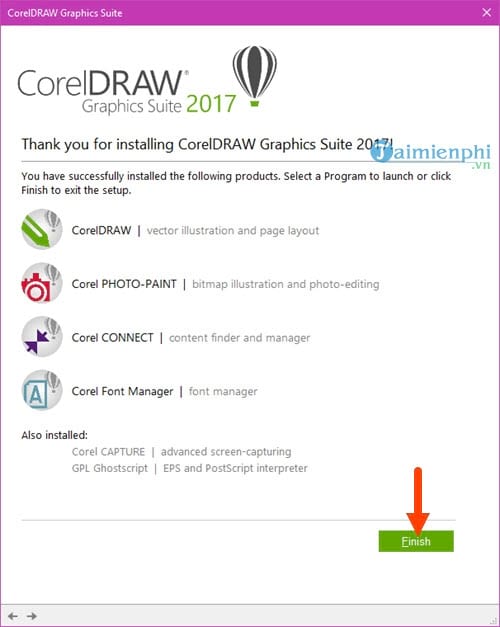
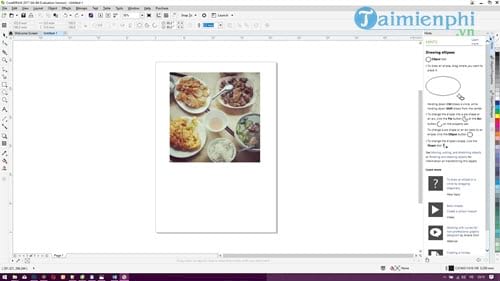
The following images come from older Windows releases, including CorelDRAW 2017. They are retained for readers maintaining a licensed legacy installation, but the screens should not be treated as the current setup flow. Menu labels, included applications, sign-in behavior and compatibility may differ.

Legacy installation precautions
- Download old installers only from your Corel account, original installation media or an official Corel support page.
- Check the release’s operating-system support before installing it on a modern computer.
- Do not assume an old perpetual license covers a newer major version.
- Keep the original serial number and account email together with an offline backup of the installer when the license permits it.
- Test an older release with sample files before migrating production documents, fonts or plug-ins.
Related Articles
 Corel Draw: What Is Corel DRAW - Introduction12 minutes read
 How to Install CorelDraw on a MacBook4 minutes read
 What's New in CorelDRAW Graphics Suite 2018?6 minutes read
 Designing a Chrome Logo Using CorelDraw7 minutes read
 Comparing Illustrator and CorelDraw5 minutes read
 How to Blur Photos in Corel3 minutes read
Reader Comments 0
Sign in with email or Google to join the discussion.