Initially learn about WebMatrix
In this series of articles, we will introduce some basic steps to build a simple web application using WebMatrix, CSS, HTML, HTML5, ASP.NET, SQL, Database . Here, they Together we will build a basic web application to manage your list of favorite movies, including creating a database, creating and authorizing accounts, editing and deleting the database. . CRUD terminology - Create, Retrieve, Update, Delete contain all of the above processes, and in the following, we will start the application with WebMatrix.
1. Getting started with WebMatrix:
Microsoft WebMatrix is a free tool that helps users easily create, set up, customize and push your entire website onto the Internet. You can start with some open source applications like WordPress, Joomla, DotNetNuke or Orchard, and WebMatrix can handle and handle all tasks like downloading, customizing, configuring, and setting up applications. . or users can write their own code based on available templates . No matter which form, WebMatrix still provides all the necessary elements to create a web server, database and framework system. . To get started, visit here, download the Microsoft Web Platform Installer tool - used with all Microsoft products, including WebMatrix . When you start the Web Platform Installer , you will see the following screen:

To install, you need to find WebMatrix in the entire list of Microsoft products, then click the Add button next to Install at the bottom of the screen. The system will display the agreement and terms of use between the developer and the user, similar to the image below:
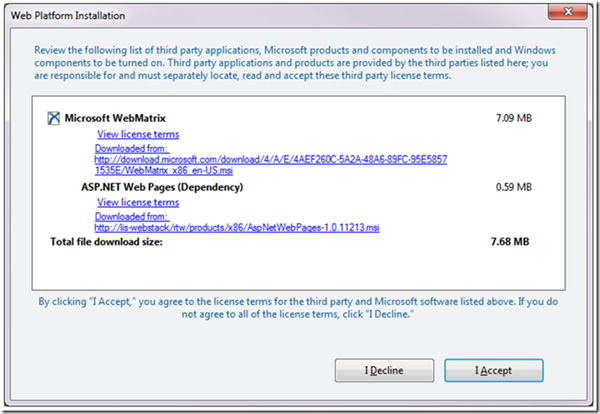
After agreeing, the program will automatically download the necessary files and start installing on the system:

When you have completed this step, you will see the Congratulations screen displayed, along with details about the integrated packages:

Open Start Menu , you will see the Microsoft WebMatrix folder:

Select the next Microsoft WebMatrix , the initial Welcome screen will display:
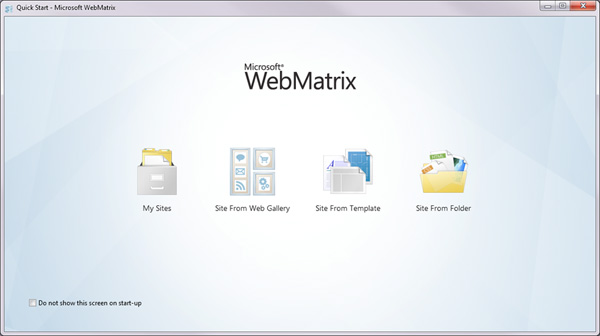
Here, you can see the options:
- Web Site Gallery : Web Application Gallery (WAG) - can be considered a collection of open source web applications, written in many different technologies, including PHP and ASP.NET.
- Site From Template : if you want to build your own site, instead of using templates from WAG, this is an ideal choice with a few simple templates available.
- Site From Folder : selected when you have many sites already done before, just edit a bit of information and can deploy quickly on any webserver.
2. First steps of creating a website:
When selecting the Site From Template section , the program will display the dialog box shown below, select the Empty Site section and name it Movies :
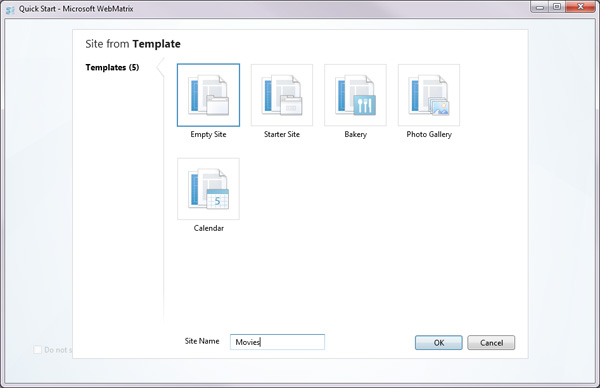
Click OK , WebMatrix will create a completely new website for you, all the relevant elements are fully displayed in the main Editor screen:
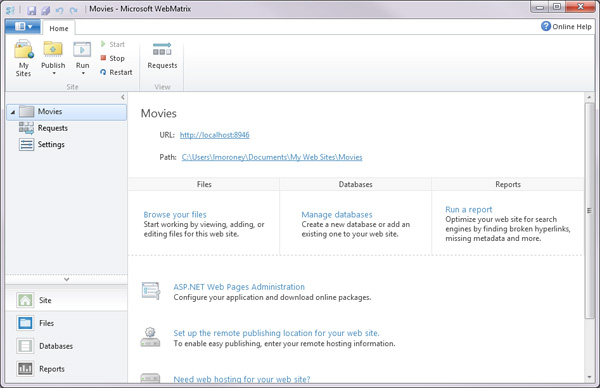
Before taking the next steps, we need to understand what is mentioned here. First of all, WebMatrix is a feature-rich program, not just a tool to create and edit code, integrated with web server called IIS Express . The web server can be considered a special part of the program, able to 'listen' to all data requests over the Internet, and respond. Every time you open your browser and type any address, for example, http://www.microsoft.com/, which means you are redirecting the request to a microsoft web server, and the system will respond by sending it to components like HTML, JavaScript, CSS, images . and your browser take on the task of 'embedding' all those components in a web page:
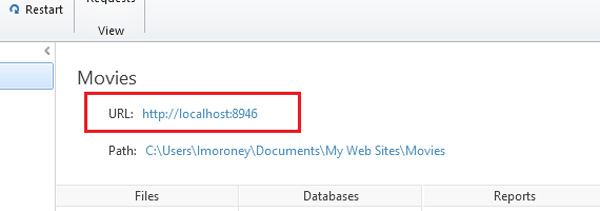
Having a WebMatrix-based server will make it easier for you to create and edit components when working directly on a web server. When looking at the main screen, below the site name section (here is Movies ), you will see the server is "serving" the site via the address http:/// localhost: 8946 / , meaning that the server of this server is local ( when we do it directly on the computer). At this point, if you run the website, you will receive an error message, simply because we have not created any content for the site. Please continue with the following steps.
In addition, WebMatrix allows users to easily switch between different workspaces with the button in the left window:
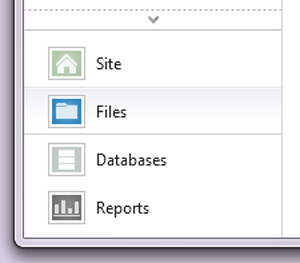
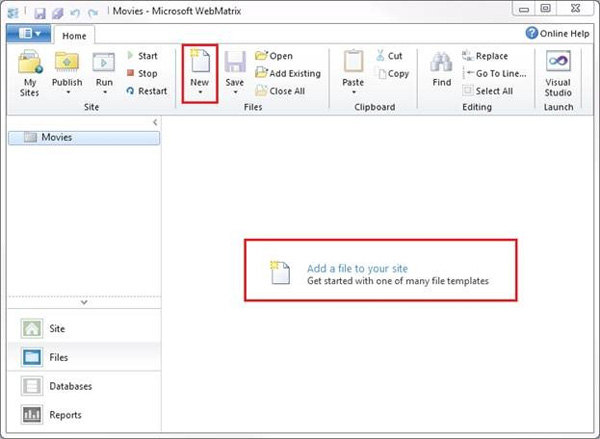
WebMatrix will open the Files working window, completely empty because there is no content yet. Click the New button to create a new component:
Next, select each file type that you need to add to the website:
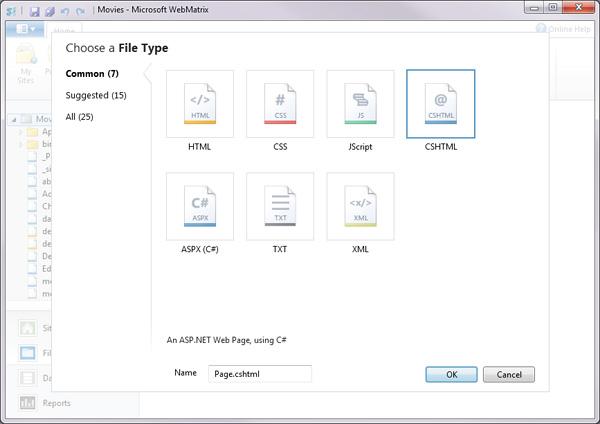
Here, we choose HTML and name it default.html :
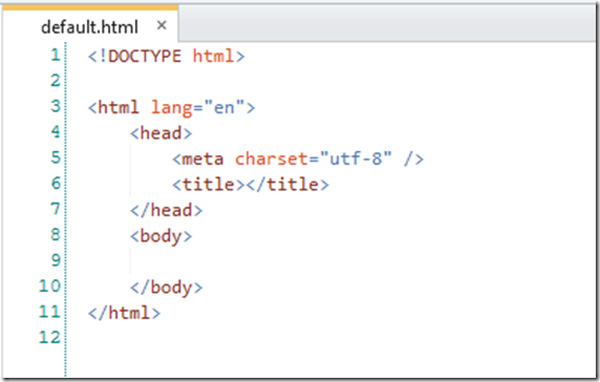
1 HTML file (HyperText Markup Language) can be considered as a summary of the browser instructions on how to display a web page completely. Usually, this will include the Head tag, which contains general information about the site, the Body section containing the main content. Internal content is marked and distinguished by - tags, starting with the name of the tag in parentheses, for example and ending with a slash, for example. Therefore, everything inside the tag will be considered the body of the website, and displayed via the browser. You can refer to the documentation and examples of HTML and tags here.
Edit the website's code to look like this:
My Favorite Movies
A danh sách danh sách các Phim
- It's a wonderful life
- Lord of the Rings
- The Fourth World
- The Lion King
As can be seen, there are some basic tags like,,
,
- ,
- with different functions. Next, click the Run button on the WebMatrix toolbar:
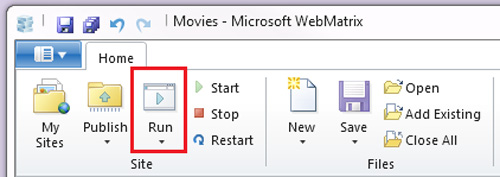
WebMatrix will open the website just created with the system's default browser, and of course, this site runs directly on the local:
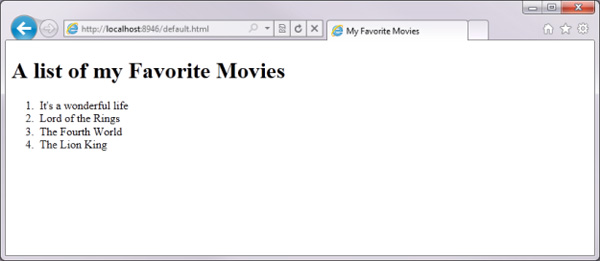
Have you noticed the address on the browser? It does not open a specific file, but starts the web server, and points to that address, requesting the web server to download the default.html file :

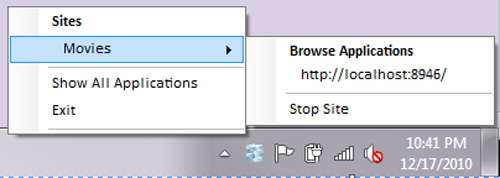
Looking down at the system tray, you will see a small icon appear, indicating that our IIS Express - web server is still active:

Right-click the icon, you will see the site Movies running:
In the browser title bar, you see My Favorite Movies . And for comparison, we will test on browsers together, like Explorer, Chrome, Safari, FireFox and Opera . The text in the tag is in the HTML section, and the display differs depending on the browser:
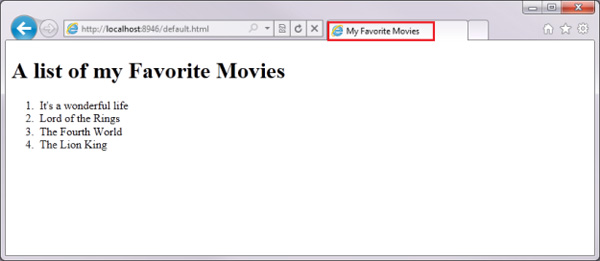
Internet Explorer
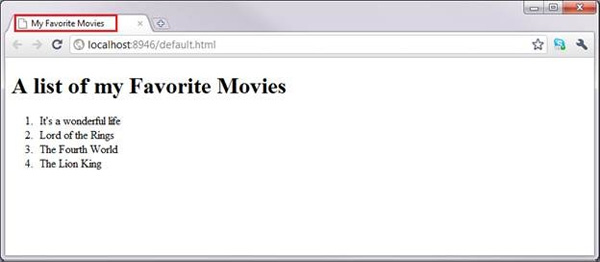
Google Chrome
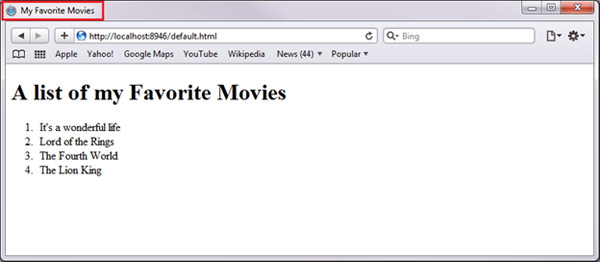
Safari
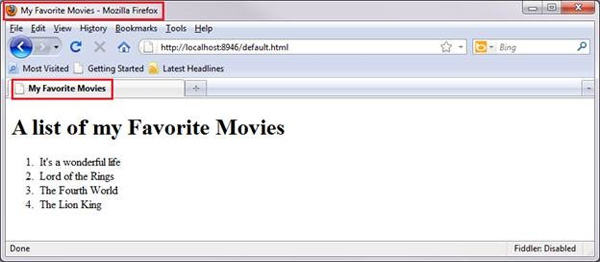
Mozilla Firefox
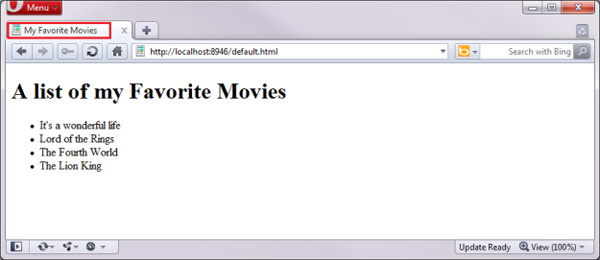
Opera
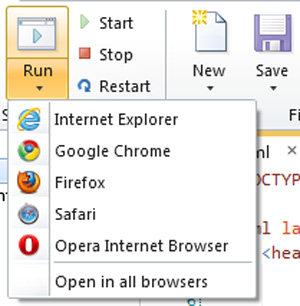
To ensure that your site works well on all browsers, remember to double-check your product. This utility has also been built into WebMatrix :
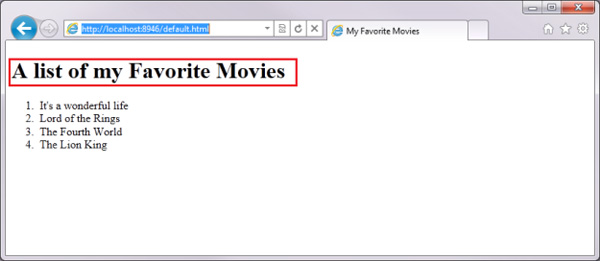
Next is the body section, where we fill the A list of my Favorite Movies inside the card
- means that all content inside is displayed as Heading 1:
In here, we also use more cards
- (Unordered List)
and
- (List Item)
3. Learn about style:
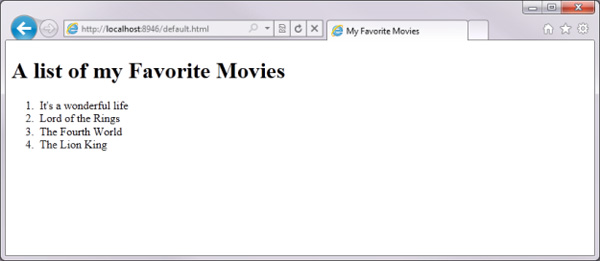
Next, we will begin to arrange and edit the external interface using familiar technology Cascading Style Sheets (CSS) . The list of favorite movies shown on the website in our test is as follows:
Use Divider:
In HTML, we can split the whole page into different parts using tags
My Favorite Movies
A danh sách danh sách các Phim
- It's a wonderful life
- Lord of the Rings
- The Fourth World
- The Lion King
The first is to list the movies inside the card
My Favorite Movies
A danh sách danh sách các Phim
- It's a wonderful life
- Lord of the Rings
- The Fourth World
- The Lion King
Now you can see that the tags are also inside
. But when reviewing the website, we don't see anything different than before, because the card
In this case it is applied inside the system.
Using Hyperlink:
The concept of hyperlink - hyperlink here means 1 paragraph of text or any character, when clicking on that link, you will be redirected to the 'embedded' address within it. This feature starts with a tag, all the content inside and a click event happens, when the user moves the mouse over the text, the browser changes the mode and passes them to that specific address. , through HREF (Hyper-reference).
Attributes are initialized and defined within that tag, for example, as follows:
Nội dung
Therefore, to create a hyperlink, you use the following syntax:
Click Here
Inside href is not necessarily a web site address, can be any JavaScript code. Besides, there is a special href syntax that is often used to check whether that style or hyperlink works by adding # to.
Therefore, here the objects inside
- are converted to hyperlink, surround the content, and set the HREF attribute to #, like this:
My Favorite Movies
A danh sách danh sách các Phim
- It's a wonderful life
- Lord of the Rings
- The Fourth World
- The Lion King
When running, our website will display as follows:
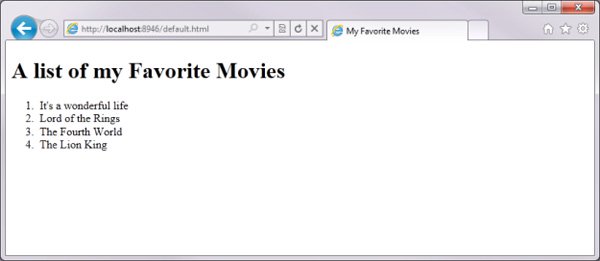
The list of movies looks like hyperlinks, underlined and blue.
Add Header and Footer:
Next, we will add the Header and Footer sections inside the HTML code, specifically the tag
My Favorite Movies
A danh sách danh sách các Phim
- It's a wonderful life
- Lord of the Rings
- The Fourth World
- The Lion King
This site was built using Microsoft WebMatrix.
Download it now.
For the header, we will give it
created earlier in the tag
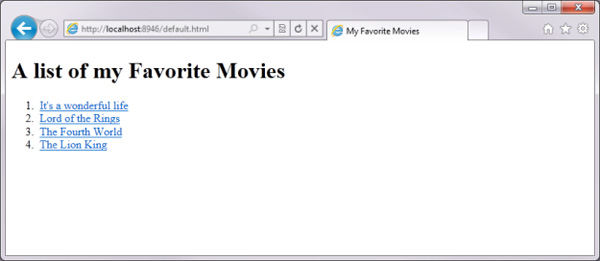
In the above sections, we have consulted about the tags, the attribute specified, the font, the size, the color, the header and the footer, how each tag works, the event that occurs when clicked. mouse . As above, we have initialized the card
to convert A list of my Favorite Movies to a large size. For example, here we will add some other properties:
A danh sách danh sách các Phim

Information inside the card
After being turned into blue, the font Verdana, size 32 and underlined font style
Besides the above way to change the appearance of the site, we can also apply another way, which is to use Cascading Style Sheets as mentioned above. Instead of putting all the decorative code in the tag
We will explicitly specify each attribute class as follows:
A danh sách danh sách các Phim
Now this tag has a new class - class, and we can show the browser to use different styles to apply to this class. This process can be done in CSS code as follows:
.Title {
font-size: xx-large;
font-weight: normal;
padding: 0px;
margin: 0px;
}
Style language includes a list of attributes separated by commas (,) and contained in parentheses ({.}). These codes are placed inside the tag
A danh sách danh sách các Phim
- It's a wonderful life
- Lord of the Rings
- The Fourth World
- The Lion King
This site was built using Microsoft WebMatrix.
Download it now.
When operating, you will see a change when applying style:
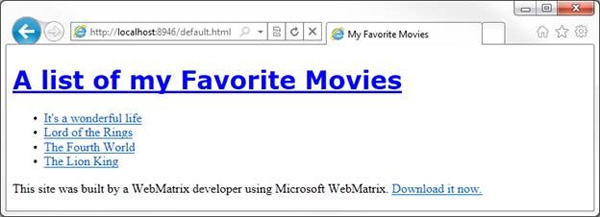
Note that card
There is a Title class, so when setting up .Title, you can apply all styles to the internal components with the same name as this class. Each time you want to set up a fixed component, you can use any class or name the component according to id, then set its own class according to that id. When you look at the HTML code, you will see a list of movies held by
#movieslist {
font-family: Geneva, Tahoma, sans-serif;
}
This process will create a new style for the tag
- , but the results are still shown as below:
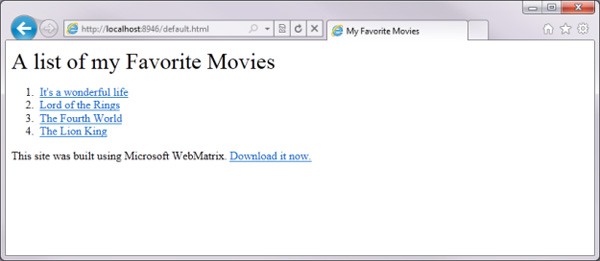
But in default mode, the browser will automatically split the objects in
- into a list
- with order. And if you want, we can completely remove it by other styles. Simply because objects within the div are called movieslist, we can easily mark them to change the style accordingly. The syntax is used as follows:
#movieslist ol {
list-style: none;
margin: 0;
padding: 0;
border: none;
}
For example, for each
- in #movieslist, please make it look like not a normal list (without a leading delimiter, without alignment .). And the following is the result:
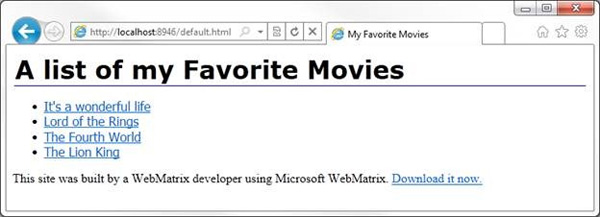
The serial numbers have disappeared
The text of each element in the list is processed by the tag, so users can completely define the display interface of each tag within each tag
- #movieslist with the following syntax:
#movieslist li a {
font-size: large;
color: # 000000;
display: block;
padding: 5px;
}
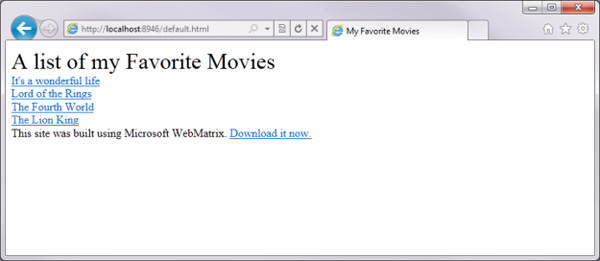
Whenever the tag is reached, the browser will handle other actions when the user moves the mouse over it. You can use CSS to change this attribute based on the syntax: #movieslist li a: hover {}. Examples are as follows:
#movieslist li a: hover {
border-left: 10px solid # 94c9d4;
padding-left: 10px;
background-color: # e7f5f8;
text-decoration: none;
}
The code above will add a 10 pixel space around the left and fill the background to highlight the text. And when hovering over, you will see the following change:
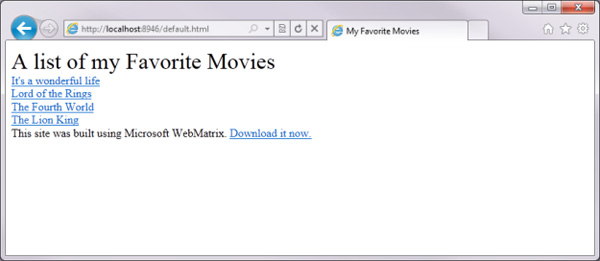
Thus, it can be seen that CSS is one of the indispensable components in any website, but our web site is not only one page, so how to do it? This question is quite interesting, because CSS here is integrated in the user section