Table of Contents
Use Envelope Distort > Make with Warp to bend live text in Illustrator while keeping the characters editable. Choose a preset such as Arc or Bulge, then adjust Bend and the horizontal or vertical distortion. Expand the result only when you deliberately need ordinary vector paths for final point-level editing.
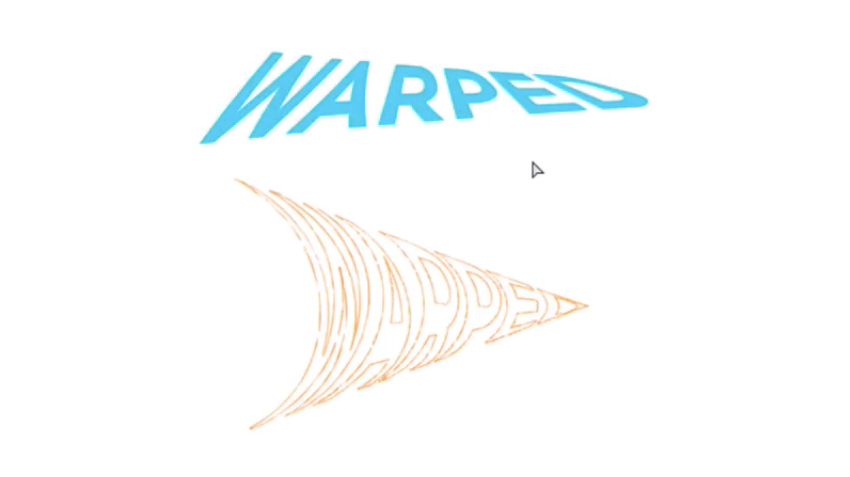
1. Create and duplicate the text
Select the Type tool (T), click the artboard and enter the text. Choose the font, weight, size, tracking and alignment before applying the warp. The original example uses the word “WARPED,” but any short display text will work.
Keep an untouched copy outside the artboard or on a hidden backup layer. To compare several warp styles, hold Alt+Shift on Windows or Option+Shift on macOS while dragging a duplicate in a straight line.
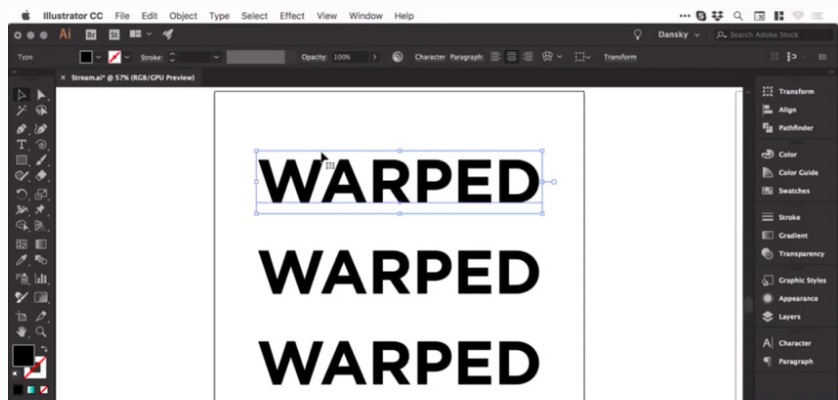
2. Apply a Bulge warp
- Select one text object.
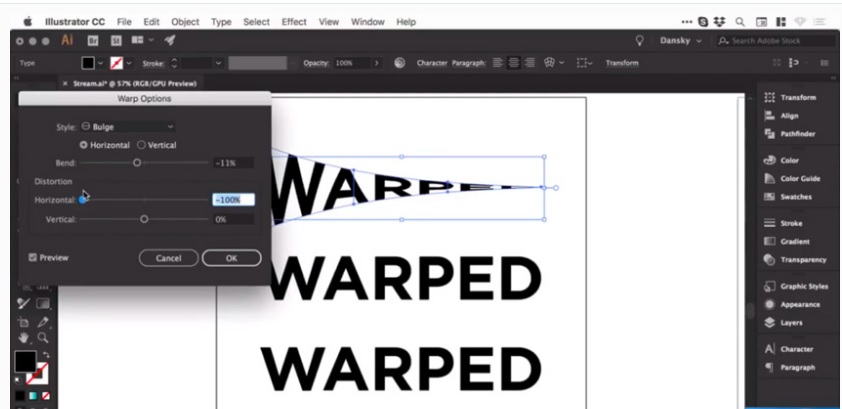
- Choose Object > Envelope Distort > Make with Warp.
- Enable Preview.
- Select Bulge from the Style menu.
- Choose Horizontal or Vertical orientation.
- Adjust Bend until the text has the intended arc or expansion.
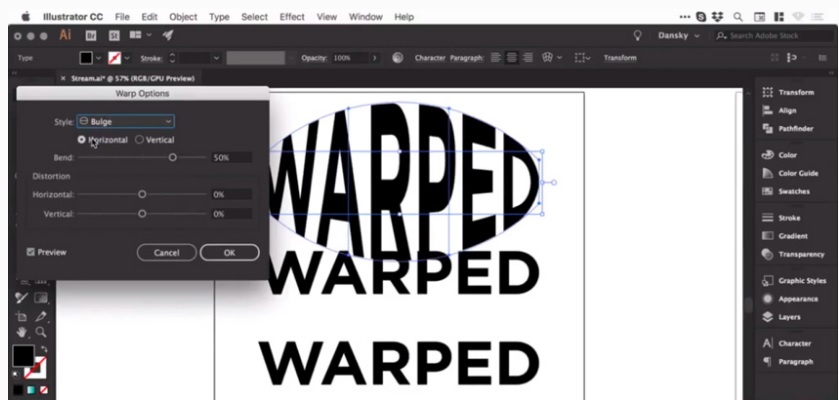
Positive and negative Bend values curve the envelope in opposite directions. Small values often preserve letterforms better than extreme settings.
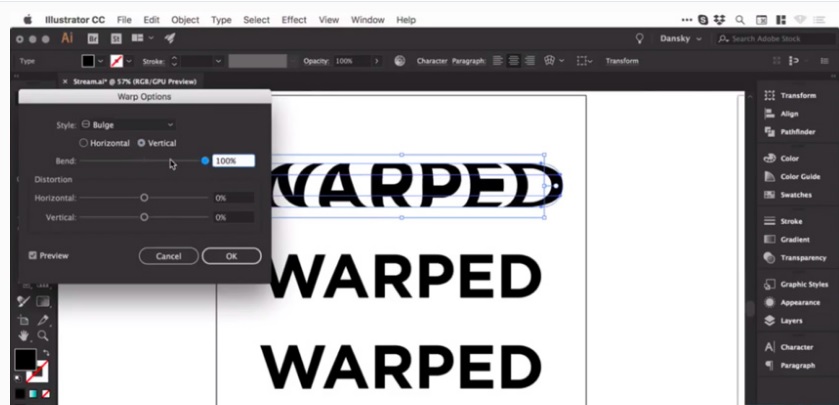
3. Use horizontal and vertical distortion carefully
Horizontal Distortion makes one side of the envelope wider or narrower; Vertical Distortion shifts the relative scale of the upper and lower areas. The original demonstration uses strong values to make the effect obvious.
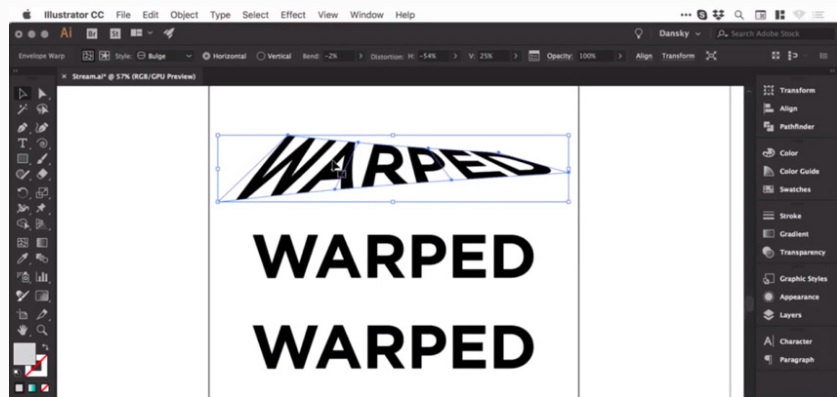
For a similar example, start around -2% Bend, -54% Horizontal Distortion and 25% Vertical Distortion, then adjust for the actual font. These values are not a universal recipe: typeface proportions and word length change the result.
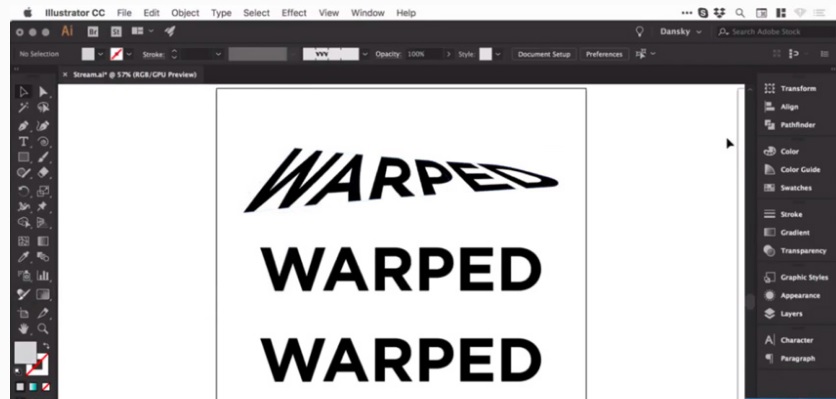
4. Edit the live envelope before expanding
Select the envelope object and use Warp Options in the Properties or Control panel to revise the preset. To change the wording, choose Object > Envelope Distort > Edit Contents, edit the text, then return to envelope editing.
Outline view shows the envelope and underlying paths, but it does not by itself convert the result. Keep the live envelope when future copy, font or warp changes are likely.
5. Expand only for final path editing
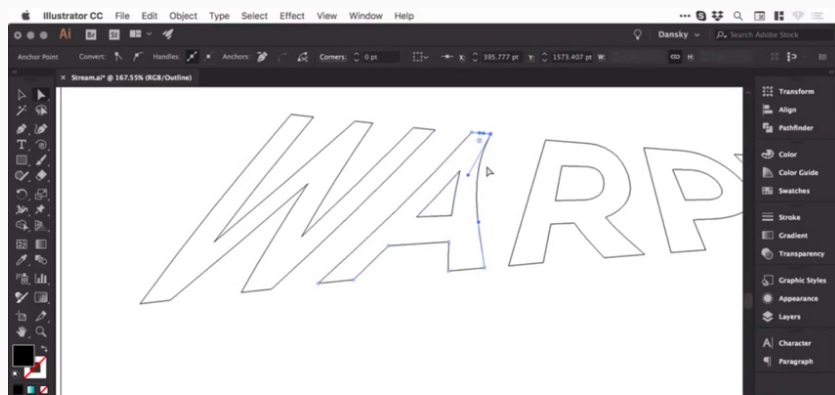
When the wording, font and warp are approved, duplicate the live version and choose Object > Expand or the appropriate Envelope Distort expand command for the version shown. Select the relevant Object and Fill options and confirm.
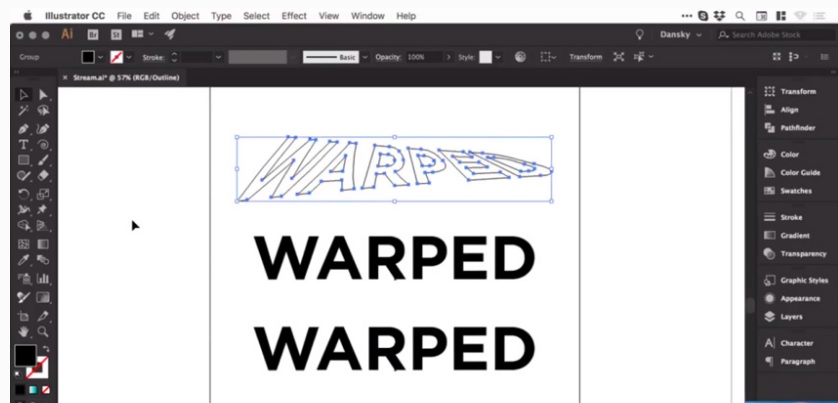
Expanded type is no longer editable with normal Type controls. It also creates many anchor points, so use Direct Selection cautiously and avoid unnecessary edits that make letter shapes inconsistent.
6. Create an Arc variation
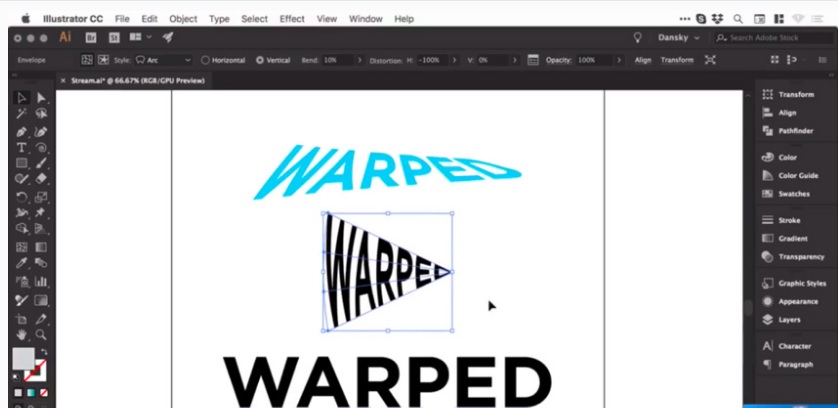
Select another live copy, open Make with Warp and choose Arc. Set distortion to zero first so you can judge Bend alone, then introduce distortion only if the design calls for asymmetry.
The screenshot example uses an intentionally extreme vertical bend and horizontal distortion. Treat it as a style experiment rather than a default for readable text.
7. Add color and texture without losing the design
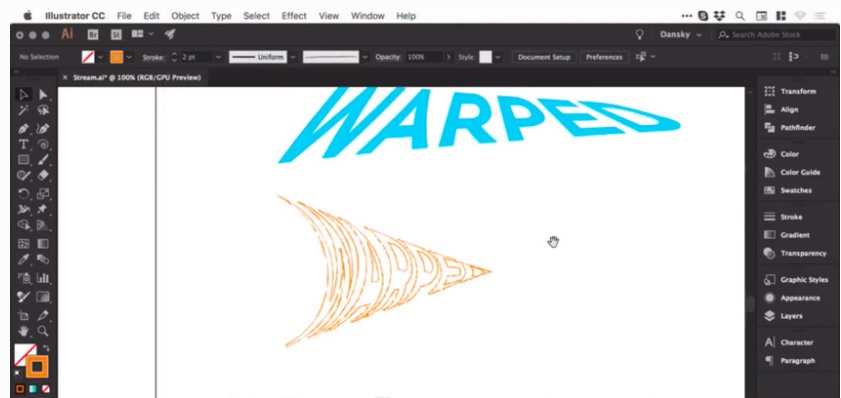
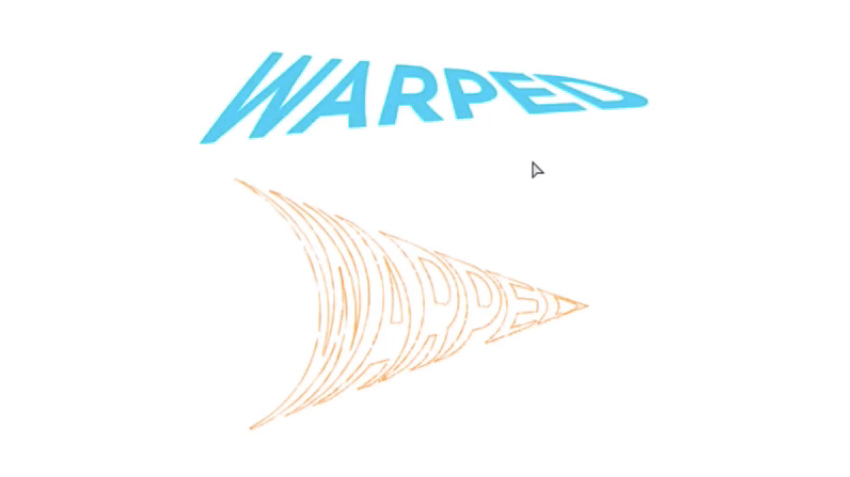
Apply fills, strokes and Appearance-panel effects to the live envelope when possible. If a brush effect requires expanded paths, work on a duplicate. The example in the screenshots swaps fill and stroke and applies a pencil-style brush to the expanded outline.
Warp, Type on a Path or custom envelope?
| Goal | Best method |
|---|---|
| Bend the whole word into a preset shape | Make with Warp |
| Make text follow a line or circle while keeping glyphs upright | Type on a Path |
| Fit text inside a custom silhouette | Make with Top Object |
| Control distortion with editable rows and columns | Make with Mesh |
| Edit every character path individually | Expand a duplicate after approval |
Keep warped text readable
- Test the effect at the smallest delivery size.
- Avoid compressing counters and thin strokes until they close.
- Preserve consistent spacing across strongly distorted characters.
- Check the font license before outlining, sharing or embedding the type.
- Keep an editable live-text version for corrections and localization.
Adobe’s curved-text tutorial and envelope editing guide explain the current controls. On TipsMake, practice drawing vector curves, review recoloring vector artwork, or create a more complex 3D-style Illustrator design.
Related Articles
 Adobe Illustrator: Complete Guide: Download Adobe Illustrator 2021.26.04 minutes read
 What Is Adobe Illustrator? Learn Adobe Illustrator for What5 minutes read
 What Is Adobe Illustrator?6 minutes read
 Tutorial Drawing. 'Unicorn' in Adobe Illustrator11 minutes read
 AI Software Shortcuts: Common Adobe Illustrator Shortcuts9 minutes read
 Getting to Know Adobe Illustrator14 minutes read
Reader Comments 0
Sign in with email or Google to join the discussion.