How to use PowerPoint to record and capture laptop screen
In addition to computer screen capture tools, or computer screen recording software, you can immediately use PowerPoint with a very simple implementation.
Table of Contents
We can also select the area of the screen where we want to perform operations, saving important or necessary content. The article below will guide you how to use PowerPoint to record and capture laptop screens with PowerPoint.
How to use PowerPoint to take laptop screen shots
Step 1:
At any PowerPoint interface, click Insert then click Screenshot and select the screen currently displayed on the computer, or click Screen Clipping to select any window.

Step 2:
At this point, we will return to the interface on the computer with the plus icon so we can localize the screen area on the computer we want to capture.

Step 3:
Once you've selected the area and release the mouse, that image area will be cut and pasted immediately into the PowerPoint interface
Now when you right-click on the image, the list will display as shown below. We can click Save as Picture to save it as the image we want.

How to use PowerPoint to record the screen
Step 1:
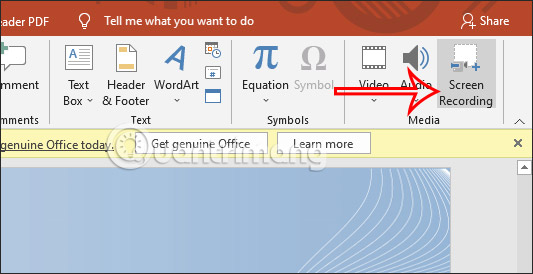
At the PowerPoint interface, click Insert and select Screen Recording at the bottom of the toolbar.
Step 2:
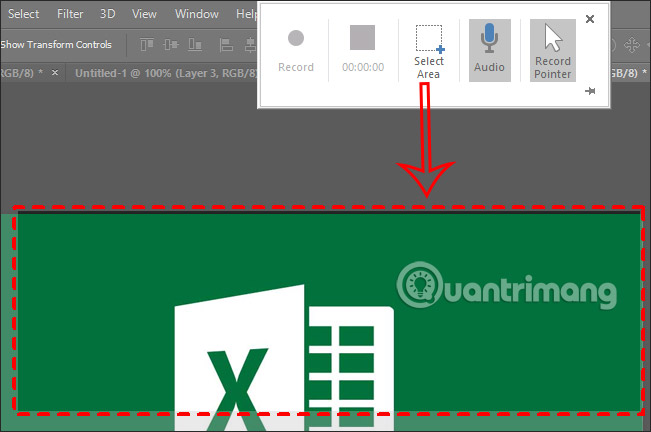
Now we will see the PowerPoint screen recording adjustment tool. Below you proceed to localize the screen area you want to record video . After selecting the area, click the Record button to record screen video.
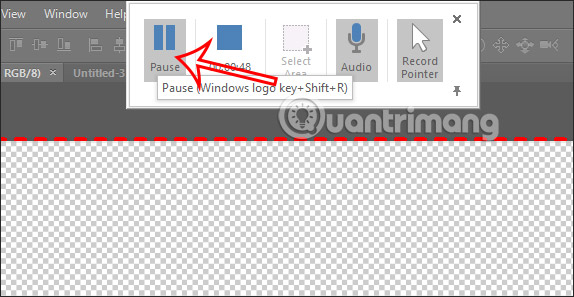
During the recording process, you will have the option of Audio to record sound or Record Pointer to record mouse cursor actions. You can click the pin icon to always pin the PowerPoint screen recording tool at the top, or turn it off all the time.
After recording, click Pause again to pause, to stop, click the square icon to end recording the screen video.
Step 3:
As a result, we will see the screen recording video displayed in the PowerPoint interface. To save this video, right-click and select Save Media as to save it to your computer. Video is saved in mp4 format.
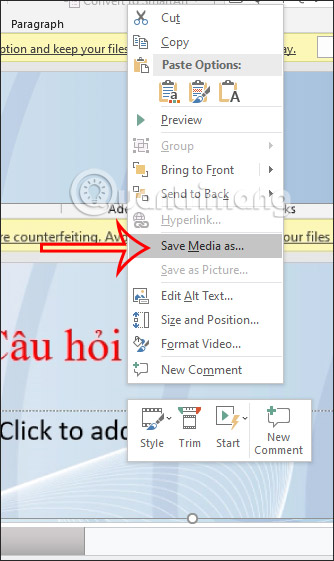
In addition, in this options menu you can also cut the video on PowerPoint if you want.
Video tutorial on how to use PowerPoint to capture and record videos of laptop screens
Was this article helpful?
Your feedback helps us improve.
Related Articles
 How to use PowerPoint to shoot and capture laptop screen4 minutes read
 How to use FastStone Capture to record computer and laptop screens3 minutes read
 How to take photos, record videos on Chrome screen with Nimbus utility4 minutes read
 7 quick and simple ways to take screenshots of HP laptops5 minutes read
 Screen capture tools for GIF screens for Windows 105 minutes read
 How to capture and record video games with Fraps software5 minutes read
Reader Comments 0
Sign in with email or Google to join the discussion.