How to turn off OneDrive sync on Windows
Users can turn off OneDrive sync on their computers, stop syncing for a period of time, or turn it off completely.
Table of Contents
OneDrive on Windows is always automatically synced when you upload files to your computer, helping you store documents on your computer faster. Here are instructions for turning off OneDrive sync on Windows.
Instructions to turn off OneDrive sync on Windows
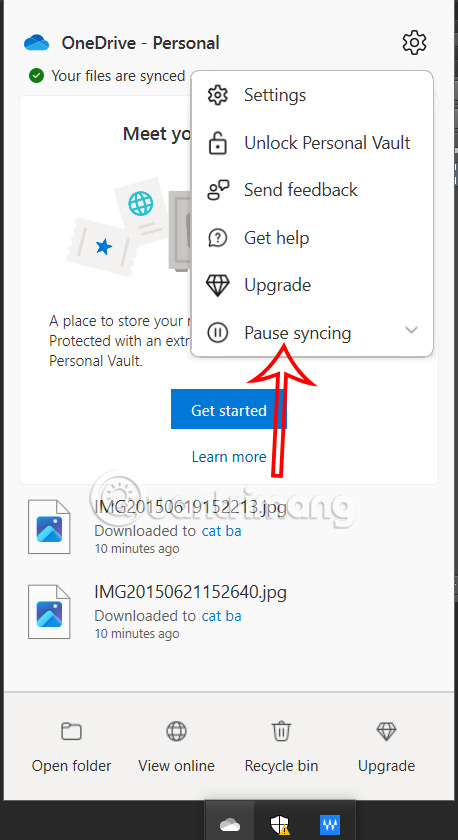
Step 1:
We right-click on the OneDrive icon in the system tray. Then click Pause Syncing to pause OneDrive sync on the computer.
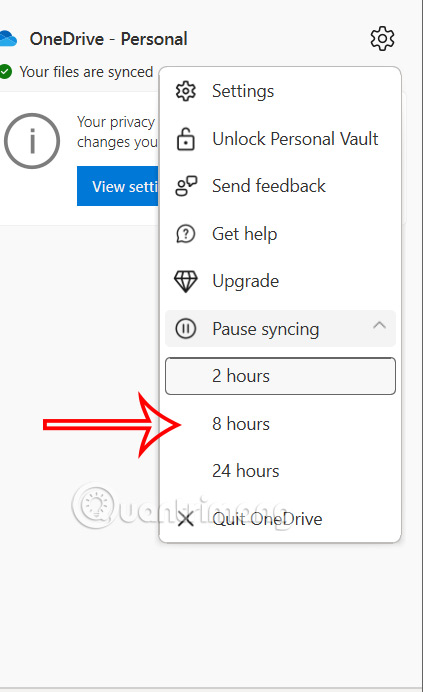
Now displays the time period option to pause OneDrive sync on your computer. You select the time you want to stop syncing.
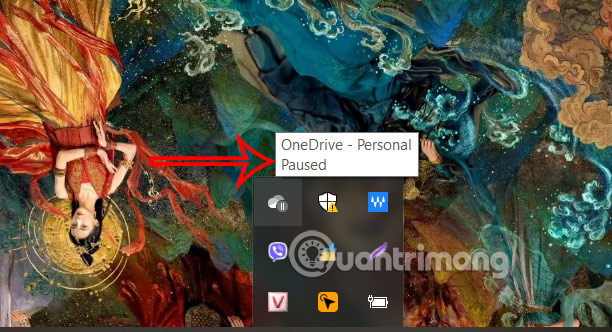
Step 2:
So you have paused OneDrive sync on your computer.
Step 3:
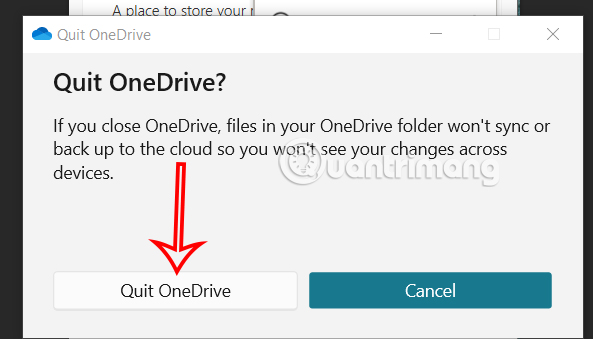
To turn off OneDrive sync completely , click Quite OneDrive .
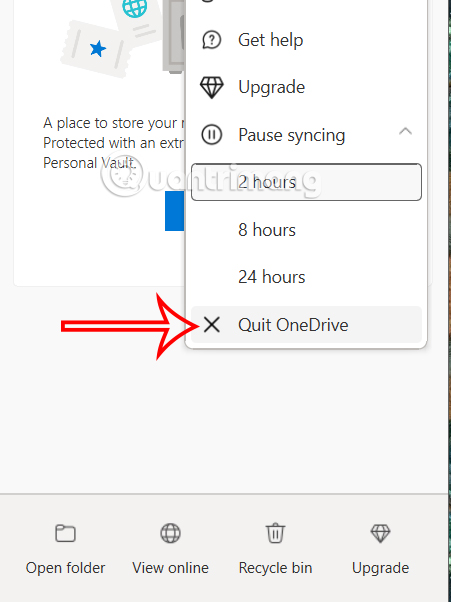
Now you are asked if you are sure you want to turn off OneDrive sync completely, click Quit OneDrive to do so .
How to turn off OneDrive sync for a folder
Step 1:
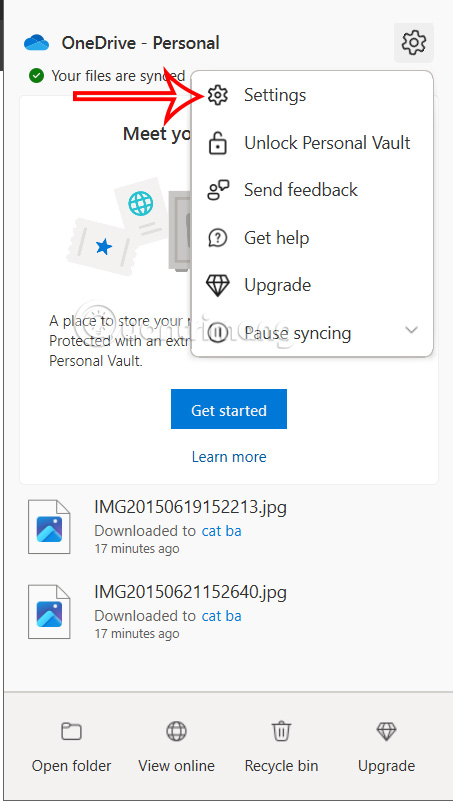
We click on the OneDrive icon then click on the gear icon and select Settings .
Step 2:
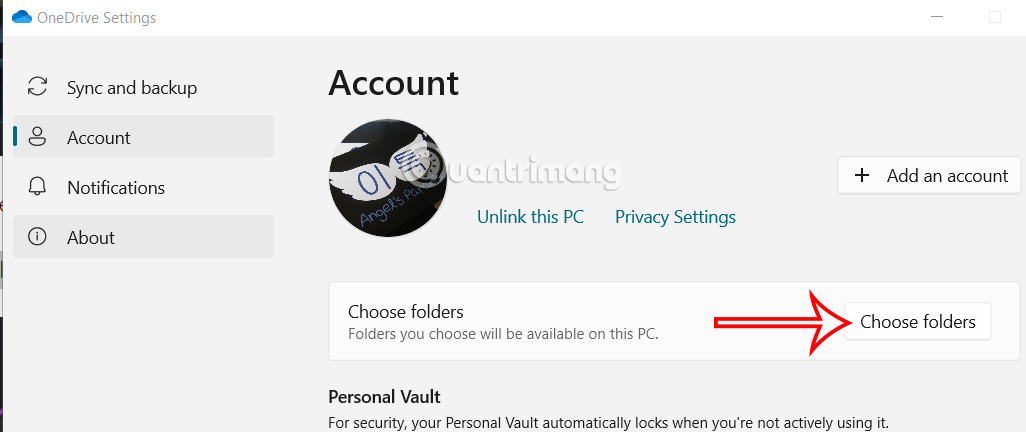
Display the new interface, click on Account and select Choose Folders as shown.
Step 3:
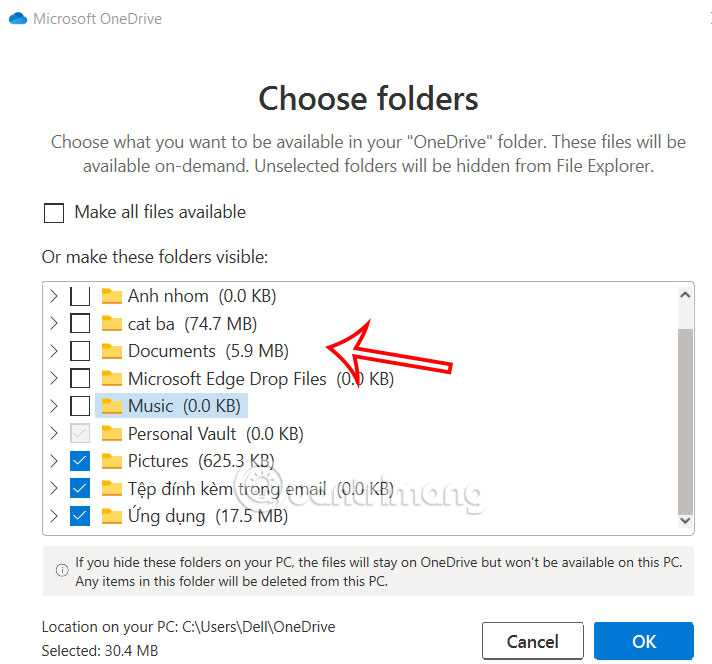
Here you will uncheck the folder you want to turn off OneDrive sync and then click OK below.
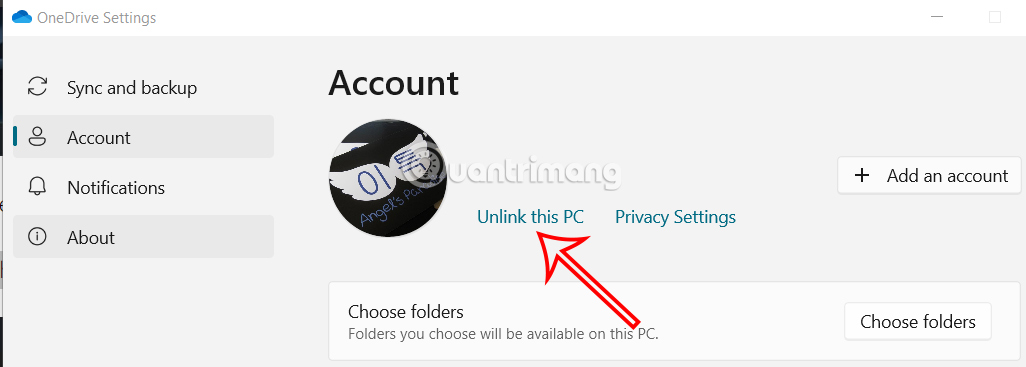
How to unlink OneDrive account
We also access OneDrive Settings then click Unlink this PC to unlink the OneDrive account on the computer.
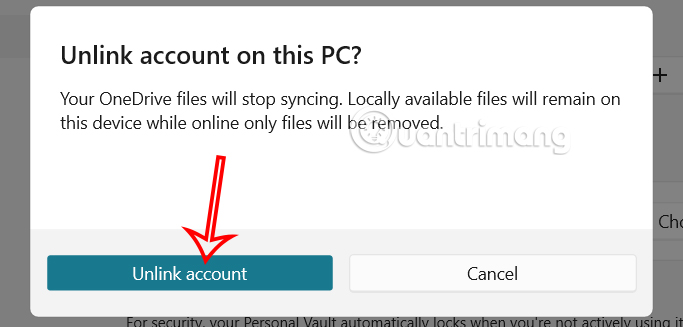
Then you also agree to unlink the OneDrive account on this computer.
Was this article helpful?
Your feedback helps us improve.
Related Articles
 OneDrive launches file protection for Windows 10 users3 minutes read
 How to fix the problem of syncing OneDrive on Windows 108 minutes read
 Sync Desktop, Document, ... on Windows 10 with OneDrive4 minutes read
 How to sync Microsoft OneDrive with Linux5 minutes read
 Why should I stop syncing my desktop with OneDrive?7 minutes read
 How to sync any folder with OneDrive in Windows 103 minutes read
Reader Comments 0
Sign in with email or Google to join the discussion.