How to store Office 2010 documents automatically to SkyDrive?
Microsoft Office 2013 launches with many valuable improvements, besides integrating SkyDrive into text storage options. So for Office 2010, how can I have more direct storage options on SkyDrive to the default option?
Since the release of SkyDrive for Windows users, millions of users have used this cloud storage service to store important documents, images and more.
Microsoft Office 2013 launches with many valuable improvements, besides integrating SkyDrive into text storage options. So for Office 2010 , how can I have more direct storage options on SkyDrive to the default option?
This article will guide you to read a little trick to easily get the option to store Office 2010 documents into SkyDrive in a simple way. Invites you to read the track.
Step 1: Download and install the Microsoft SkyDrive for Windows application here.
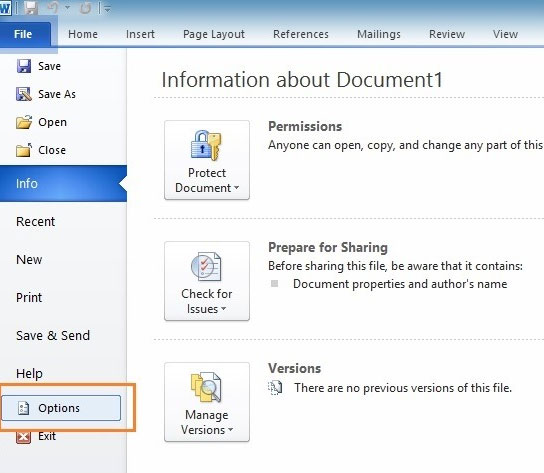
Step 2: Open the Office Word 2010 editing application and go to File> Options.
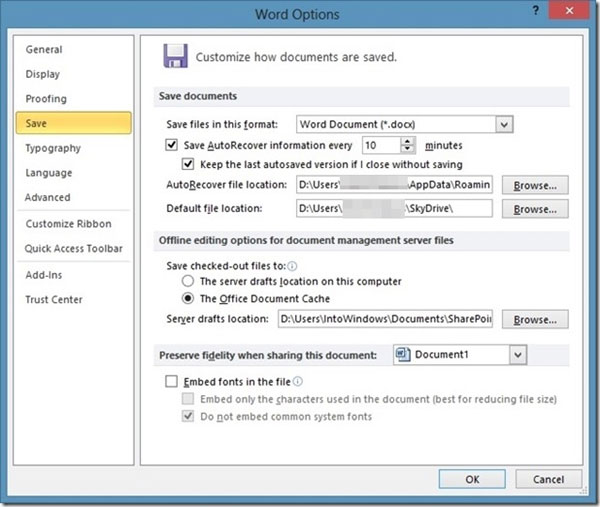
Step 3: In the Word Options window, click on the "Save" group and pay attention to the "Default file location" line.

Step 4: Now click on the "Browse" button of the "Default file location" option, navigate to the SkyDrive folder on your computer and click "OK".

So the path in the "Default file location" section has been changed to the SkyDrive path you choose.
Step 5: Continue to click "OK" to save the settings in Word Options.
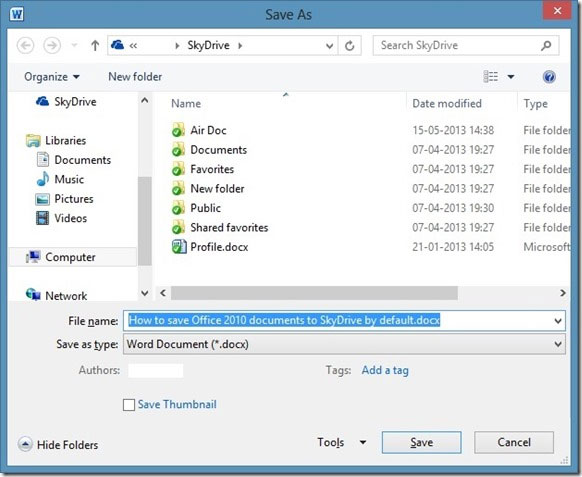
Now when you proceed to save the document in Office 2010, the document will be saved in the SkyDrive folder by default and directly uploaded to the SkyDrive "cloud" when there is a network connection.
A small trick is simple and convenient right? Good luck!
Was this article helpful?
Your feedback helps us improve.
Related Articles
 Instructions for saving default Office documents to SkyDrive3 minutes read
 Create and share Office documents on SkyDrive3 minutes read
 Edit Office Web Apps documents with MS Office4 minutes read
 Set up and use SkyDrive on Windows Phone 84 minutes read
 SkyDrive supports viewing animations2 minutes read
 Delete the My Recent Documents trace in MS Office 20073 minutes read
Reader Comments 0
Sign in with email or Google to join the discussion.