How to Sell SVG Files
Choose design
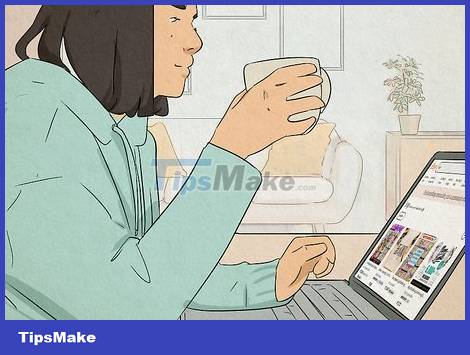
Learn about trending SVG templates. If you want to create designs that sell, find out what designs people are looking to buy. You can start from:
SVG catalog on Etsy: https://www.etsy.com/market/svgs
SVG templates are selling well on Etsy: https://www.etsy.com/search?q=svgs&explicit=1&order=most_relevant
InsightFactory's trending SVG list (free account provides limited but still useful information): https://insightfactory.app/etsy-trends/?product_category=svg
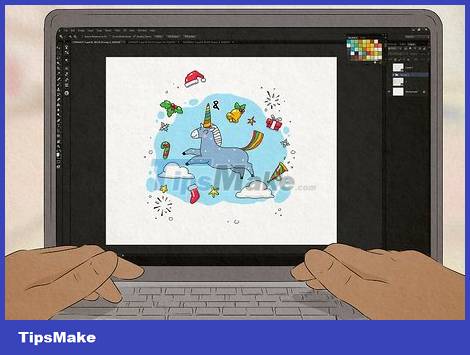
Choose the appropriate typeface and design for cutting. You need to make sure the design is easy to cut with a Cricut or similar product, which means you need big, flat lines. Avoid super thin lines and rough typography.
If you want to see what handwriting looks like with different fonts, visit https://wordmark.it to try it out!

Only use royalty-free typefaces once. If you've chosen a font, check to see if it's free for commercial use. If you don't have a copyright file on your computer, you'll search for the name of the typeface online to find the creator and find copyright information on their website. Here are a few places where you can download a one-time premium typeface to add to your SVG file without worry:
1001 Fonts: https://www.1001fonts.com/free-for-commercial-use-fonts.html
Fontspace: https://www.fontspace.com/commercial-fonts
Fontbundles: https://fontbundles.net/free-fonts
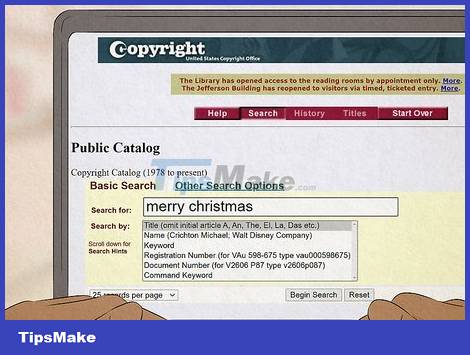
Check the copyright and trademark of the text. Don't sell names or phrases that have been trademarked by someone else - you'll get in trouble. If your design includes text or phrases:
Search for terms in the United States Copyright Office database:https://cocatalog.loc.gov/cgi-bin/Pwebrecon.cgi?DB=local&PAGE=First
Search for trademarked information in the United States Patent and Trademark Office database: https://www.uspto.gov/trademarks/search
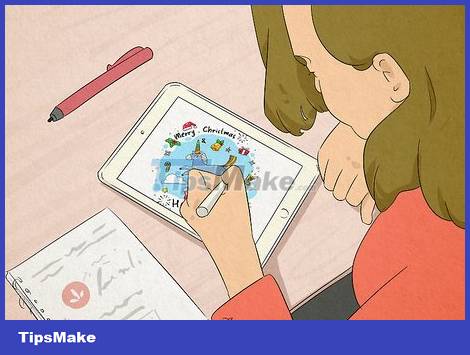
Design of works. Going through each step of the design process is how to create your own work. Don't use someone else's work and add a few touches of your own - this could get you into copyright trouble. Or, you can use free vector graphics. Here are some sites where you can find downloadable images and/or ideas:
Public Domain Vectors: https://publicdomainvectors.org
VectorStock: https://www.vectorstock.com/royalty-free-vectors
Pixabay: https://pixabay.com/vectors/
Create SVG files in Inkscape
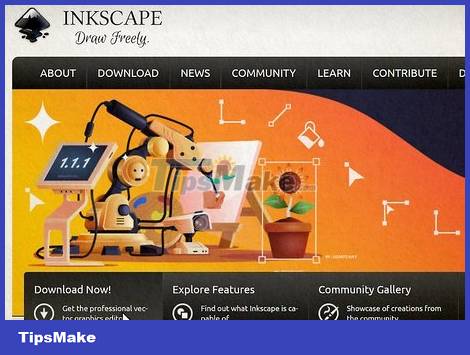
Install Inkscape on your Windows or Mac computer. Inkscape is one of the most popular and completely free vector graphics creation applications. Even if you designed your work in a raster graphics program (or downloaded the design in BMP, PNG, or JPEG format), you can still add the image to Inkscape and use the drawing tool to convert. If you don't have Inkscape installed, you can download the program at: https://inkscape.org.
Click the DOWNLOAD link at the top of the page, and click the link for your operating system to begin the download.
To install Inkscape, double-click the downloaded file and follow the on-screen instructions.
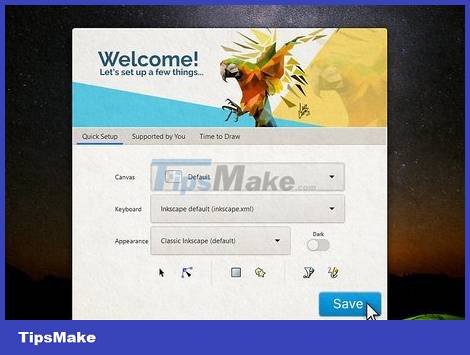
Create new file in Inkscape. Proceed as follows:
Open Inkscape.
On the Quick Setup screen, click the Save button .
Click Thanks .
Click the Print tab.
Select the paper size you want to use. Don't worry - no matter what size you choose, the final SVG file can be enlarged or reduced without losing quality. That's the magic of vector graphics!

Import existing photos (optional). If you already have a design, you can import it into Inkscape and use the built-in stroke tool to convert it into vector graphics. Photos with large, seamless lines have the best conversion results. Here's how to add photos to Inkscape:
Click the File menu .
Click Import .
Select All Bitmaps in the "Files of Type" field.
Select the photo you want to use and click Open .
Select Smooth for Image Rendering Mode and click OK .
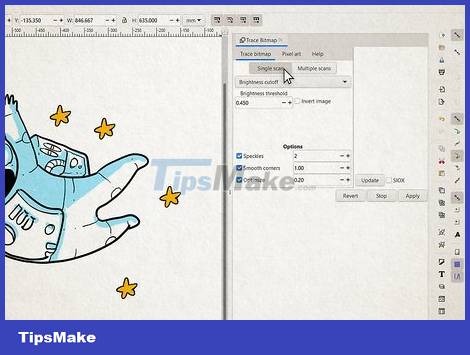
Use the stroke tool to draw strokes on the added photo (optional). If you add a stock image, here's how you can convert the image into a vector graphic to save as an SVG file:
Click on the added photo to select.
Click the Path menu and choose Trace Bitmap…
Your choice will depend on the type of photo you want to convert. The goal of this is to create a simple black border.
Start by selecting Single scan and selecting Brightness cutoff .
Click Update while processing an image to see the changes.
Adjust the "Brightness threshold" menu until the desired image becomes a thick black border that the cutter can cut.
Click Apply to place the border on your photo.
Click and drag the original photo away from the border so that the two photos are placed side by side.
Right-click the original photo and select Delete so you only see the border. The border is the vector version of the image that you draw.
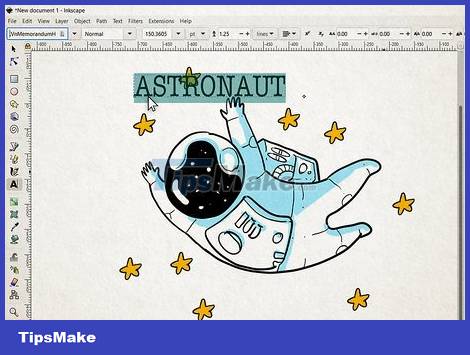
Add words. Adding text to photos is very simple! Simply click the text tool in the left pane, select the font you want to use, and type the word or sentence wherever you want.
To move the text, you'll click the arrow selector in the upper left corner, then click and drag the text to the desired location.
You can change the size of the selection by clicking on it and dragging any arrow until it is the size you want.
To change the font style, click the Text tool again, select the text, and choose a different font style.
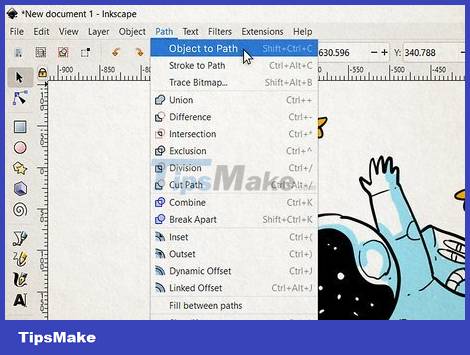
Convert text to path. After adding text, you will have to do a quick conversion step so that the entered text becomes a path. Proceed as follows:
Click on the text to select.
Click the Path menu at the top of the screen.
Click Object to path in the menu.
If you want to move or resize the letters in a word or sentence individually, you can click the Object menu at the top of the screen and choose Ungroup . You can now click and select individual letters.
Perform the step of linking the letters when you're done by drawing a box around the letter or sentence, clicking the Path menu , and choosing Union .
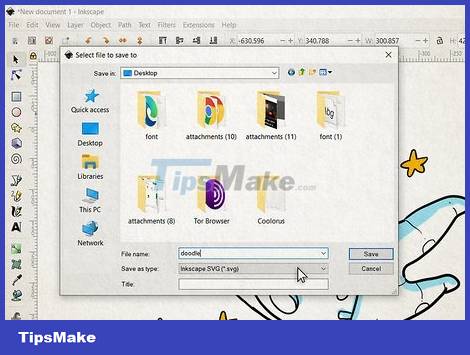
Save the image as an SVG file. After completing your work, you need to export the photos. Proceed as follows:
Click the File menu .
Click Save As. (Save as.).
Select Inkscape SVG (*.svg) file format .
Click Save .
Sell SVG files
Choose where to sell SVG files. Etsy (https://www.etsy.com) is the largest marketplace for handmade goods, but it's not the only place to sell SVG art. You can sell your work on Etsy and these places:
Creative Fabrica: https://www.creativefabrica.com/open-store/
Design Bundles: https://designbundles.net
The Hungry JPEG: https://thehungryjpeg.com
Creative Market: https://creativemarket.com/

Try creating a composition of multiple SVG templates. As you can see on all exchanges, SVG is often sold in sets with many similar styles or themes. Create a set of linked SVG images that buyers can use for a variety of products.

Test the SVG file in Cricut Design Space and/or Silhouette Studio before selling. Before selling your work, you need to make sure the SVG file looks good in widely used applications. You can check photos on either of those apps, or preferably both. If you notice discrepancies, you can correct them in Inkscape before creating the set.
You can download Silhouette Studio from https://www.silhouetteamerica.com/software/ss/download. When you open the application, simply select File > Open and select the SVG image to check.
Download Cricut Design Space from https://design.cricut.com. To test your photo, you'll open the app, click Upload image , select Browse , and double-click the photo to open it.
Set usage permissions for SVG files. You can choose multiple usage permissions for your files. Many on Etsy allow buyers to use SVG files however they like - for personal and commercial purposes. Others only allow personal use, but offer commercial prices that customers can pay if they want to sell products with that design. You need to clearly state permissions in the product description on Etsy (or wherever you want to sell the product).
Read Frequently Asked Questions related to Creative Commons licenses to learn how to choose the right usage license for your work at https://creativecommons.org/faq. So, you can also find content to use in your usage rights section.
In addition to stating the terms of use in the SVG file introduction, you should create a text file (in an application like Notepad or TextEdit) with the full terms of use and add it to a ZIP folder with the files. SVG.
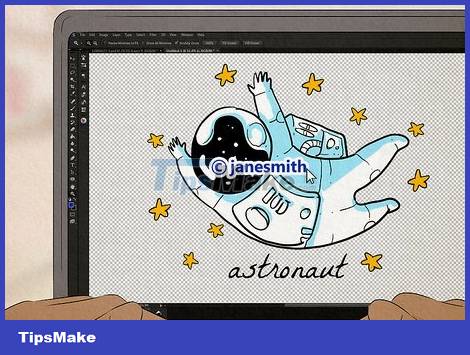
Create creative advertising photos. Customers won't buy your SVG file unless they know what it is! You can use your favorite graphic design software, such as Adobe Photoshop, Gimp, or Canva, to create eye-catching images for your work. Check out other people's Etsy products for more presentation ideas.
Even if you just upload a regular JPG or PNG format of your SVG work, other people can download that file and convert it to their own SVG in Inkscape without paying you! Use an app like uMark Online or PowerPoint to easily watermark photos to prevent others from stealing your work.
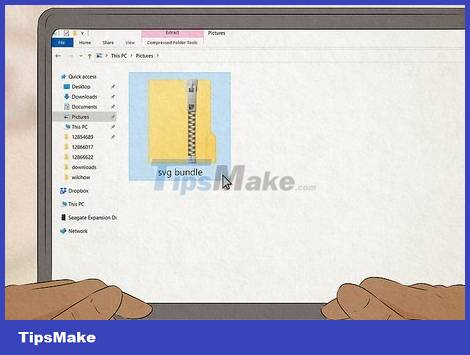
Create a ZIP folder containing SVG files. When you sell digital files on craft exchanges, buyers download files containing the products they purchase. Instead of just providing an SVG file (or set of SVG files) and a text file with terms of use information, you should also add images in other formats, such as PNG or GIF, so that buyers can can be used when needed. To save multiple files into a folder, compress the folder into a ZIP format that can be easily extracted on any operating system.