How to Save a Recording to Your Computer from Voice Recorder Pro for Windows Phone
The Windows Phone can be a little tricky to navigate, but if you know what you're doing, there are plenty of ways to get your important tasks done. This article shows you how to transfer a recording onto your computer from the Voice....
Part 1 of 2:
Making a Recording
-
 Open the Voice Recorder Pro app on your phone.
 -
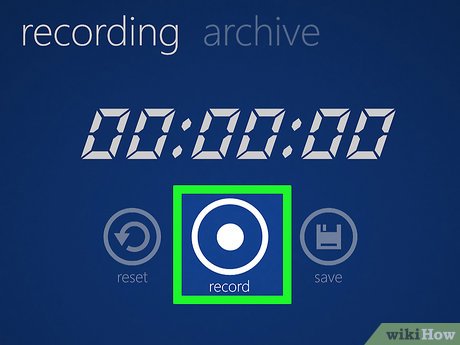 Start recording. Hit Stop when finished. (If you want to transfer a recording that has already been saved, proceed to the next section.)
 -
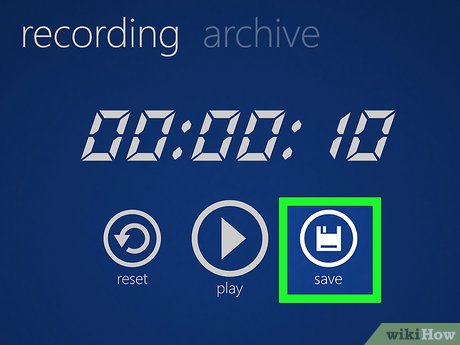 Save the recording.
 -
 Give your recording a name. Don't make it too difficult to remember.
 -
 Tap OK when you are done. The recording will now be in the Archive section.
Part 2 of 2:
Saving the Recording to Your Computer
-
 Tap Archive.
 -
 Tap the NAME of the recording. Be sure not to tap the play button.
 -
 Save the recording to OneDrive.
- At the bottom of your screen, you should see a button with a picture of two clouds on it. This button allows you to save the recording to OneDrive, which allows you to sync files and later access them from a web browser or a mobile device.
-
 Tap Yes when prompted to let this app access your info.
 -
 Register or Sign In to OneDrive.
 -
 Give your recording a name. It is best to use the same name you used when you first saved the recording.
- Your recording has now been saved to OneDrive.
-
 Go to the OneDrive website on your PC.
 -
 Select the File tab, and select the file titled "Recorder Pro+".
 -
 Select your recording.
 -
 Click on the Download button at the top of the screen.
- Your recording has now been saved to your computer.