How to roll back Windows 11 updates
If your computer has just installed the Windows 11 update but some errors occur, you can completely restore the Windows 11 update.
Table of Contents
Windows updates can affect your computer's performance, causing it to run slower or applications to stop working. If your computer has just installed a Windows 11 update but there are some errors, you can completely restore the Windows 11 update. You can undo a recent update if it's been less than 10 days. Here's how to restore a Windows 11 update.
Restore Windows 11 updates via Settings
Step 1:
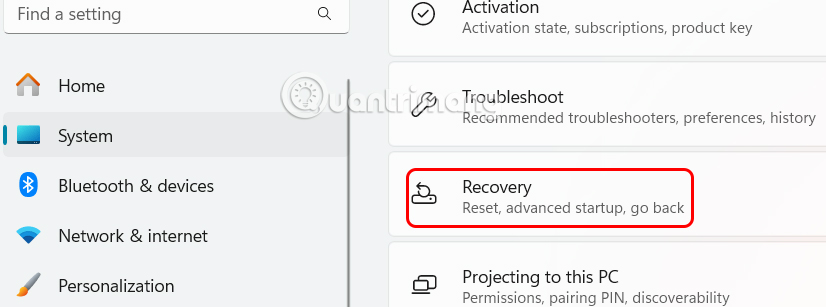
You press the Windows + I key combination to open Settings , then you select System . Look at the content next to it, you click Recovery to use.
Step 2:
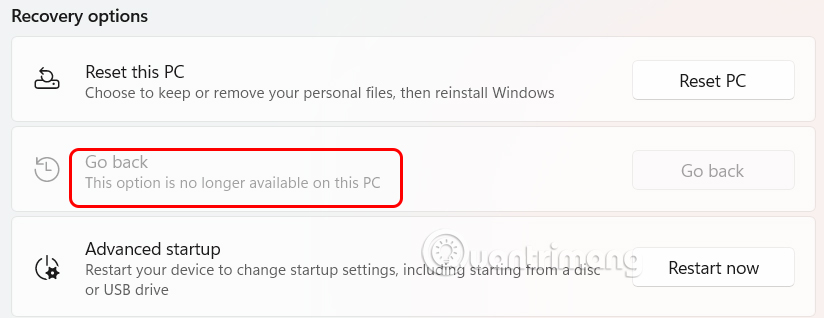
Switch to the new interface, find the Recovery options group and find Previous version of Windows. If the Go Back button is lit, just press it to restore the Windows 11 update .
Windows will ask why you want to roll back to the previous update, we enter the reason to perform the restore according to the instructions.
Restore Windows 11 update via Recovery Mode
If the 10 day limit has passed or the Go Back button is greyed out, you will need to use Recovery Mode. This is also useful if the system won't boot properly.
Step 1:
You also access Settings on Windows 11, then click on System and select Recovery . If the computer does not boot normally, turn it on and off quickly three times. This will activate recovery mode.
Step 2:
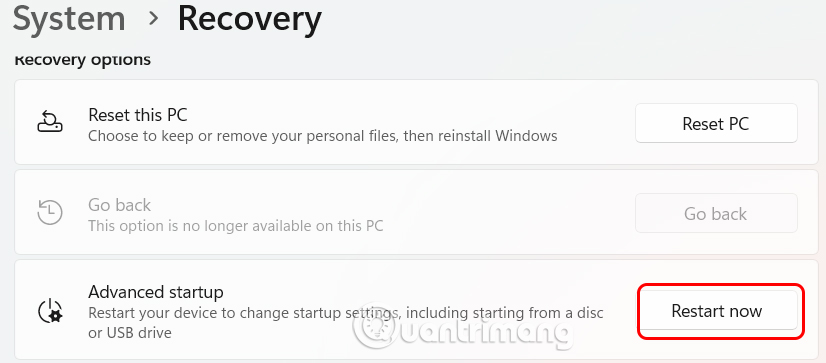
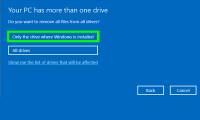
Click Restart now in the Advanced startup option. Then click Troubleshoot to fix the error and click Advanced options. Now you select Uninstall Updates to uninstall the update.
The system will have 2 options to uninstall the update including Uninstall Latest Quality Update and Uninstall Latest Feature Update.
Was this article helpful?
Your feedback helps us improve.
Related Articles
 How to roll back to Windows 11 23H2 update3 minutes read
 Steps to roll back to Windows 10 from Windows 11 Insider Preview3 minutes read
 How to stop Windows updates on your PC9 minutes read
 How to Downgrade from Windows 103 minutes read
 Microsoft unexpectedly extended the vacation time for some versions of Windows 10 because of the Covid-19 pandemic2 minutes read
 How to disable Windows 10 updates, permanently block automatic Windows 10 updates.8 minutes read
Reader Comments 0
Sign in with email or Google to join the discussion.