How to Scan documents on Canon printers
Prepare before scanning
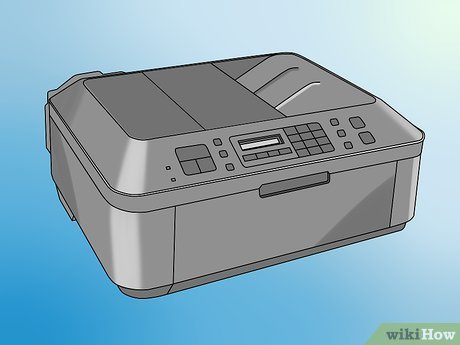
Make sure your Canon printer has a scan function. If it's a "multi-function" printer, you can scan documents. Some other printer models can also scan, but you need to check the product information page or printer-related documents to know exactly.
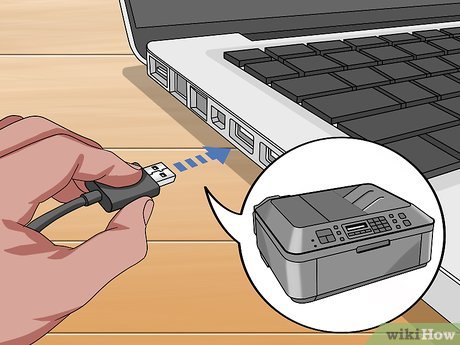
Connect the printer to the computer . Most Canon printers with scanning functionality have a wireless connection via the touch panel, but you may still need to connect the printer to your computer using a USB cable.
Tip: Most printers come with a USB cable that you can use in case the wireless connection doesn't work.
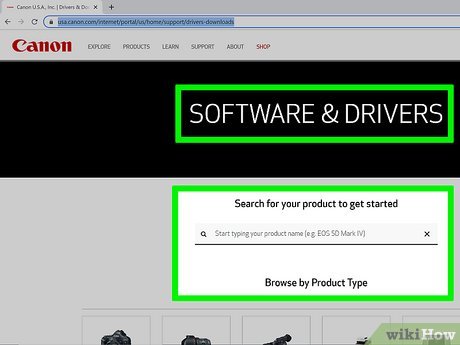
Download and install printer drivers and utilities. If the printer comes with a CD or DVD, you can use that disc to install the driver for the printer. The printer driver will come with the IJ Scan Utility that you can use to scan documents. If the printer does not come with a CD or DVD, follow the steps below to download the driver for the printer:
Go to https://www.usa.canon.com/internet/portal/us/home/support/drivers-downloads on your web browser.
Click Printers .
Select the model number or enter the model number in the search bar and press Enter .
Select your operating system by selecting the drop-down menu next to the heading "Operating System." (If there is no driver for your operating system, you probably do not need to install the driver).
Click Select next to the driver you want to download.
Click Download .
Open the installation file and follow the instructions.
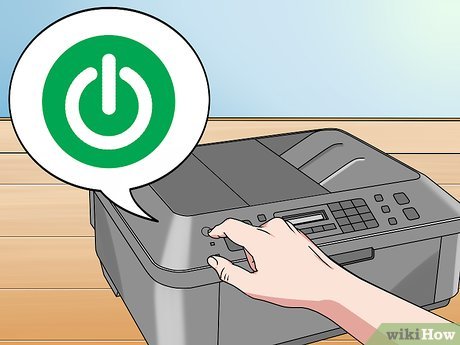
Turn on the printer (if necessary). You just need to press the printer's power button. If the printer does not start, you will have to check that the printer is connected to an available power source.
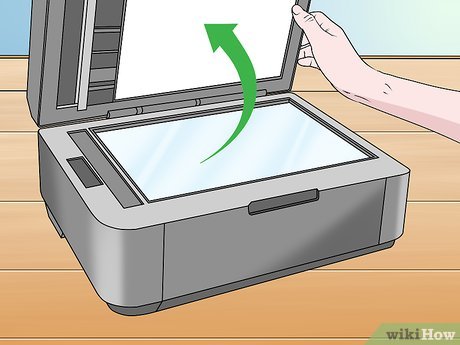
Open the scanner. You will see the scanner glass when you open the scanner lid.
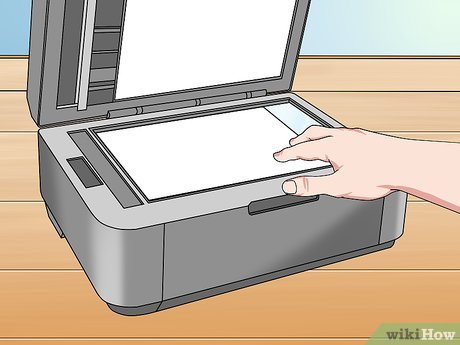
Place the document in the scanner with the side to be scanned facing down. You will see a note next to the glass indicating which direction the document should be placed in the scanner.
If your Canon printer has an automatic document feeder, place the document in the tray with the side to be printed facing up. Align the guides on the document tray so that they are equal to the width of the paper. You will hear a beep when the document is inserted properly.
Refer to the Canon manual if you do not know how to use the printer's built-in scanner.
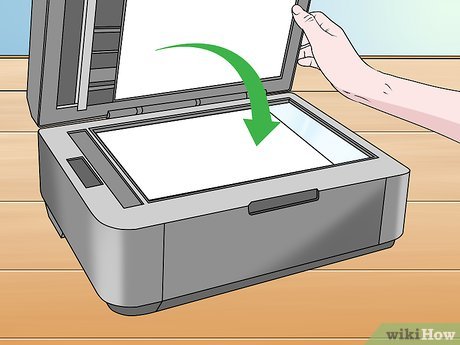
Close the scanner lid. Make sure the cover is tightly closed before you scan the document.
Scan documents using IJ Scan Utility
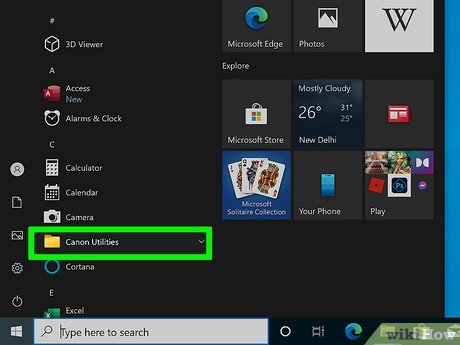
Find the IJ Scan Utility folder. Follow one of these steps to navigate to the IJ Scan Utility folder on your PC and Mac:
On a Windows machine :
Click the Windows Start button.
Open the Canon Utilities folder .
On Mac:
Click Go in the menu bar.
Click Applications .
Open the Canon Utilities folder .
Open the IJ Scan Utility folder .
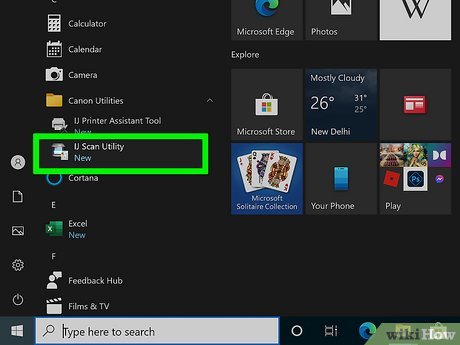
Launch the IJ Scan Utility. This utility has an icon that looks like a document page next to the scanner. Click this icon in the IJ Scan Utility folder.
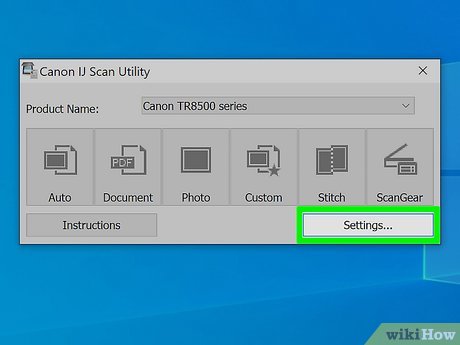
Click Settings . It is located in the lower right corner of the IJ Scan Utility application.
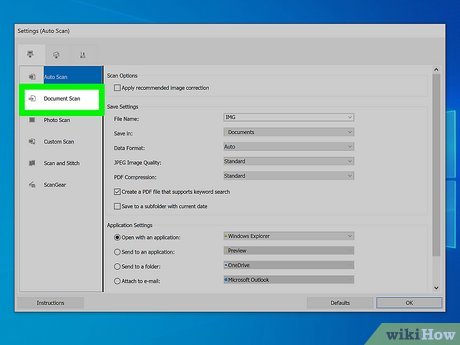
Click to select Document Scan . It's the second option in the menu on the left.
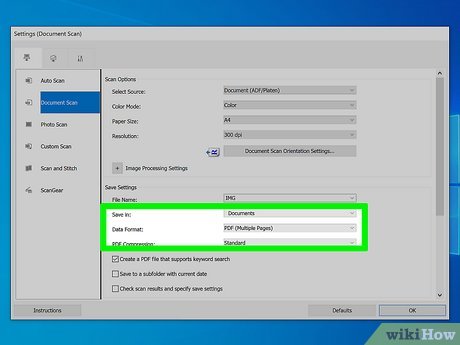
Select "PDF (Multiple Pages)." To do this, click the drop-down menu next to "Data Format" and select "PDF (Multiple Pages). This option allows you to scan multiple pages into a single document.
Some printers can be set to automatically scan both sides of a document page. If your printer has this option, select "Document (ADF/Platen)" in the drop-down menu next to "Select source" to activate this mode.
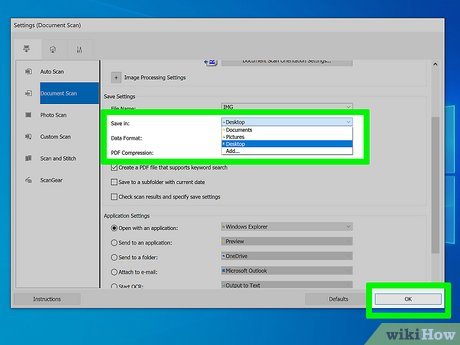
Select the storage location and click Ok . Use the drop-down menu next to "Save in" to choose a storage location for the document. Then click Ok .
By default, documents will be saved in the "Documents" folder.
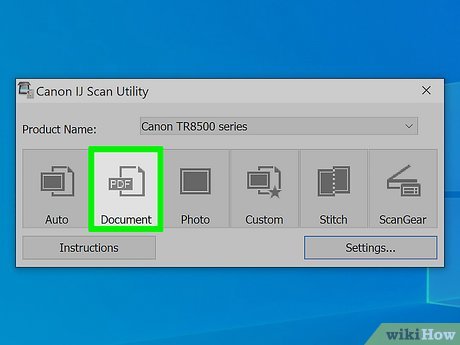
Click Document . It's the second option in the IJ Scan Utility window. There is an icon that says "PDF" next to a document. At this point your document will begin to be scanned. Scanning time can be up to one minute.
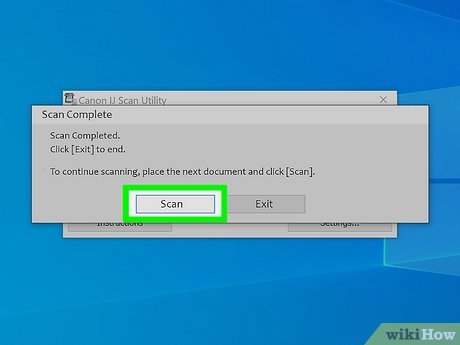
Place the next sheet in and click Scan . If you have more than one document to scan, place the next sheet on the printer surface or put it in the automatic document feeder. Make sure the document is aligned with the arrow in the inside left corner of the printer's face. Click Scan when you are ready to scan the document.
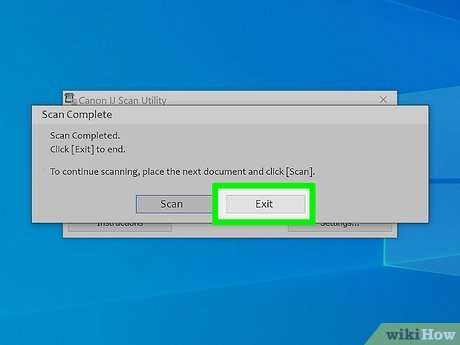
Click Exit . After you finish scanning the document, click Exit . The document will be saved as a PDF file in the Documents folder, or in the location you chose to save the document.
Perform scanning operations on Windows computers

Open Start . Click the Windows icon in the bottom left corner of the screen.
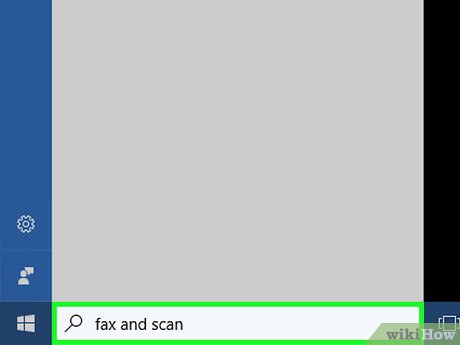
Enter windows fax and scanStart. This will search for the Fax and Scan application on your Windows computer.
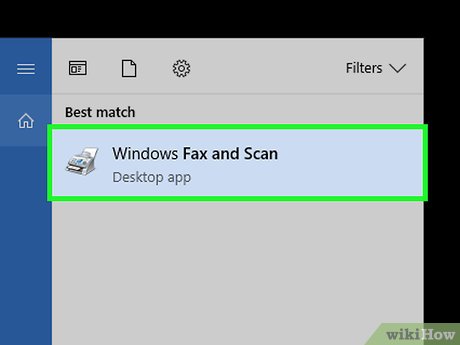
Click Windows Fax and Scan . This is the first application on the Start window. The Fax and Scan application window will display immediately after the mouse click.
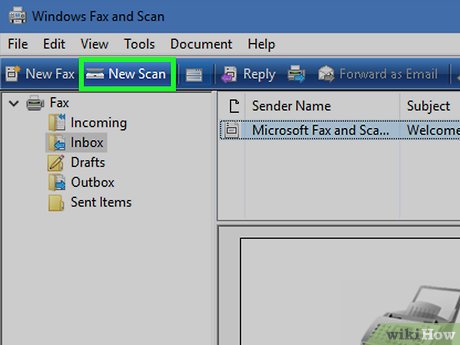
Click New Scan . This option appears in the upper left corner of the Fax and Scan window. A new window will appear on the screen.
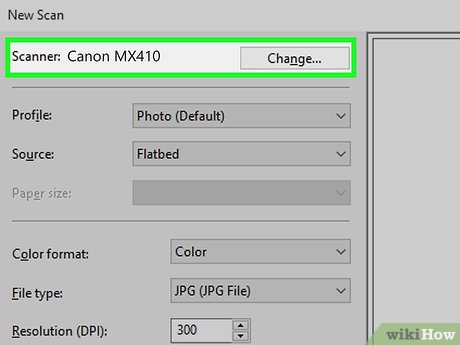
Make sure your scanner is selected. You will see the word "Canon" and the printer model number. If you see different information, click Change . and select your Canon printer.
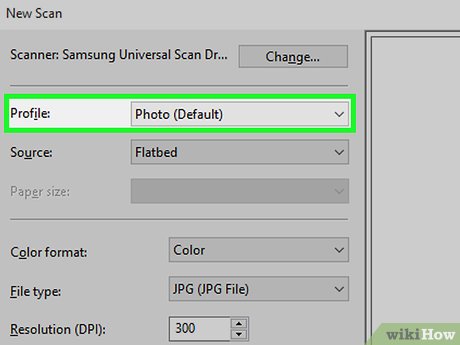
Select document type. Click the "Profile" drop-down box, then select a document type (such as Photo ) from the list that appears.
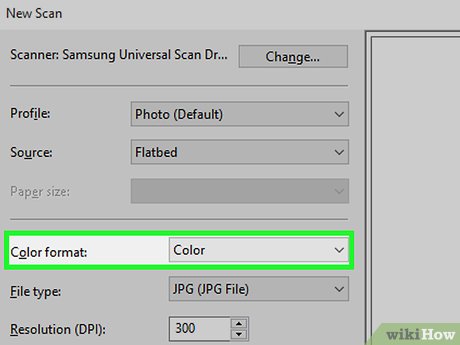
Choose the color of the document. Click the "Color format" selection box, then choose Color or Black and White .
Scanners will have additional (or limited) options for color formats.
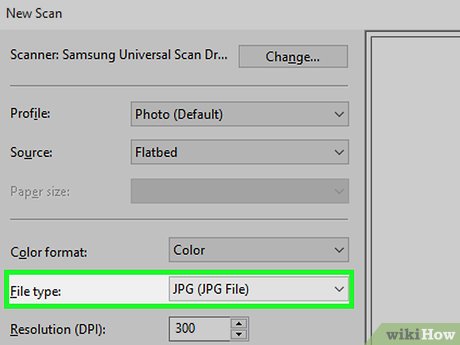
Select file type. Click the "File type" selection box, then click the file type (such as PDF or JPG ) that you want to use to save the scanned document on your computer.
Tip: Because you are scanning documents, you will often choose PDF format here.

Change other options on the page. Depending on the scanner you are using, you will have additional options (such as "Resolution") to adjust before scanning the document.
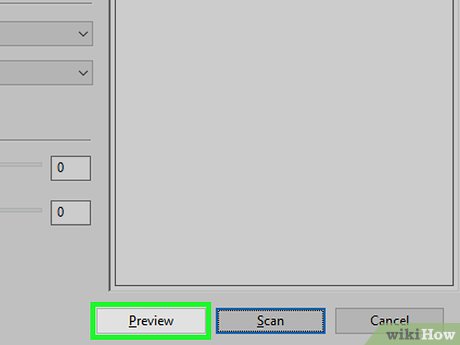
Click Preview . This is the option at the bottom of the window. This will give you a preview of the document to be scanned.
Tip: If the displayed content looks distorted, uneven, or off-angle, you can adjust the document in the scanner and click Preview again to see if the adjustment changes the display.
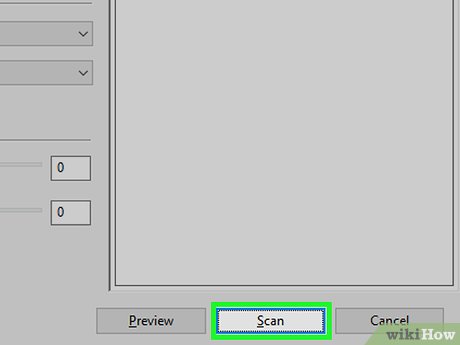
Click Scan . This option is at the bottom of the window. Your document will be scanned to the computer. To find scanned files, you will do the following:
Open Start
Open File Explorer
Click Documents . It's on the left side of the window.
Double-click the Scanned Documents folder.
Perform scanning operations on Mac computers
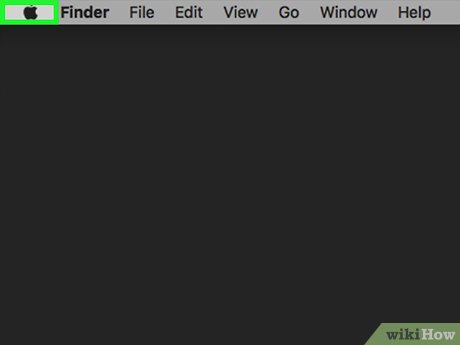
Open the Apple menu. Click the Apple icon in the top left corner of the screen. A list of options will appear here.
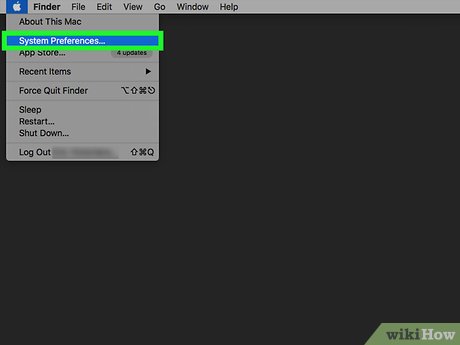
Click System Preferences… (System Preferences…). This is the option at the top of the menu that appears.
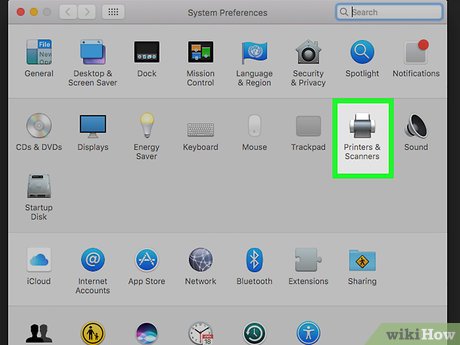
Click Printers & Scanners . The printer icon displays on the right side of the System Preferences window.
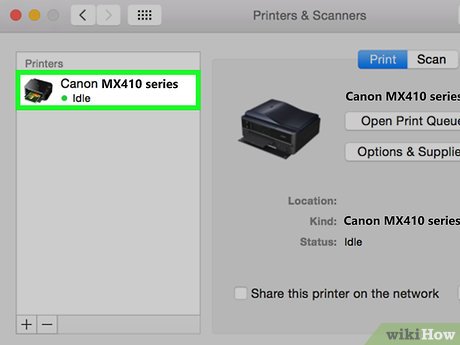
Select Canon printer. Click the "Canon" option in the upper left corner of the window.
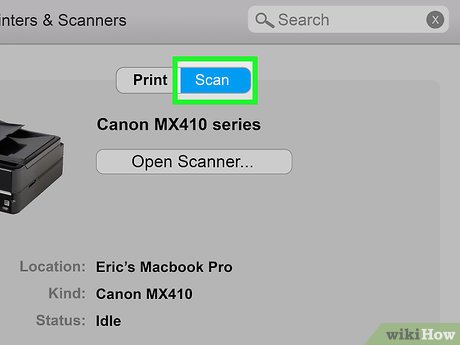
Click the Scan tab . You'll see this option at the top of the window.
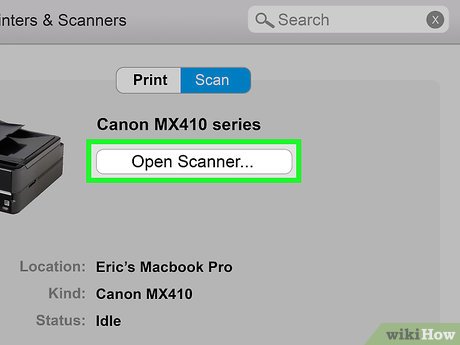
Click Open Scanner… (Open scanner…). This is the option near the top of the Scan tab in the window.
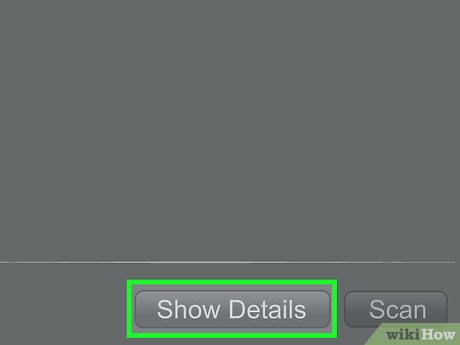
Click Show Details . This option appears in the lower right corner of the window.
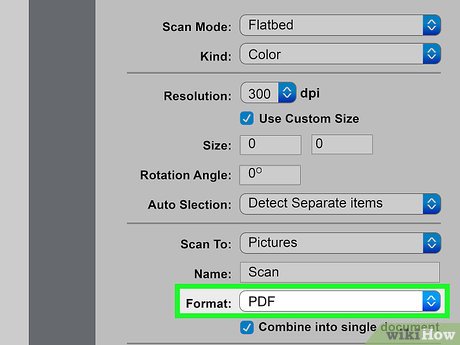
Select file type. Click the "Format" selection box, then click the file type (such as PDF or JPEG ) that you want to use to save the file.
Tip: When scanning documents other than images, it's better to choose PDF .
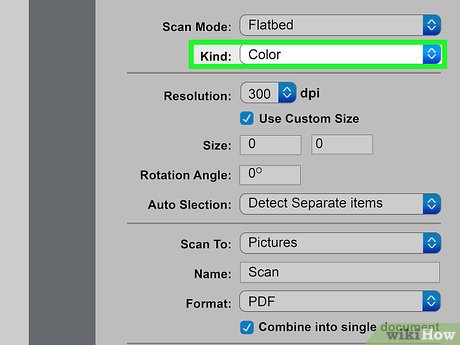
Choose color. Click the "Kind" selection box at the top of the page, then choose a color (such as Black and White).
Maybe the scanner won't have many options here.
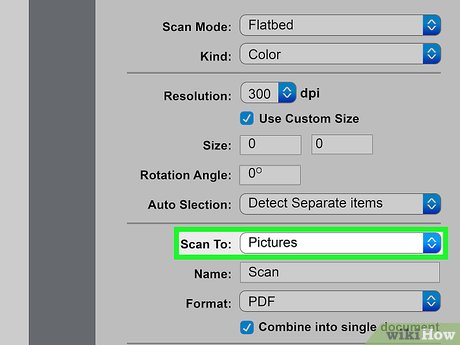
Select the save folder. Click the "Save To" drop-down box, then click the folder where you want to save the scanned document (such as Desktop ).
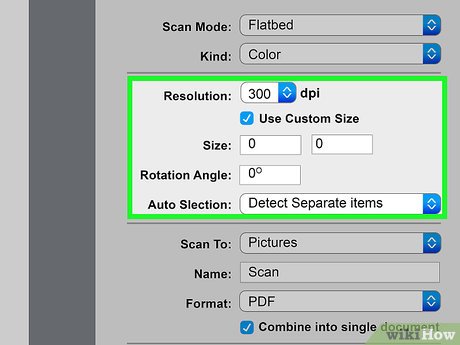
Change other options on the page. Depending on the type of file you want to scan, you can change the "Resolution" or "Orientation" value here.
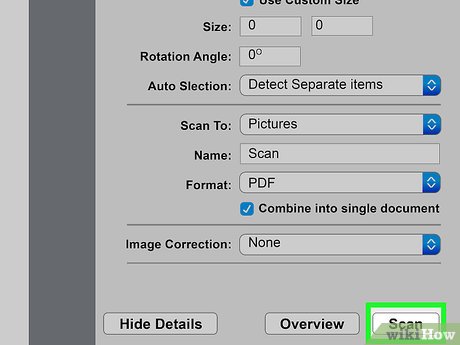
Click Scan . This is the button in the bottom right corner of the window. Your document will be scanned to the computer. When the scanning process is complete, you can find the document in the selected save folder.