Table of Contents
A verified TeamViewer account lets you sign in, make outgoing connections, and keep the devices you manage together. You can create one from the current TeamViewer Remote client or its web app. Registration itself is free, but it does not turn paid business features into free features; TeamViewer's free-use terms still apply.
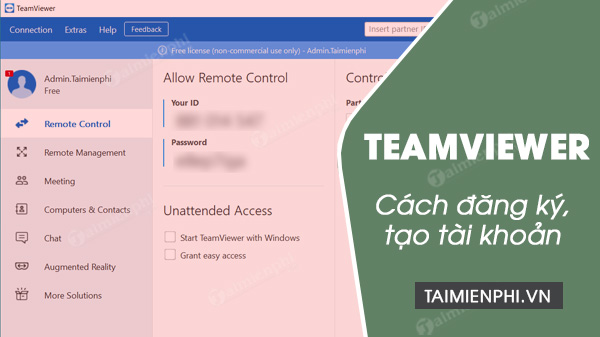
Create an account in TeamViewer Remote
- Open the TeamViewer Remote desktop client, or go to the TeamViewer web app.
- Select Sign in to TeamViewer, then choose Create one here.
- Enter your name and email address, then select Continue.
- Create a strong, unique password. Review and accept the displayed agreements and privacy terms, then select Create my account.
- Open the verification message sent to your email address and select Verify account.
- Return to TeamViewer, confirm that you verified the account, and sign in with the password you created.
The labels can differ slightly between TeamViewer Remote and the older TeamViewer Classic interface. In Classic, open Computers & Contacts, choose Sign Up, enter the requested details, and finish the email-verification step.
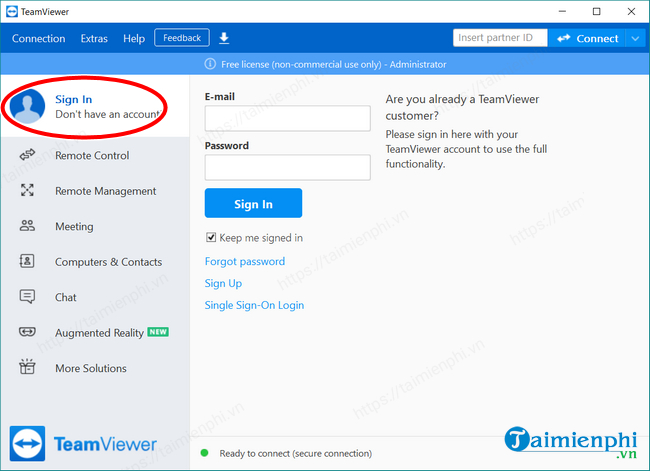
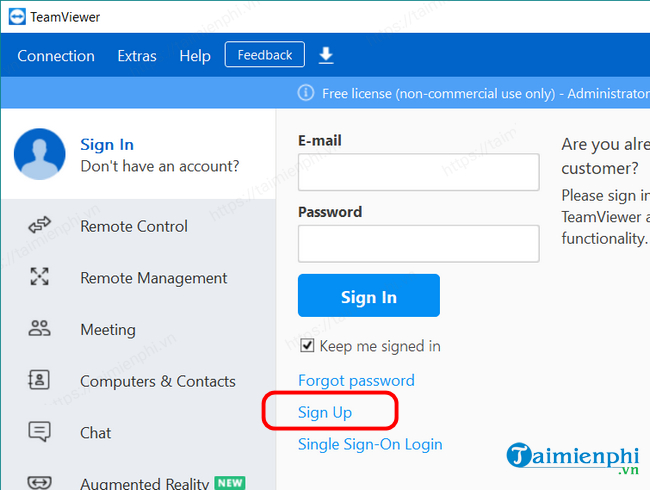
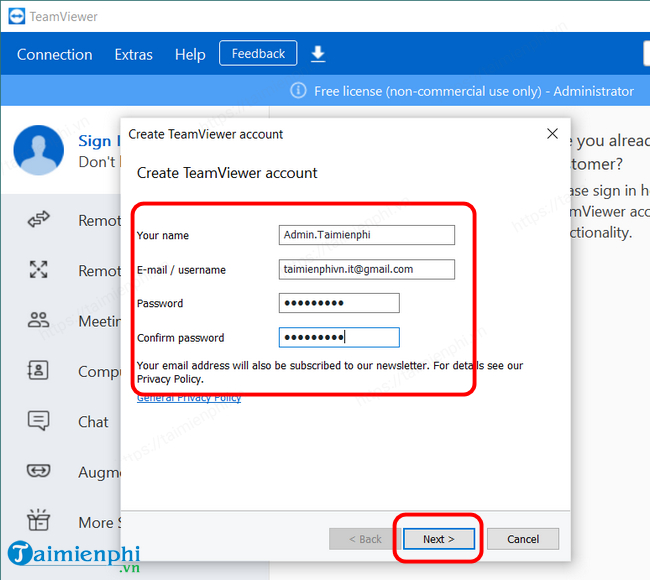
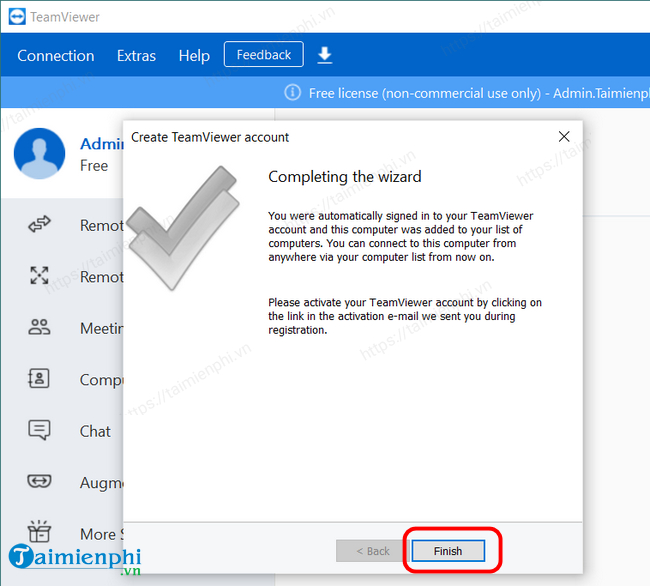
Create an account from a browser
You do not need to install the full desktop client just to register. Open the web app, select Sign in to TeamViewer, and use the account-creation link below the sign-in form. Complete the same name, email, password, terms, and email-verification steps.
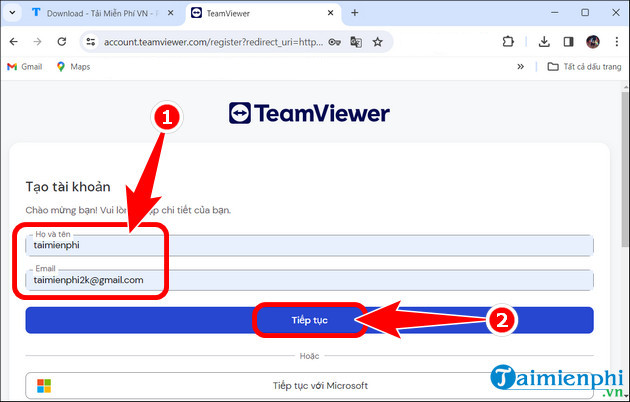
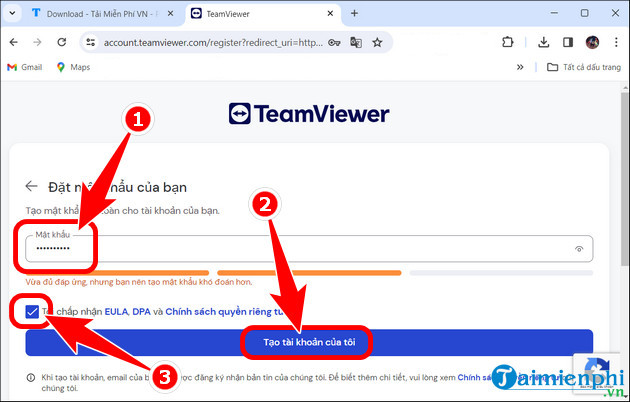
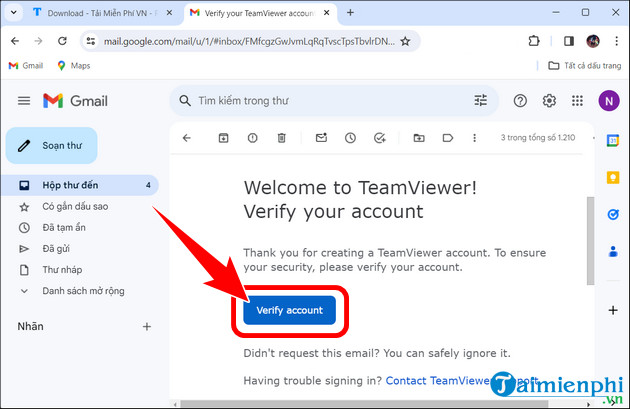
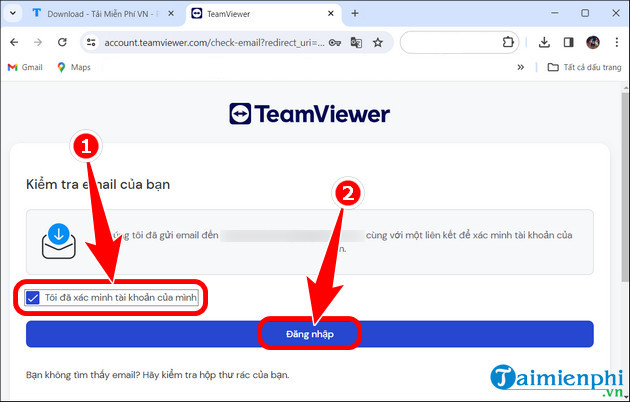
The screenshots above show an earlier interface, but the required information and verification process remain similar. For the current labels, use TeamViewer's account-creation instructions.
If the verification email does not arrive
- Check Spam, Junk, Promotions, and any corporate email quarantine.
- Confirm that the address was typed correctly. If it was not, restart registration with the correct address.
- Wait a few minutes before requesting another message; repeated requests can leave older verification links invalid.
- If the address is already connected to an account, use the password-reset option instead of creating a duplicate account.
Secure the account before using remote access
Use a password that is not shared with any other service. The practical advice in these password-security steps also applies to TeamViewer accounts.
After signing in, open Settings, go to your profile settings, and select the Authentication tab. Enable two-factor authentication, scan the displayed QR code with an authenticator app, save the recovery code somewhere separate from the computer, and enter the generated code to activate protection. TeamViewer documents the current process in its two-factor authentication guide.
Do not share the recovery code or leave it in an unprotected email. If you sign in on a new device without two-factor authentication enabled, TeamViewer may ask you to approve that device through an email before continuing.
What the account is—and is not—for
An account provides identity, device-management, and security features. It is separate from the remote computer's TeamViewer ID and session password, and it does not replace the target user's permission or the access controls configured on that computer. Before allowing unattended access, review the security settings and limit who can connect. For alternative remote-support options, see our comparison of remote computer control tools.
Related Articles
 Here's How to Check If Your Teamviewer Account Is Hacked.6 minutes read
 Create an Apple ID, Register an Apple ID Account for Less Than 36 minutes read
 Free Fire Vk: How to Register for a Vk Free Fire Account3 minutes read
 How to Download the Latest Teamviewer 14 for New Users3 minutes read
 Detecting Security on TeamViewer Allows Hackers to Steal the System3 minutes read
 Instructions for Creating a Skype Account4 minutes read
Reader Comments 0
Sign in with email or Google to join the discussion.