How to create an Email Signature Generator using ChatGPT
An Email Signature Generator GPT is a customizable AI assistant that helps you create professional, eye-catching email signatures in just seconds..
In today's era of rapidly developing AI , customizing tools to personalize your email signatures is extremely important. A GPT Email Signature Generator is a customizable AI assistant that helps you create professional, eye-catching email signatures in seconds. Instead of using complex third-party tools or manual design, you can leverage the power of ChatGPT to build a specialized GPT that supports responsive HTML signatures, logo integration, social media links, and contact information.
This article will provide detailed step-by-step instructions based on the latest ChatGPT interface, helping you create this tool yourself without programming. This is a smart, time-saving, and completely free solution with a ChatGPT Plus account.
Benefits of creating an email signature generator
An email signature is not just the end of an email; it's also a tool for building personal branding. An AI-powered email signature generator offers many outstanding advantages:
- Flexible customization: Change name, title, company, color, and icon using only the prompt.
- Cross-platform compatibility: Inline HTML code ensures a beautiful display on Gmail, Outlook, and Apple Mail.
- Save time: Create a series of different signatures for your team or for different seasons.
- Intelligent AI integration: GPT can suggest modern designs, add CTAs (Call to Action), or optimize for mobile.
With OpenAI's generative AI technology , you don't need to know how to code to have a powerful personalization tool.
How to create a custom email signature generator using ChatGPT
Step 1. Initialize ideas and give commands to the AI (Prompt Engineering)
The first and most important step is communicating your ideas to the AI. Instead of simple commands, you need to use Prompt Engineering techniques so that ChatGPT understands the structure you want.
- Step 1: On the main ChatGPT interface, enter your specific request in the chat box. For example: "Create a custom email signature generator using HTML and input fields such as name, title, company, phone number, and social media links."
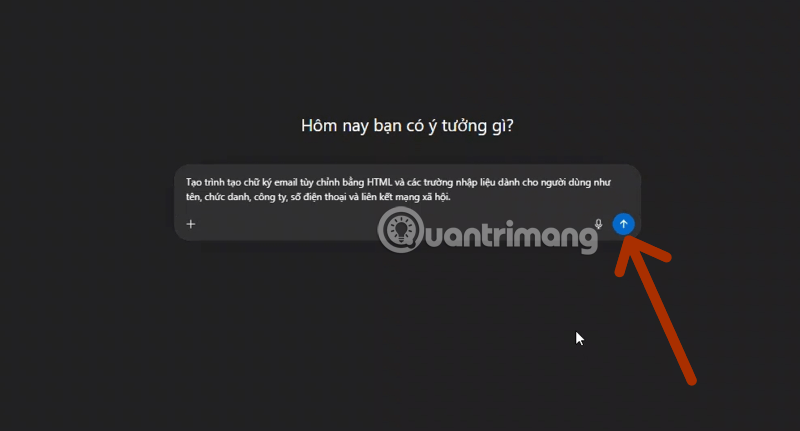
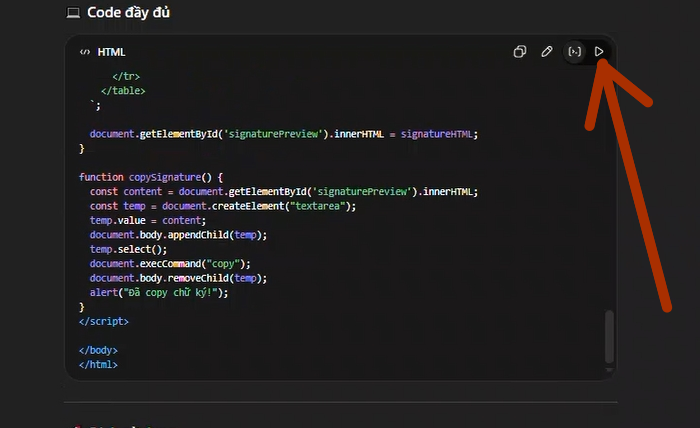
- Step 2: Click the arrow icon to submit your request. ChatGPT will immediately analyze and generate the source code (HTML/JavaScript) based on your request. Once the code is ready, select the "Test Run" button.
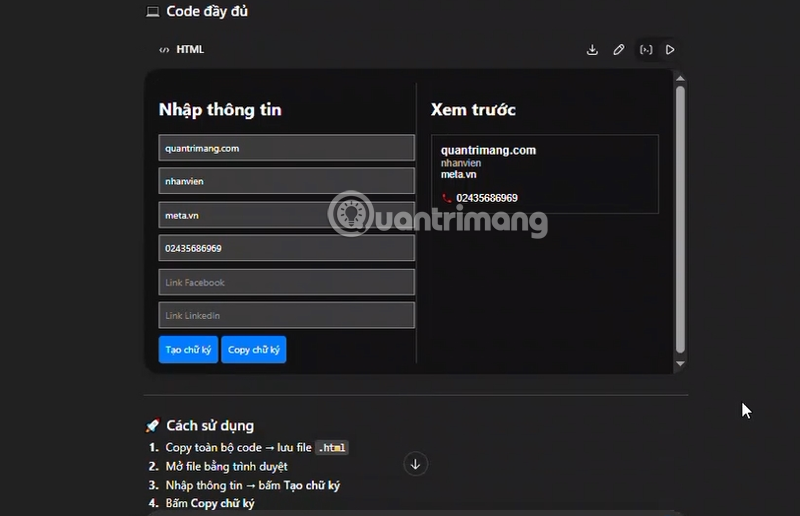
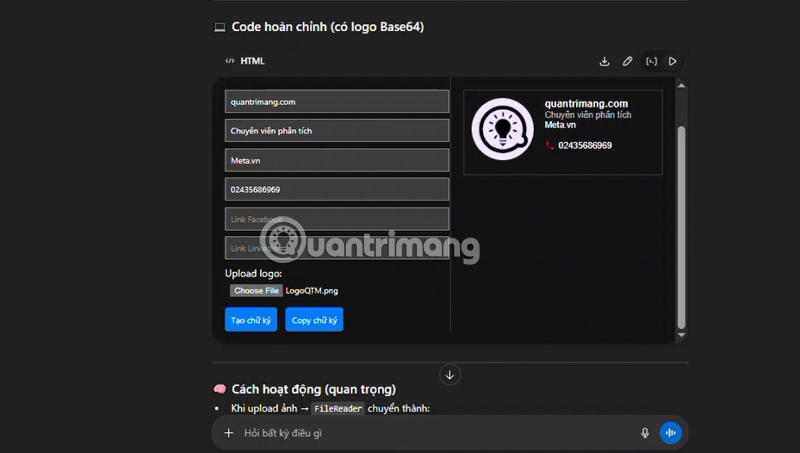
Enter your signature information in the signature creation form, including details such as Full Name, Title, Phone Number, Company, etc. Below are links to your Facebook and other social media accounts; you can ask the AI to generate more. Select Create Signature after entering all the information.

The signature will be displayed in the preview panel once it's created.
Step 2. Feature Optimization: Integrate Logo and Base64 Conversion
A professional email signature is incomplete without a company logo. However, current browsers and email filters often block external image links for security reasons. The best solution in 2026 is to use Base64 encoding to directly embed images into the HTML code.
Upgrade request: You can continue the command: "Add functionality to upload logos and automatically convert them to Base64 for direct display in emails."
Result: The AI will update the source code, add a "Choose File" button, and handle the logic using FileReaderJavaScript. This ensures your logo displays stably on all devices without image distortion.
3. Inspect the source code and preview it.
After ChatGPT provides the complete code snippet, you need to verify its executable functionality.
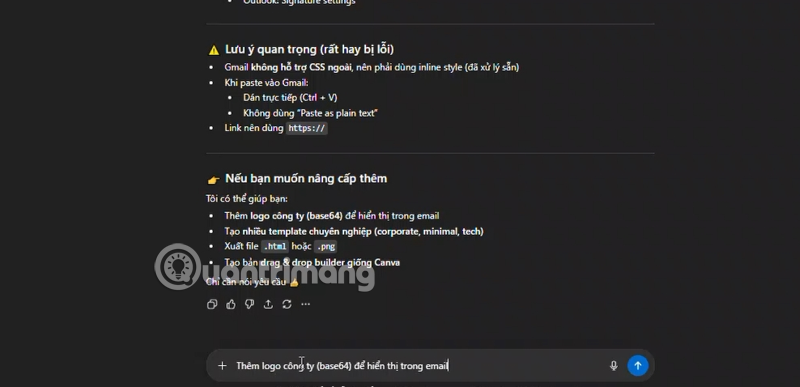
- Review Code: Check the HTML code for the table and the inline CSS. Note that Gmail in 2026 still prioritizes inline CSS to ensure correct display.
- Preview the interface: Use the "Preview" feature directly in the ChatGPT code window or copy the code to a file
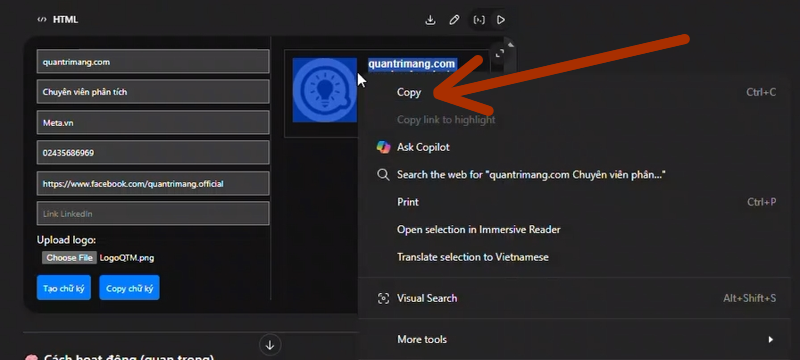
.htmlto open with a browser. You will see two columns: the left column is for entering information and the right column is for previewing. - Test: Enter some information and upload a logo to see how the signature will display in real life.
4. How to set up a signature in Gmail/Outlook
Once you're satisfied with the signature you've created, the final step is to put it into practical use.
Step 1: In the signature generator you just coded, click the "Generate Signature" button and then "Copy Signature" .
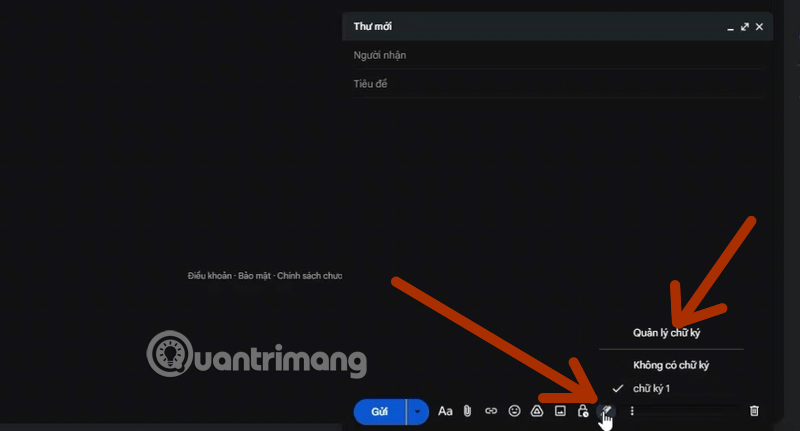
Step 2: Access the Gmail Settings . Find the Signature section and click "Create New".
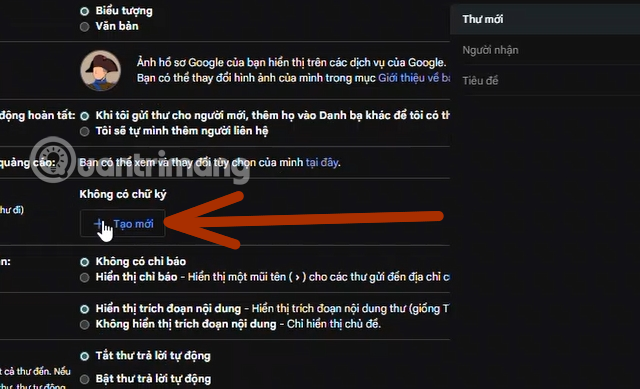
Step 3: Name your signature (for example: TipsMake.com.com) and paste the copied content directly into the text editor (Ctrl+V).
Step 4: Finally, select save changes. Now, every time you compose a new email, simply select the pen icon to insert your professional signature.

The benefits of using ChatGPT to create this tool.
Building an Email Signature Generator using ChatGPT offers many benefits:
- Save time : No need to code from scratch.
- Easy to customize : Just adjust the prompt.
- Scalability : Can be upgraded to a web app.
- Optimize workflow : Suitable for individuals, marketers, and HR professionals.
This is a prime example of applying AI-assisted development in daily work.
Conclude
With the latest improvements to ChatGPT as of 2026, creating an Email Signature Generator has become incredibly simple, even for non-programmers. With the right prompt techniques and proper tweaking, you can build a professional tool in minutes.
If you're looking to improve your AI productivity, this is a practical, easy-to-implement use case that delivers clear value.
After creation, you can save the GPT to your personal library or share it with colleagues. Each time you use it, simply describe the information and the GPT will output ready-to-copy-paste HTML code.