Table of Contents
This updated guide examines How to Cool Raspberry Pi and organizes the essential facts, background, and practical takeaways in clear American English.
How does the cooling work?
Electronic devices generate heat. This heat can be detrimental to the performance of such electronic devices, so keeping them cool is paramount. Fortunately, there are a few reasonable ways to accomplish this. The first is with a heatsink.

The radiator is a piece of metal, most commonly made of copper or aluminum, with some fins extending vertically from the base. The radiator is applied to an electronic component that generates heat (in this case, the CPU). The heat is brought up, out of the CPU, into the heatsink, allowing heat to radiate into the air, cooling the CPU.
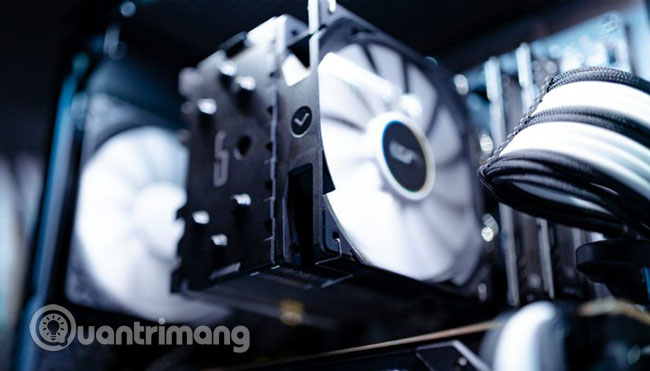
Another way to cool down the CPU is to use a fan. The fan has the function of removing heat from the CPU and other heat-generating components. This reduces the overall temperature of the CPU, improving its performance and stability.
What happens if the Pi is too hot?
Obviously, heat is not good for computers. Prolonged exposure to high temperatures can damage the motherboard and other components in the computer. If you can't start the Raspberry Pi, it's likely that the CPU has been damaged due to excessive heat.

The Raspberry Pi single bo computer is designed to run at very high temperatures, about 80 degrees Celsius. However, if you push your Pi to its limits, it is not unusual to see surging temperatures rise. above this level. Raspberry Pi will try to prevent damage by adjusting CPU speed and attempting to cool itself. Unfortunately, this will result in reduced performance and Pi will run slower.
Heatsink (Radiator)
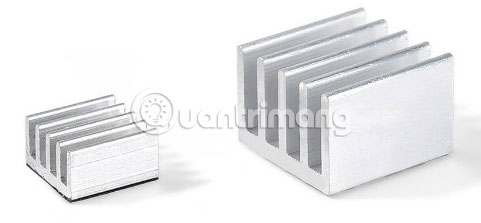
The radiator for Raspberry Pi is super cheap and really easy to install. As the article mentioned earlier, the two most popular types of radiators are aluminum and copper. Both types can be used with Pi. However, copper has a higher thermal conductivity than aluminum, allowing heat to pass through it faster. This means that copper radiators are usually better in heat dissipation than aluminum. However, copper is an expensive material and is often more difficult to manufacture. Due to these factors, heatsink made of copper is more expensive than aluminum-made devices.
Where to apply the heat sink?
Since CPU, GPU and many other parts are placed in SoC (system on chip), the article will focus on cooling this component more than all other components, because it produces the most heat. You can also add heat sinks for memory chips and ethernet / USB controllers. However, you won't gain much performance if you do so, as they can only lower the overall temperature by about a degree.
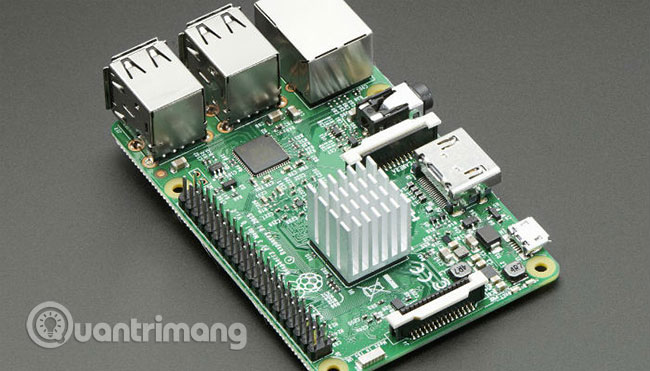
Installing a radiator is very simple. Most of the available radiators for the Raspberry Pi have pre-glued thermal tape on the bottom. This means that all you have to do is locate SoC and paste the radiator up above it. Although the tape is super convenient, you should use alternative heat sink glue. This is because the thermal glue has a better conductivity.
Fan
The most popular fans you'll find for Raspberry Pi are computer fan cases in size 30mm x 30mm. However, larger (and smaller) fans are also available. The fan size you use will depend largely on your settings and the type of case you use. Some cases have a built-in fan, and for other cases, such as the official Raspberry Pi case, there is a removable upper part for adding fans.
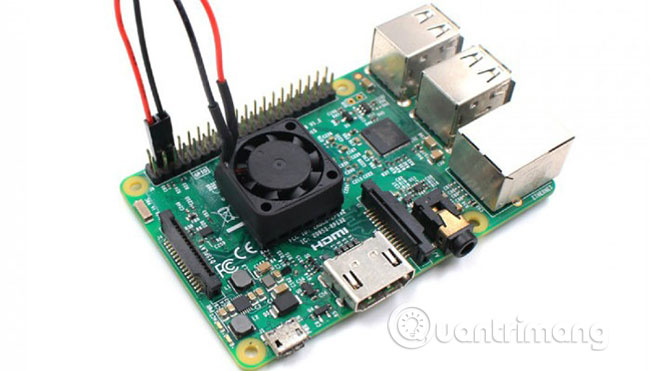
Whether you want the cool outside air to be inserted or the hot air inside pushed out, the general consensus seems to be that if your Pi is in a cover, such as a case, you want to add fan to cool it. If you can open Pi, put the fan in one of these two ways. Whichever way you choose, as long as you make the air flow, you will see a significant drop in temperature.
How to install the fan
Each different radiator fan will have different installation instructions. However, most fans will be mounted via nuts and bolts. The fan will get power from the GPIO pins (General Purpose Input / Output). To turn the fan, place the red wire on the second leg from the outside of the outer row on the GPIO pin. Next, plug the black cord into the third leg, belonging to the same row, and you're done with everything.
Water cooled
If you've ever built a PC, you can get used to water cooling. Liquid cooling is the best way to cool the PC, as the heat transfer water is much better than air. For many people, cooling Raspberry Pi with water is too much, but the kit for doing this is still available, if you think you need it. A word of warning: if you choose water cooled, make sure you follow the instructions correctly!
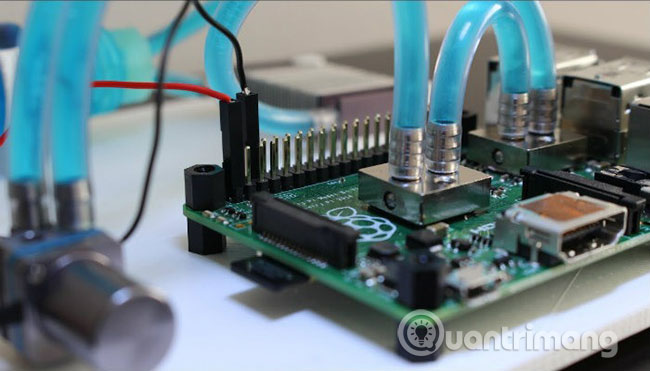
With the proper cooling methods applied, you can overclock Pi to run advanced applications like the N64 emulator in RetroPie.
Hope you are succesful.
FAQ
What is How to Cool Raspberry Pi about?
It provides a structured overview of Raspberry Pi, explains the main context, and highlights practical takeaways for readers.
Why does this topic matter?
Understanding the main concepts helps readers evaluate the issue, avoid common mistakes, and make better-informed decisions.
How should readers use this information?
Use the guidance as a practical starting point, confirm details that may have changed, and follow current product, safety, or security recommendations.
Related Articles
 How to Add an ADC to Raspberry Pi: What You Need to Know: Clear Instructions11 minutes read
 Raspberry Pi Zero vs Model a and B, How Are They Different?11 minutes read
 What Is 'Cool Cool'? New Fashion Style5 minutes read
 How to Boot Raspberry Pi 4 from USB or Over the Network9 minutes read
 What Is the Raspberry Pi and How Is the Raspberry Pi Used?7 minutes read
 How to Start Raspberry Pi 3 from USB9 minutes read
Reader Comments 0
Sign in with email or Google to join the discussion.