Table of Contents
This updated guide examines How to Convert a Jpeg to a Silhouette Cut‐out and organizes the essential facts, background, and practical takeaways in clear American English.
Part 1of 2:
Downloading Silhouette Software
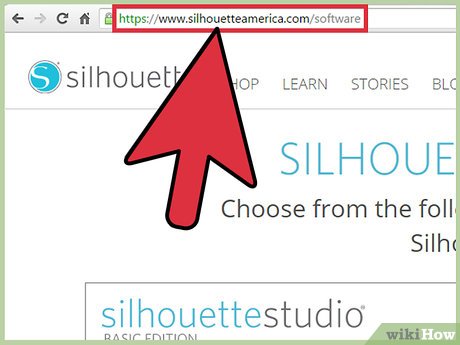 Navigate toSilhouette's download site. Silhouette America is a suite of software made specifically for photo editing; you can use this software to create a cut-out image from a standard JPEG- or GIF-format photo.
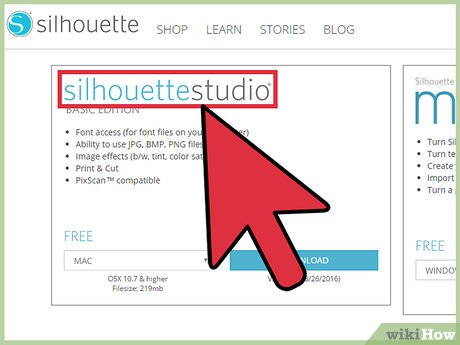 Find the "Silhouette Studio" option. This should be on the left side of your screen; you'll be downloading the "Basic" edition of Silhouette, which is free to use.[1]XResearch source
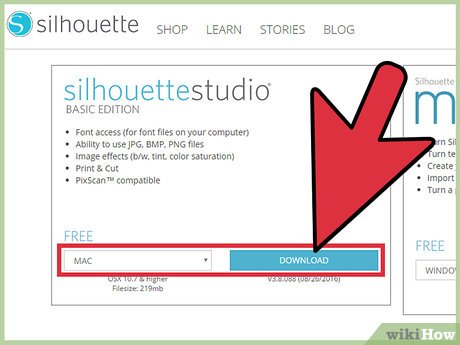 Select your platform from the drop-down menu. From here, you can select either "Mac" or "Windows". You'll need a computer that's running at least OS X 10.7 or Windows 7.
- Click "Download" when you're ready.
 Open the Silhouette setup. Depending on where you chose to download your file to, you may have to navigate to the file's download location to do so.
 Follow the on-screen instructions for installation. Silhouette will prompt you to choose an installation location.
- For ease of access, leave the "Open Silhouette when installation is complete" and "Create a desktop shortcut" options checked.
 Double-click the Silhouette Studio icon. If Silhouette didn't open automatically, this will begin running the program.
 Click the "Design" option. This will be on the left side of the options wheel upon starting up Silhouette. You are now ready to import a JPEG and begin creating your cut-out!
Part 2of 2:
Converting Your JPEG
 Click and drag your JPEG into the Silhouette window. This is easiest if your Silhouette window isn't at full size.[2]XResearch source
- You can also convert GIF and PNG file formats with Silhouette.
 Resize your file if you need to. You can do this by clicking the image in Silhouette to select it, then clicking and dragging one of the small squares on the outline around the image.
- Resizing your file will reduce its quality.
 Click the "Trace" button. This is in the toolbar on the top-right side of your screen; it resembles a butterfly inside of a square.[3]XResearch source
 Click "Select Trace Area". This option is at the top of the "Trace" menu on the right-hand side of your screen.
 Click and drag your cursor over your trace area. This should be the part of the JPEG from which you wish to create a silhouette. After releasing the mouse, you should see a yellow outline around your target area.[4]XResearch source
 Click the checkbox next to "High Pass Filter". This will disable this option, which will refine the quality of your outline.[5]XResearch source
- If you're attempting to isolate a complex, high-quality image cut-out, you don't need to disable the High Pass Filter option.
 Click and drag the "Threshold" option to the right. This will further emphasize the quality of your outline. Since this setting will vary depending on your image's complexity, feel free to experiment with different settings before making your final cut.
 Click "Trace Outer Edge". This will create a slim outline of the outer part of your selected area.
- You can also click "Trace and Detach" to cut out your selected area.
 Click your original JPEG and tapDelete. This will clear out your JPEG background or remaining material, leaving just your outline.[6]XResearch source
- You can also click and drag your JPEG off of the Silhouette work window; this should leave an outline.
- If you used "Trace and Detach", this will remove all aspects of your JPEG except for the section you selected.
 Click "File", then "Save As". This option is in the top right corner of your Silhouette window. After saving your project, you can print it, edit it further, or send it to a friend. You have successfully created a Silhouette cut-out of an image!
FAQ
What is How to Convert a Jpeg to a Silhouette Cut‐out about?
It provides a structured overview of silhouette, explains the main context, and highlights practical takeaways for readers.
Why does this topic matter?
Understanding the main concepts helps readers evaluate the issue, avoid common mistakes, and make better-informed decisions.
How should readers use this information?
Use the guidance as a practical starting point, confirm details that may have changed, and follow current product, safety, or security recommendations.
Related Articles
 How to Convert Photos to JPEG Format: Clear Instructions10 minutes read
 How to Convert JPEG Images to Word Documents: Practical Guide3 minutes read
 How to Convert Images into PDF Files on iPhone and iPad4 minutes read
 File: How to Convert Pictures to Jpeg9 minutes read
 Click: How to Change a Word Document to Jpeg Format7 minutes read
 How to Convert CR2 Images to JPEG Using Software or Online7 minutes read
Reader Comments 0
Sign in with email or Google to join the discussion.