How to completely disable PowerShell 2.0 in Windows 10
Microsoft is pushing most people to use PowerShell instead of the old Command Prompt. The main reason is that PowerShell is much more feature-rich and powerful than the regular Command Prompt.
- How are Command Prompt (cmd) and PowerShell different?
By default, any user can launch and use PowerShell directly from the Command Prompt or from File Explorer. Overall, PowerShell has different versions. As of the time of writing, PowerShell v5 is the latest version.
However, for compatibility reasons, Windows still activates the old PowerShell 2.0. As an older version, PowerShell 2.0 is deprecated and is even considered a security risk.
So, unless you really need PowerShell 2.0, you shouldn't turn it off completely. Follow the steps below to completely disable PowerShell 2.0 in Windows 10.
Disable PowerShell 2.0 with the command
Using a simple PowerShell command, you can easily disable PowerShell 2.0 in Windows 10.
1. First, open the Start menu, search for "PowerShell" , right-click on the result and select the option "Run as administrator" . This action will open the PowerShell window with admin rights.
2. In this window, execute the following command (copy and paste the command, then press the Enter button).
As soon as you execute the command, PowerShell 2.0 will be disabled immediately.

If you want to reactivate PowerShell 2.0, execute the command below. As you can see from the command, all you need to do is replace "Disable" with "Enable" .
Enable-WindowsOptionalFeature -Online -FeatureName MicrosoftWindowsPowerShellV2Root Disable PowerShell 2.0 through Windows Features
Because PowerShell 2.0 is an unpopular feature, it is enabled as an optional feature. That means you can disable it from Windows Features. This method is especially useful if you do not want to have to use PowerShell commands.
1. First, open the Start menu, search for "Turn Windows features on or off" and click the result to open Windows Features.
2. In this window, scroll down until you see the "Windows PowerShell 2.0" option . Deselect the corresponding checkbox and click the OK button to save the changes.

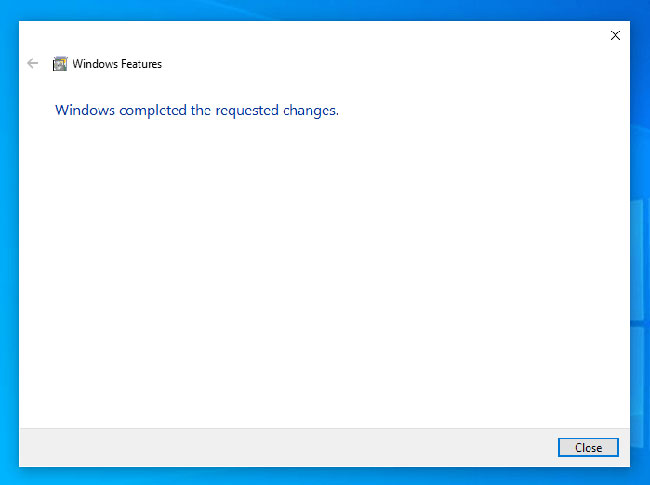
3. As soon as you click the OK button, Windows will make the necessary changes. Once completed, just click the Close button and you're done.

If you want to turn PowerShell 2.0 back on, follow the same steps but select the corresponding checkbox in step 2.
Please note that we only disable PowerShell 2.0 no longer used, and PowerShell is normally enabled.
 How to manage disk space for Windows Backup in Windows 10
 How to Back Up a Windows Computer
 How to Disable Suggested Apps from Start Menu in Windows 10
 How to Log Into the Microsoft Store
 How to Choose Between Windows 10 Home and Pro
 How to Fix the Windows 10 Taskbar