Table of Contents
This guide explains how to add / Remove Fingerprint for Account in Windows 10, with clear steps, practical tips, and important checks before you begin.
Sign-in options on Windows 10
Local users (Microsoft and local accounts) can sign in to Windows with fingerprints by default, unless the option is disabled.
Domain users will not be able to log into Windows with fingerprints by default, unless this option is enabled.
When you boot into Safe Mode, you will only be able to log in with a password and not with any other login options (for example, fingerprint or PIN).
Starting with Windows 10 build 18995, Microsoft is going one step further in the journey of passwordless sign-in, by adding Windows Hello PIN support to Safe Mode, so you no longer have to rely on passwords. password when troubleshooting your device.
How to set up fingerprint for account in Windows 10
You'll use this option if you haven't already set up and added fingerprints to your account.
Step 1. Open the Settings app and click the Accounts icon .
Step 2. Click Sign-in options on the left side, click Windows Hello Fingerprint on the right side, and click the Set up button .

Select Sign-in options> Windows Hello Fingerprint> Set up
Note : You need a PIN for your account before you can set up Windows Hello fingerprints.
Step 3. When ready, tap Get started.
Step 4. Enter your PIN to verify it is you.

Step 5. Scan your finger on the fingerprint reader. You'll need to scan your finger a few times to get set up with Windows Hello.
Step 6. When prompted for Now try another angle , click Next.
Step 7. Place your fingers at different angles on the fingerprint reader so that different sides of the fingerprint are collected. You'll need to scan your finger a few times to get set up with Windows Hello.

Step 8. Once all is set, click Close or tap the Add another finger link and go to step 3 above.
How to add another fingerprint to the account in Windows 10
You can use this option after you have set up the fingerprint according to the instructions above and want to add another finger.
Step 1. Open the Settings app and click the Accounts icon .
Step 2. Click Sign-in options on the left side, click Windows Hello Fingerprint on the right side, and select Add another.
Step 3. Go to step 3 in the above section to continue.
How to remove all fingerprints from account in Windows 10
Step 1. Open the Settings app and click the Accounts icon .
Step 2. Click Sign-in options on the left side, click Windows Hello Fingerprint on the right side, and select Remove.
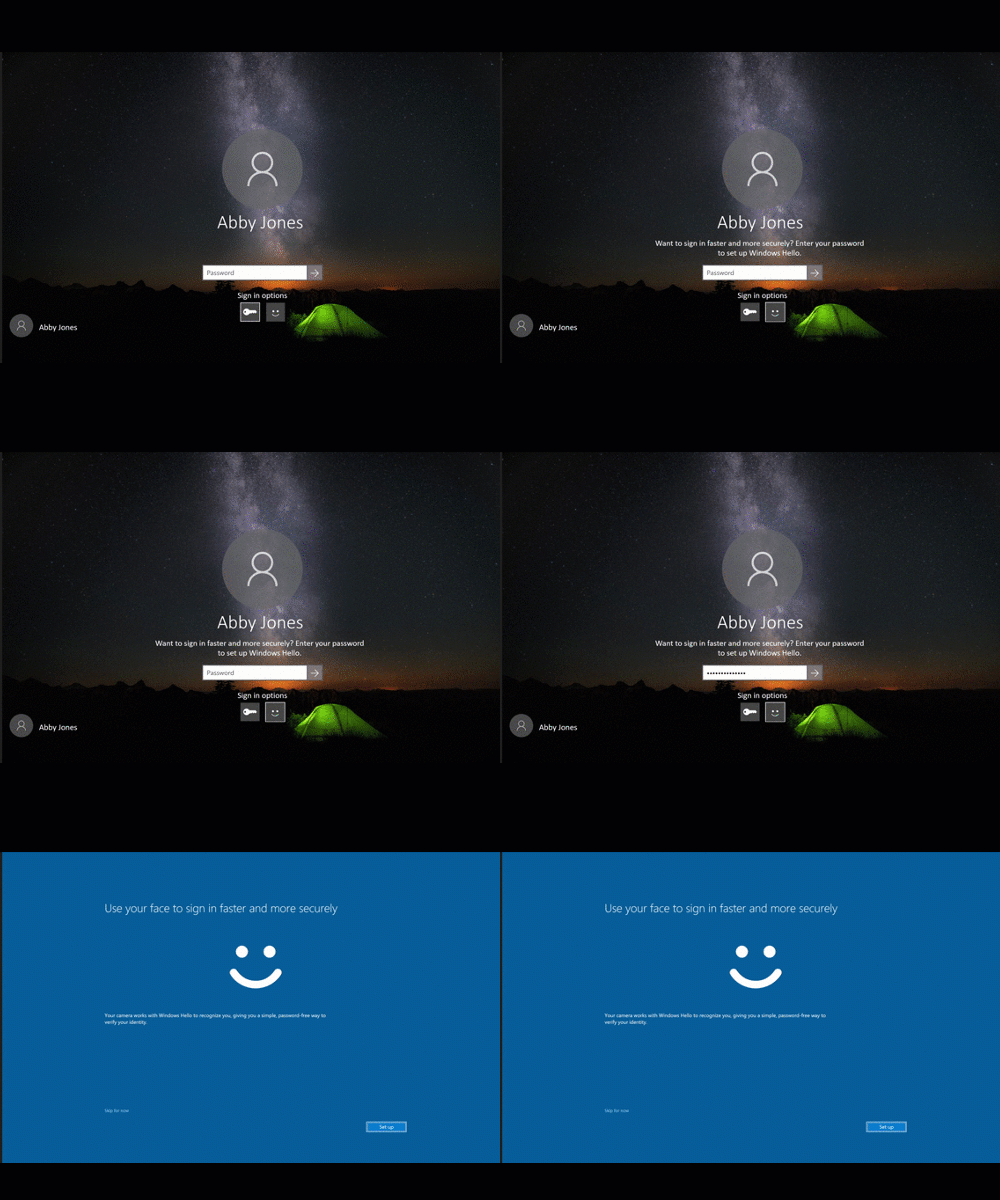
Set up fingerprints for the account from the login screen
This option is only available starting with Windows 10 build 17083. Once on the login screen, click the Windows Hello tile under Sign-in options .
Good luck.
FAQ
What should I know about Add / Remove Fingerprint for Account in Windows 10?
Focus on the key features, requirements, limitations, and practical use cases explained in this guide.
How do I get the best results with Add / Remove Fingerprint for Account in Windows 10?
Follow the recommended steps, use current software or information, confirm compatibility, and review settings before major changes.
Are there any risks or limitations?
Potential limitations depend on compatibility, data quality, cost, privacy, support, and how the product or method is used.
Related Articles
 How to Set Up Fingerprint for Laptop Win 10, Absolute Security4 minutes read
 Things to Know About USB Fingerprint Reader6 minutes read
 Can the Phone Be Unlocked by the Fingerprint of the Dead?6 minutes read
 How to Login Windows 10 by Fingerprint6 minutes read
 How to Install Fingerprint Sensor on LG G6 Phone2 minutes read
 Microsoft Plans to Produce Headsets with Integrated Fingerprint Sensors3 minutes read
Reader Comments 0
Sign in with email or Google to join the discussion.