Table of Contents
Higgsfield Shots can turn one reference image into nine alternative camera views for a storyboard. Starting from the same image gives the frames a shared visual anchor, but it does not guarantee an identical face, outfit or background in every result. The useful workflow is to plan the sequence, generate the angles, compare each frame with the source and keep only the shots that hold up.
Start with a reference image that can carry the scene
Choose a clear image showing the character's face, clothing and setting. If the character is based on a real person, use an image you have permission to upload and use. A face hidden by hair, a crowded foreground or ambiguous clothing makes continuity harder to judge in new angles.
Write down a few fixed details before generating: hairstyle, facial features, jacket or hoodie, distinctive accessories, location and time of day. Decide which views the story actually needs, such as a wide establishing shot, a medium shot and a close-up. A grid of nine variations is a set of candidates, not an edited video.
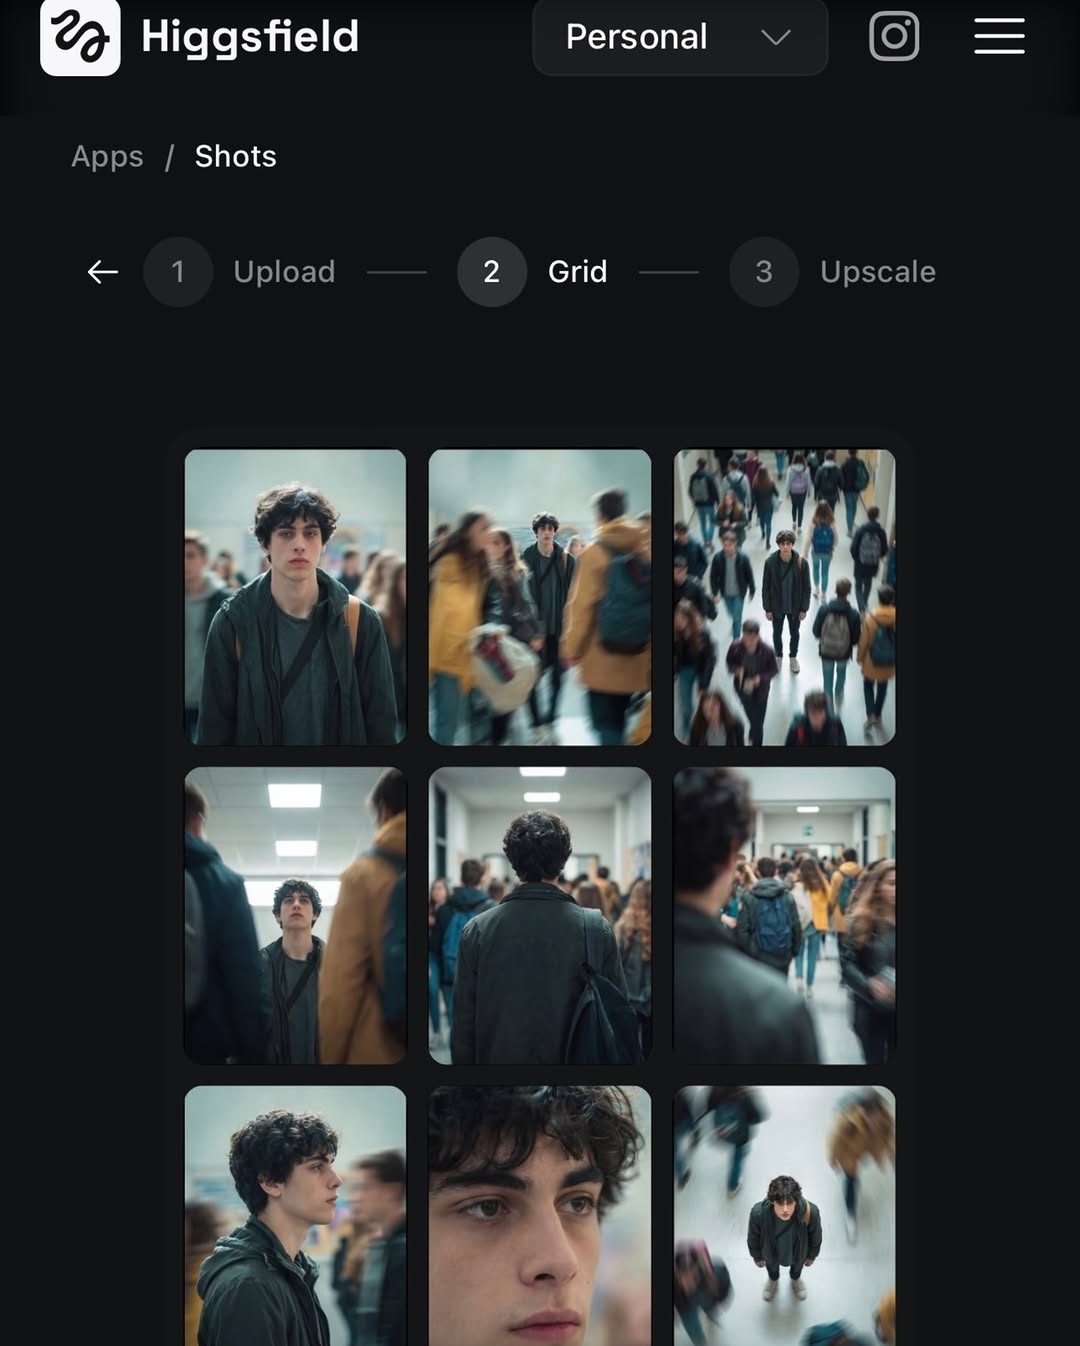
Generate the angle grid and select frames
- Open the Higgsfield apps page, find Shots and upload the reference image. The controls and plan availability may change, so follow the options shown in the current interface.
- Generate the shot variations. Compare the whole grid before selecting a favorite; a dramatic angle is less useful if the character's face or key prop changes.
- Inspect promising frames at a larger size. Compare hairline, eyes, clothing, hand position, background landmarks and lighting with the reference.
- Keep the views that tell different parts of the story. If the interface offers an upscale or export option, use it after choosing frames, rather than enlarging every draft.
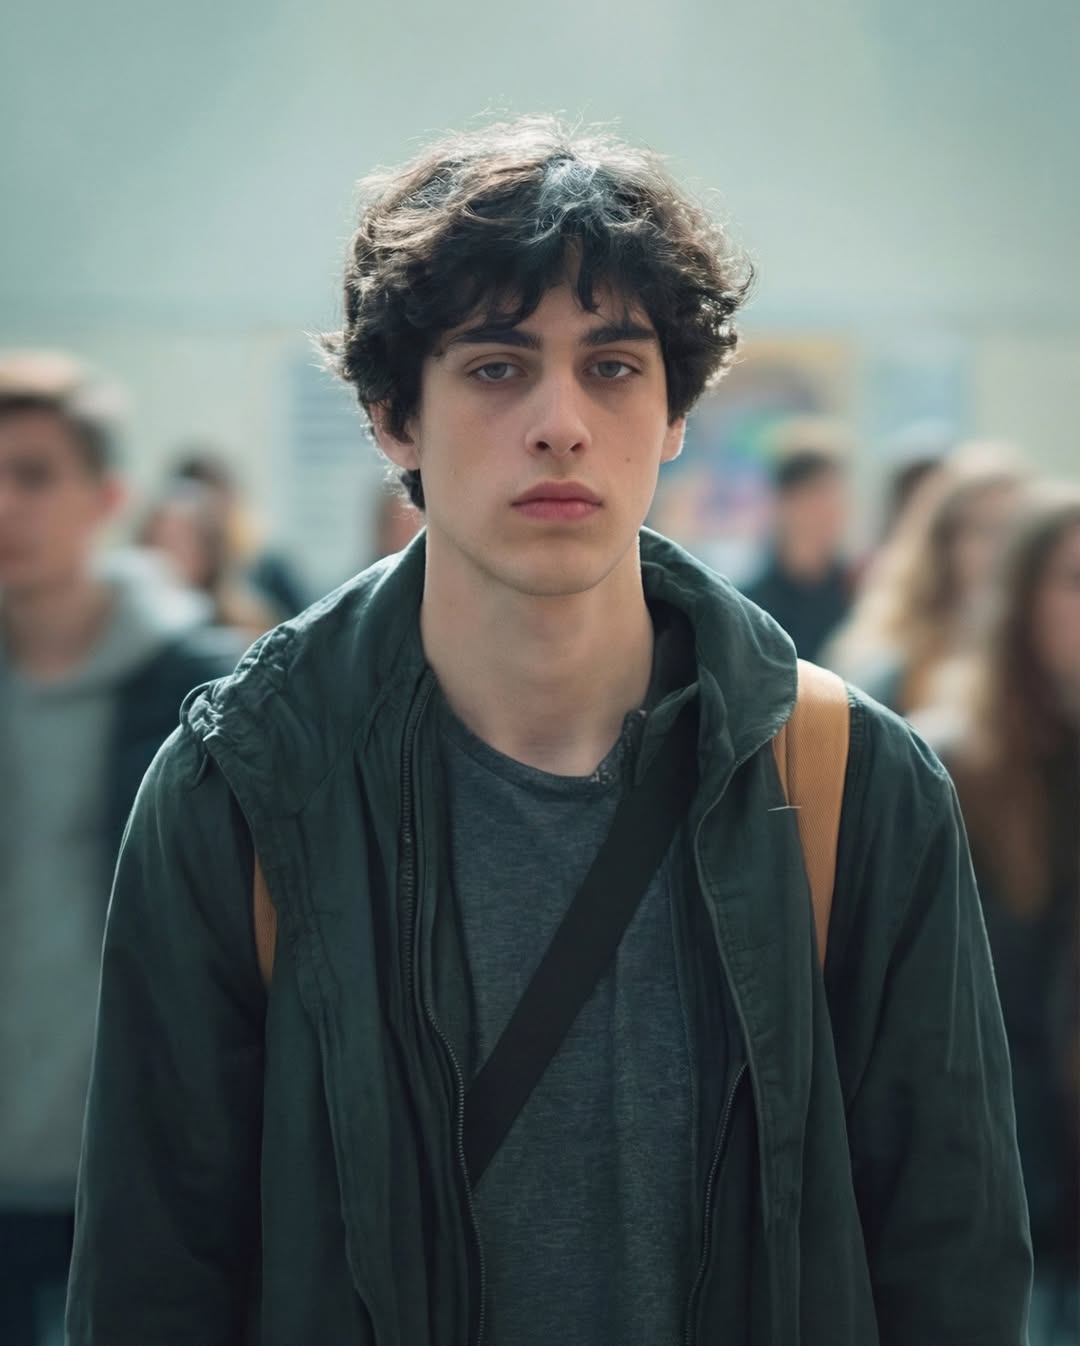
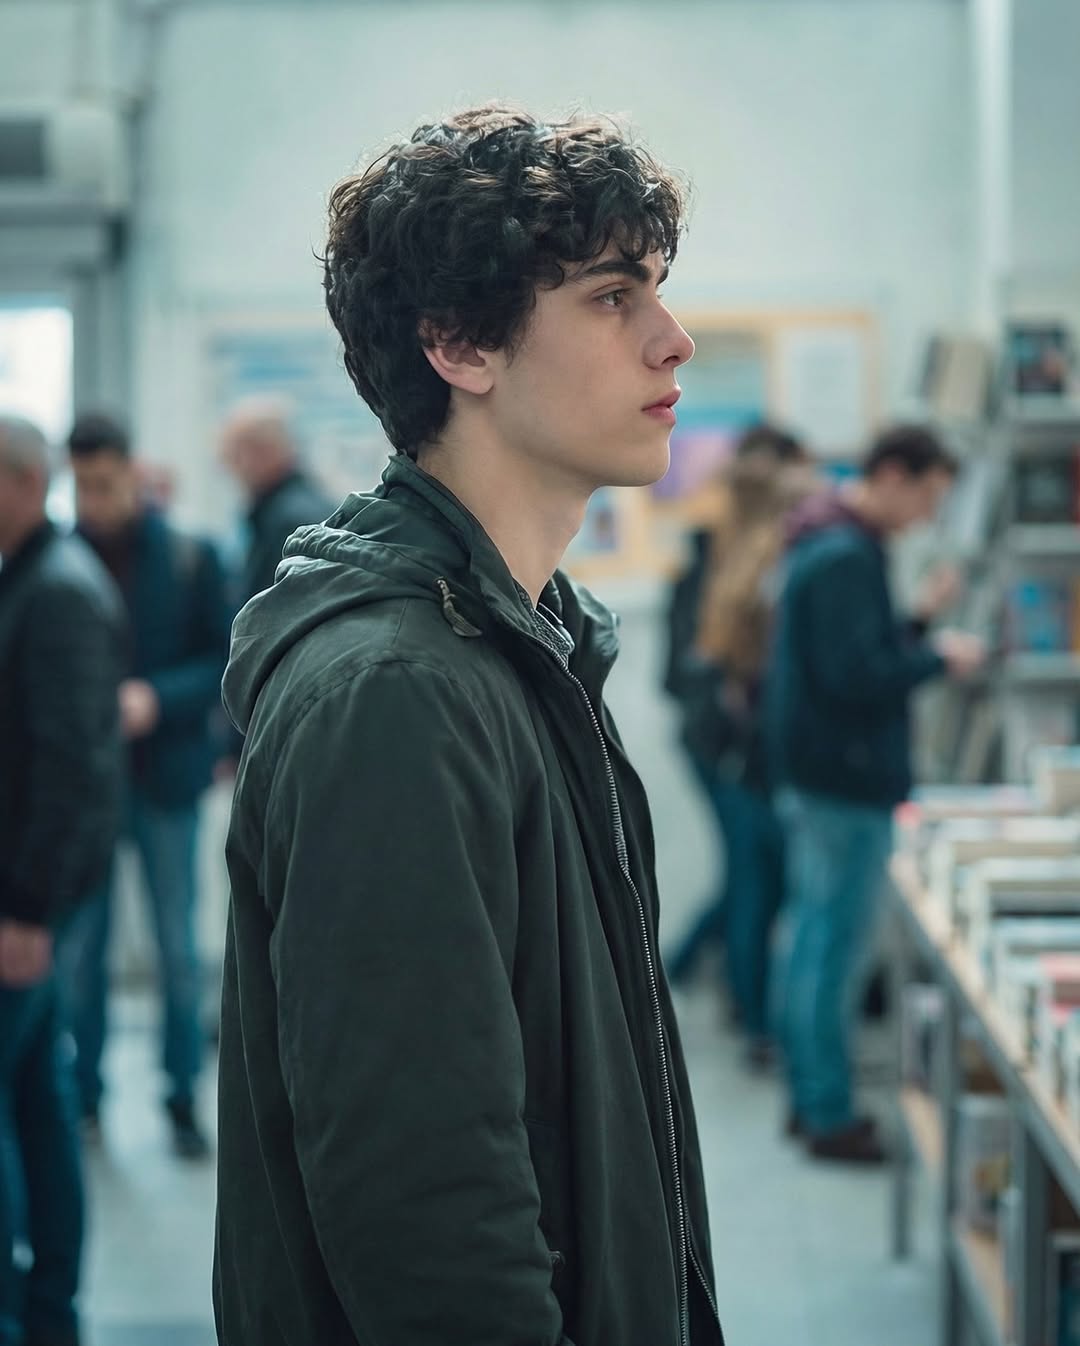
Consider a teenager in a dark hoodie crossing a crowded school corridor. If one prompt changes messy hair to curly hair or moves the action to a bookstore, the frames may stop feeling like one scene. Keep the identity and setting fixed; change only the framing or action. For example:
Reference: A slim teenager with messy black hair and a navy hoodie in a busy school corridor, cool indoor lighting.
Wide shot: Show the same teenager standing still while students pass behind him.
Close-up: Frame the same teenager from the shoulders up, with the same hoodie and lighting.
Build a sequence, not just a collection of angles
An overhead view can establish how isolated the character is within a crowd. A medium shot can show the character's reaction; a close-up can reveal a decision or emotion. These shots should have a purpose in the scene, and their screen direction and background details should still make sense when placed side by side.
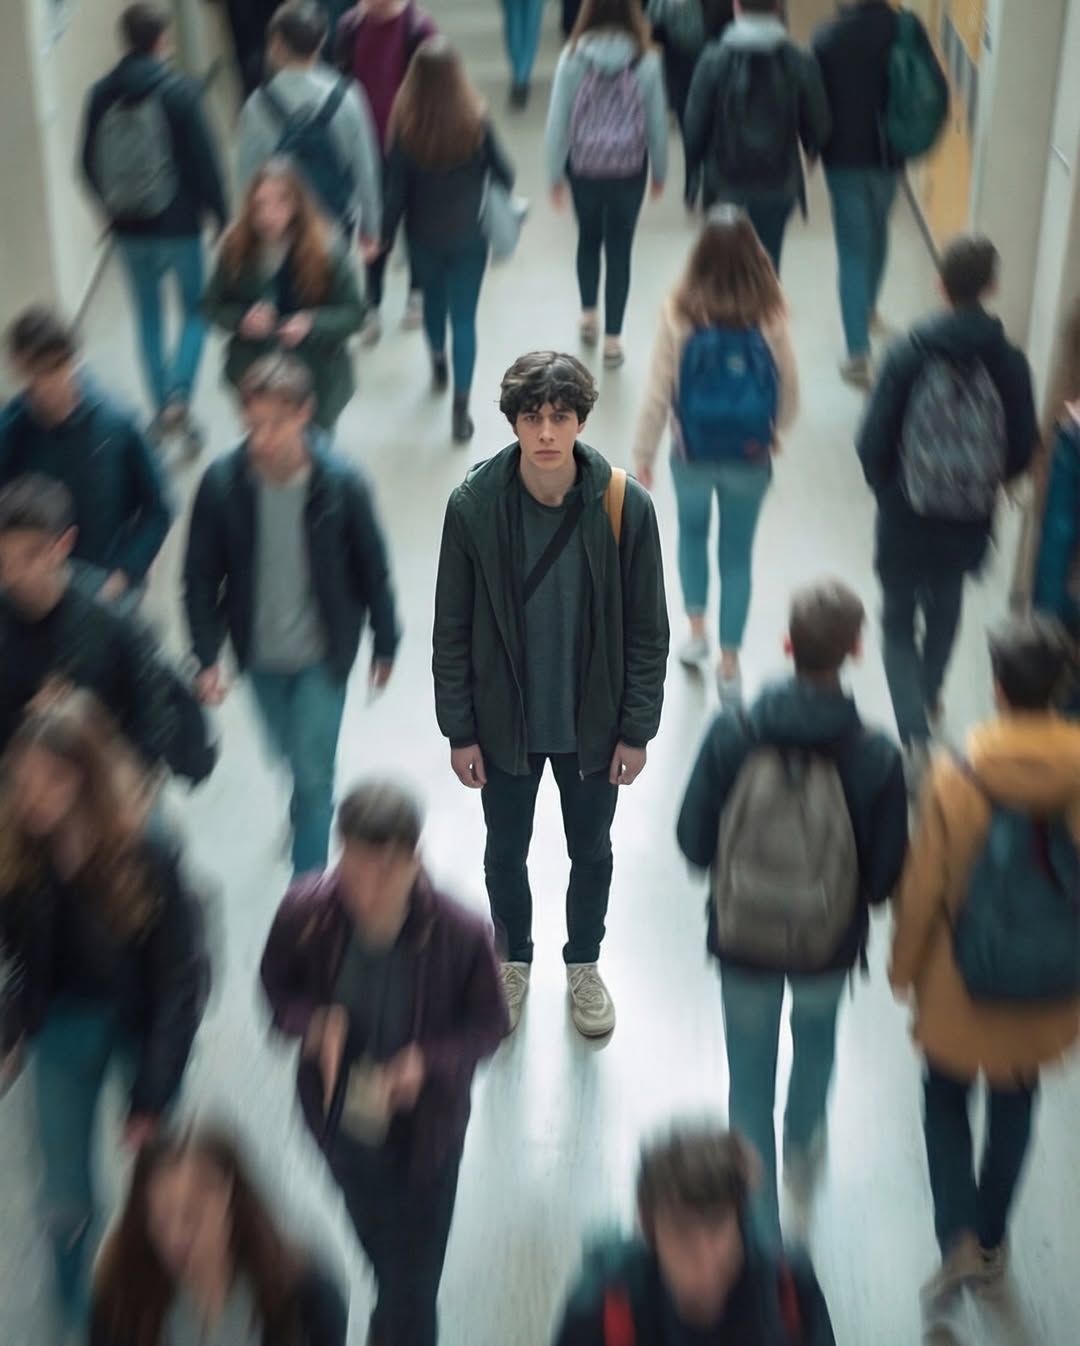
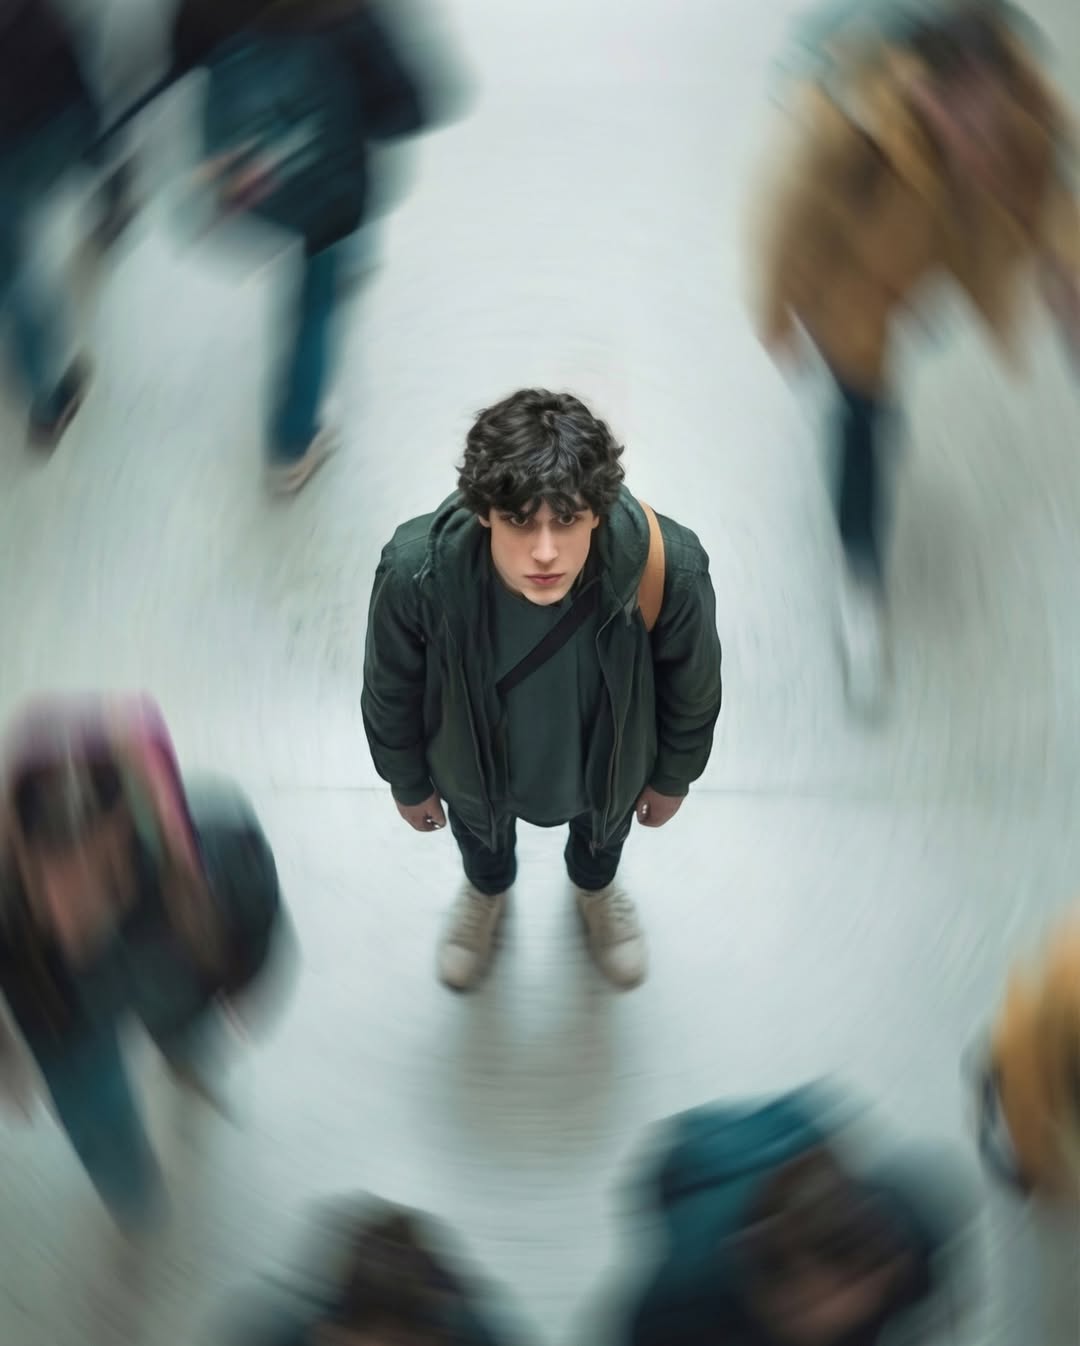
Put the selected images in story order and check whether the character seems to occupy the same place at the same time. For a more detailed scene plan, see TipsMake's storyboard workflow in Google Flow. If you plan to animate the frames, TipsMake's AI animation guide also covers testing a difficult scene before committing to a longer sequence.
What to do when the character drifts
- Face or hair changes: Try a sharper, less obscured reference image and compare the new grid at full size.
- Wardrobe or props change: Keep a short list of defining details beside the grid; reject frames that alter them.
- Lighting or location jumps: Prefer shots with compatible background cues, or treat the change as a deliberate scene transition.
- Unusable composition: Choose a different generated angle or revise the source image rather than assuming an upscale will repair it.
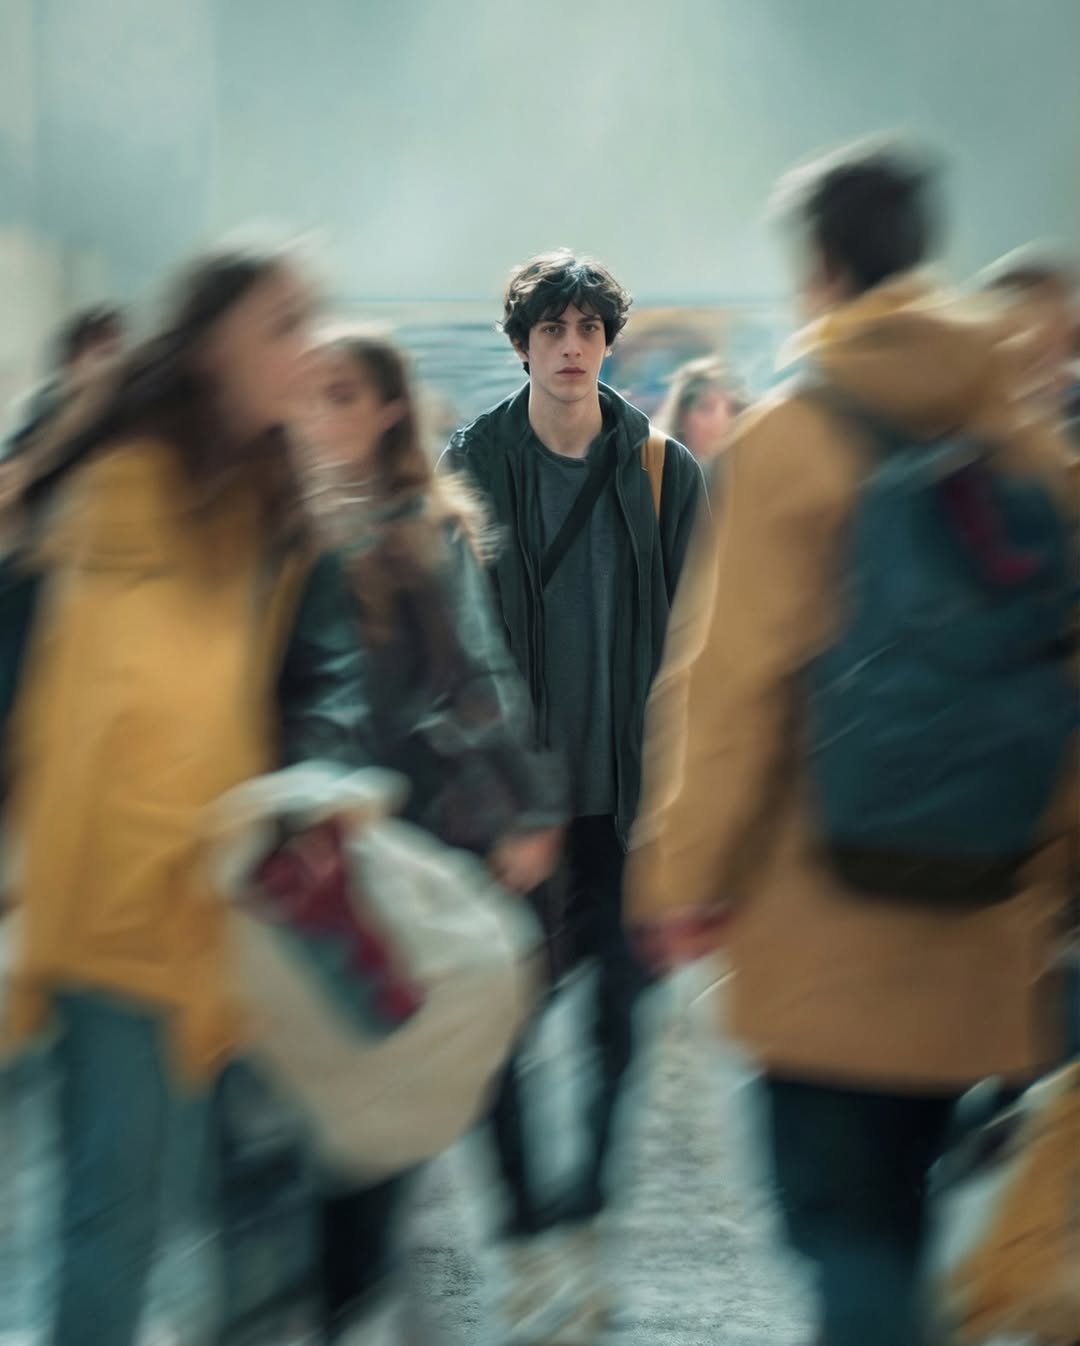
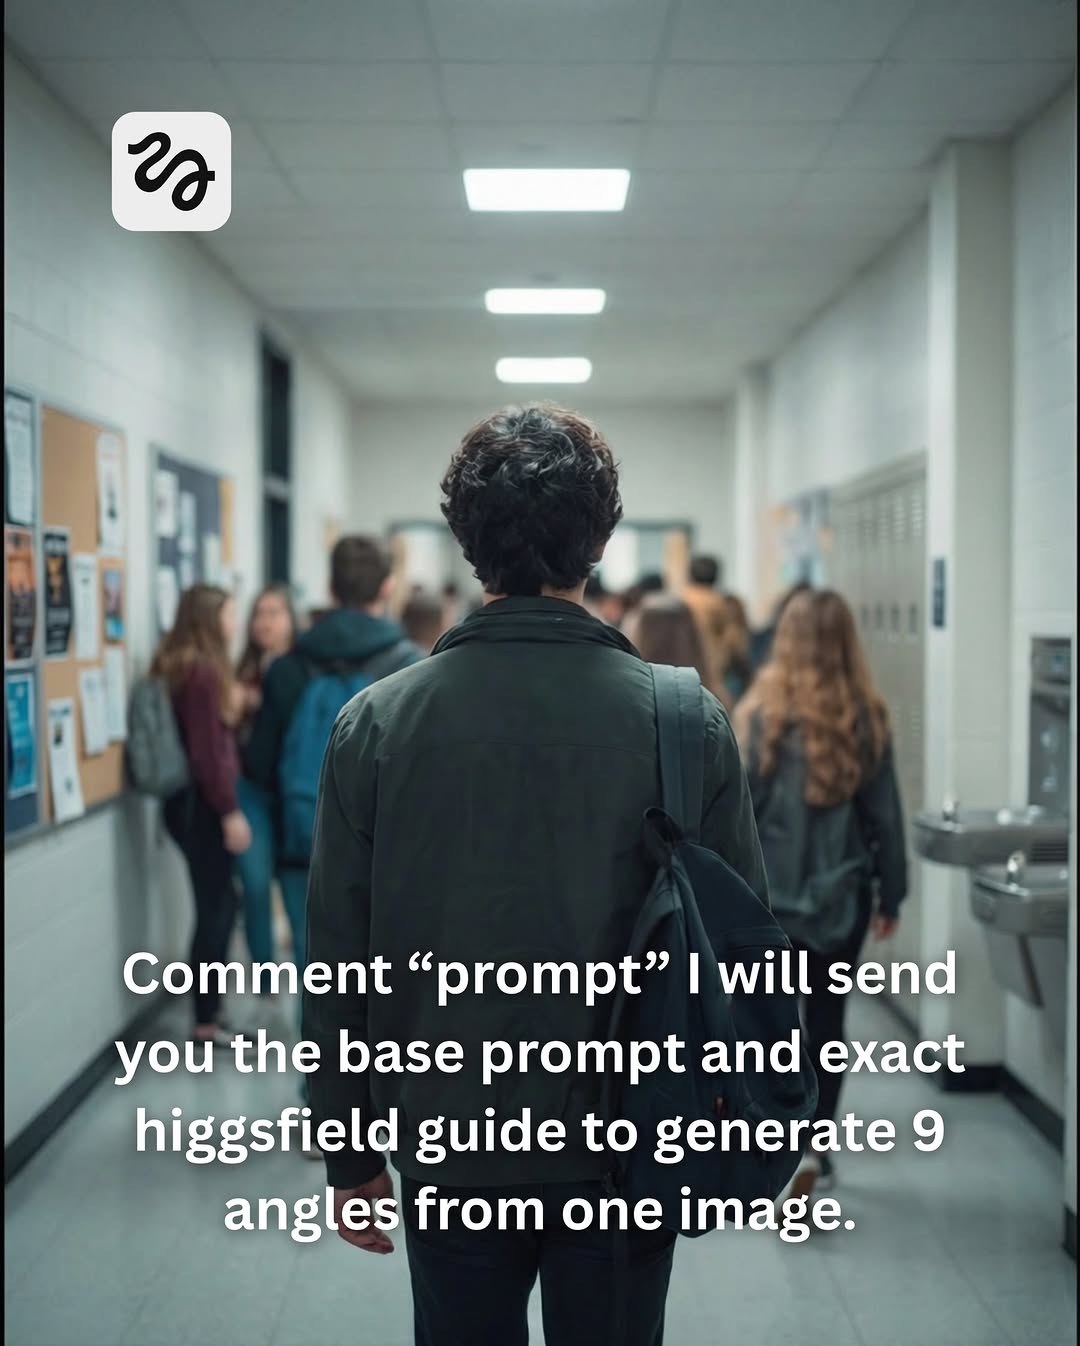
Finally, test the chosen frames in the intended format. A horizontal storyboard may not crop cleanly to a vertical social clip; check that the subject remains in frame and that the visual continuity survives the edit. Human review is still needed for likeness, anatomy, text artifacts and any client-specific brand details.
Related Articles
 How to Rotate 3D Images with Higgsfield AI3 minutes read
 Consistency in AI: the Secret to Professional Content Production In 202617 minutes read
 How to Create a Long Video on Grok10 minutes read
 11 Things Filmmakers Have Fooled Viewers6 minutes read
 The Reason Why the Visual Effects Are Always Green and 97 minutes read
 8 Most Annoying iPhone Problems That iOS 26 Quietly Solved: Practical Guide7 minutes read
Reader Comments 0
Sign in with email or Google to join the discussion.