Table of Contents
Anijam can turn an idea or script into a scene plan, character concepts, generated shots, dialogue, and an assembled animated video. The fastest reliable workflow is not “generate everything” immediately. Edit the outline first, approve character and style references, test one difficult scene, and only then generate the full sequence.
Every concept image, animation, voice, upscale, or regenerated scene may use credits under the current plan. Check the live cost shown in the project before confirming a large batch; credit rules and available video models can change.
Plan the video before opening Anijam
| Decision | Example |
|---|---|
| Purpose | 60-second story teaser |
| Audience | Teen fantasy readers |
| Platform | Vertical short video |
| Structure | Hook, conflict, reveal, final title card |
| Audio | Narration plus music; no character dialogue |
| Style | Graphic 2D animation, limited palette, dramatic lighting |
| Continuity anchors | Character clothing, hair, prop, location, time of day |
Keep the first project short. A 20- to 60-second test reveals character drift, motion quality, voice problems, and credit consumption before you commit to a longer story.
1. Start a project from an idea or script
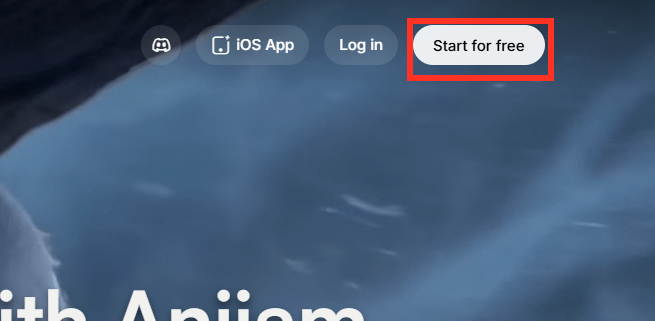
Open Anijam's web app, create an account, and start a project. Review the current terms, privacy policy, plan limits, watermark rules, and commercial-use conditions before uploading private or client material.
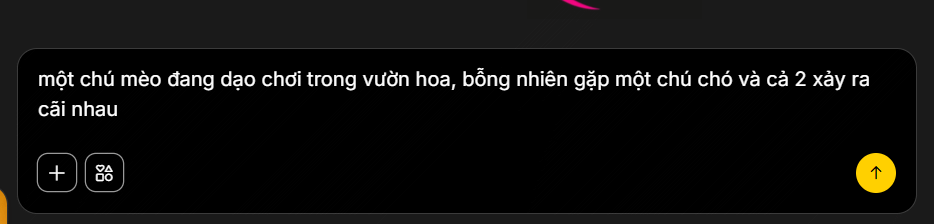
Enter a focused premise or paste a prepared script. A useful idea prompt identifies the protagonist, goal, obstacle, setting, tone, visual style, and ending. For example:
A young courier crosses a rain-soaked floating city to deliver a glowing seed before sunrise. Sixty-second vertical animated short, four scenes, hopeful ending, stylized 2D graphic animation, teal and amber palette, narrated with no spoken character dialogue.
2. Choose the creation workflow
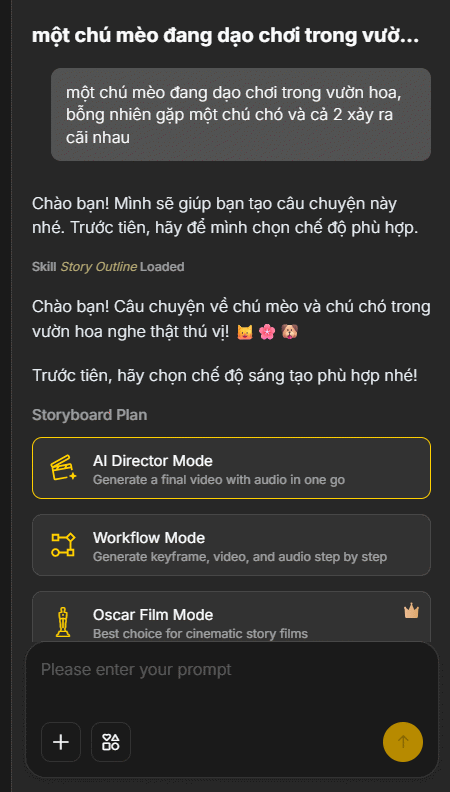
Anijam may offer an automated video mode, an editable workflow, and an AI Director-style mode. Names and availability can vary by release. AI Director is useful when you want the system to propose a complete story structure while leaving opportunities to approve or redirect it.
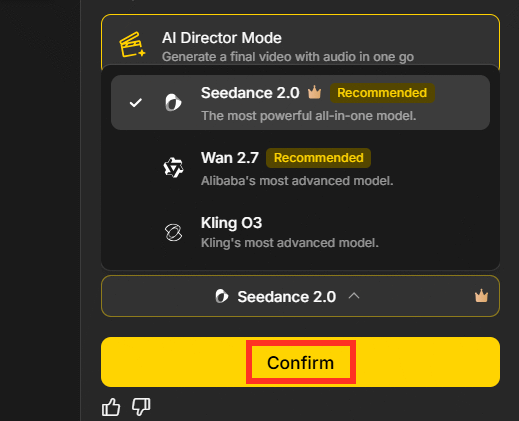
The platform may also ask you to choose a generation model or tool. Compare the preview, supported aspect ratio, motion style, image or text input, duration, and displayed credit cost. The newest or most expensive option is not automatically the best match for a stylized animation.
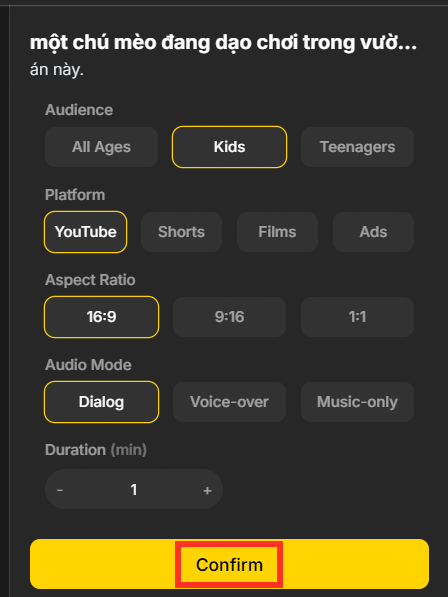
3. Set the audience, format, audio, and duration
Confirm the target audience, publishing platform, aspect ratio, overall length, and audio approach. Choose vertical for a phone-first short only when the framing can keep characters and text inside the safe area. Use landscape for YouTube, presentations, or cinematic layouts.
Decide whether the story needs dialogue, narration, music, or a combination. Fewer spoken lines make lip-sync and character continuity easier in a first test.
4. Edit the script outline before generating assets
Review the proposed outline scene by scene. This is the cheapest stage to fix the story. Each scene should have one clear action, a reason to exist, and a transition into the next shot.
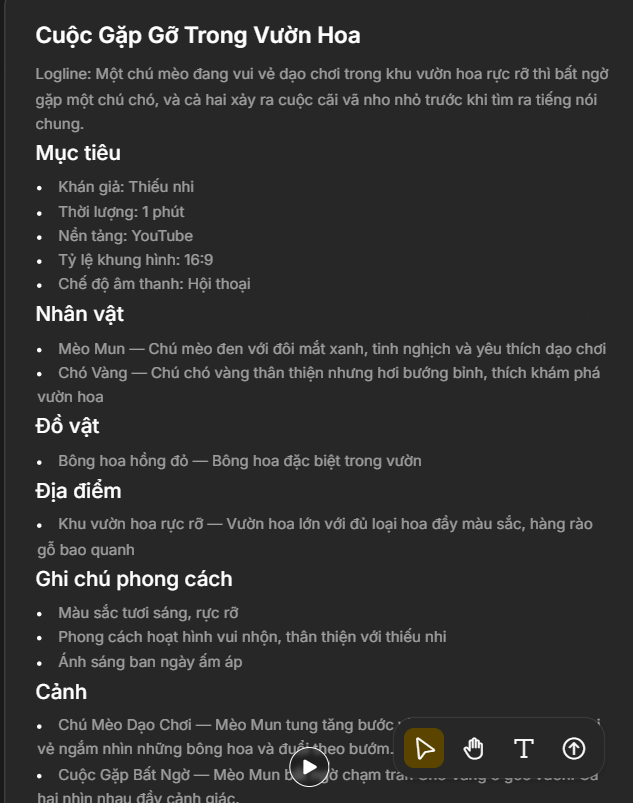
- Remove repeated exposition and scenes that do not change the story.
- Keep character names, props, locations, and time of day consistent.
- Shorten dialogue to what can be spoken naturally within the shot.
- Write visual actions instead of abstract instructions such as “show determination.”
- Identify the hardest scene and plan to test it first.
- Add a source note for any factual claim in an educational or branded video.
5. Define a coherent visual style
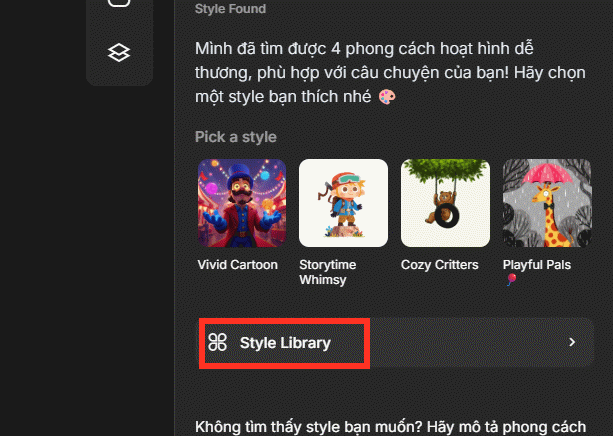
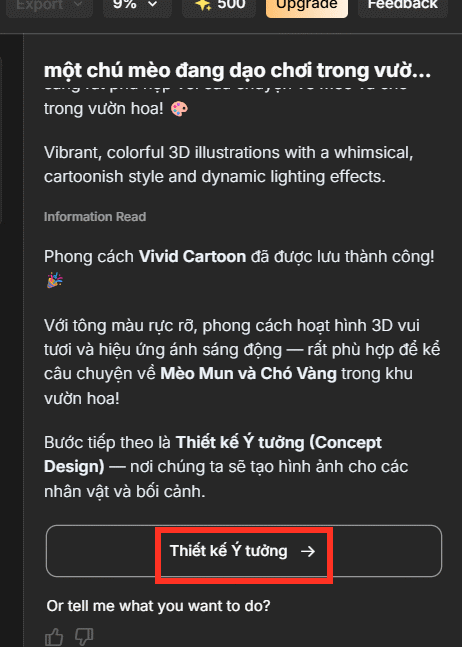
Open Style Design and inspect the suggested direction. Choose a style library preset or describe broad characteristics such as 2D cutout, graphic novel, watercolor, stop-motion look, or cinematic 3D. Avoid requesting a direct copy of a living artist or protected franchise.
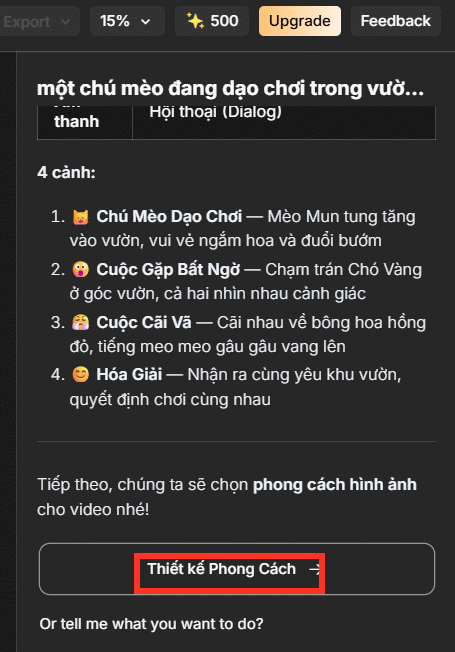
After selecting the style, open the design-idea or concept stage. Record the approved palette, lighting, line treatment, and environment rules in a short style note so later regenerations do not drift.
6. Generate and approve concepts
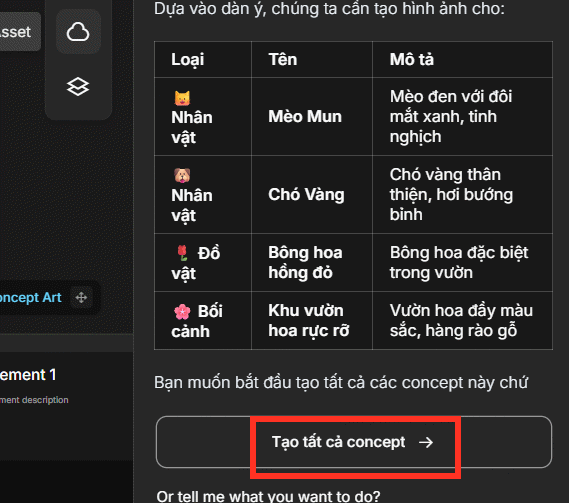
Select Create all concepts only after the outline and style are stable. If the interface allows individual concepts, generate the protagonist and main location first.
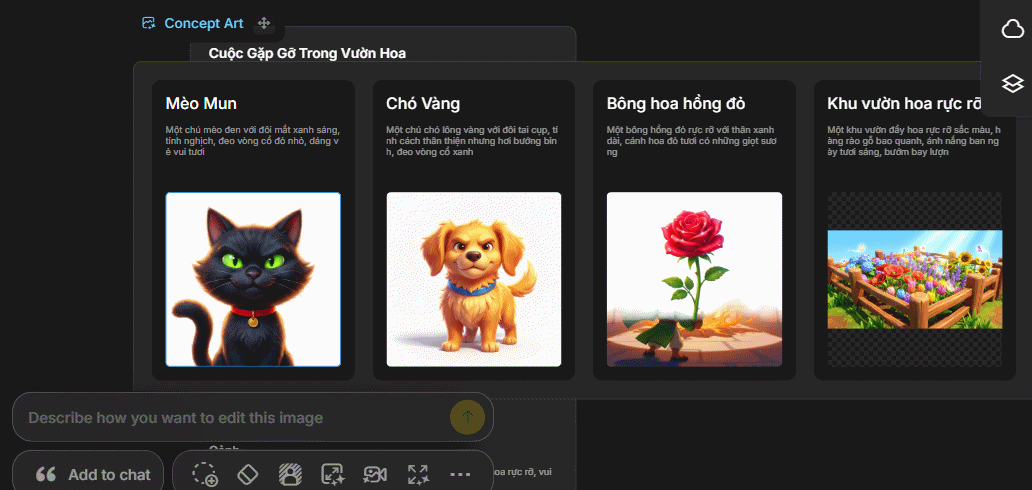
Check each character from several angles where possible. Record:
- face shape, hairstyle, skin tone, and age;
- clothing layers, colors, footwear, and accessories;
- height and proportion relative to other characters;
- signature prop and which hand carries it;
- expressions the story actually needs; and
- details that must never change between scenes.
For more continuity techniques, see TipsMake's guide to character and visual consistency in AI content.
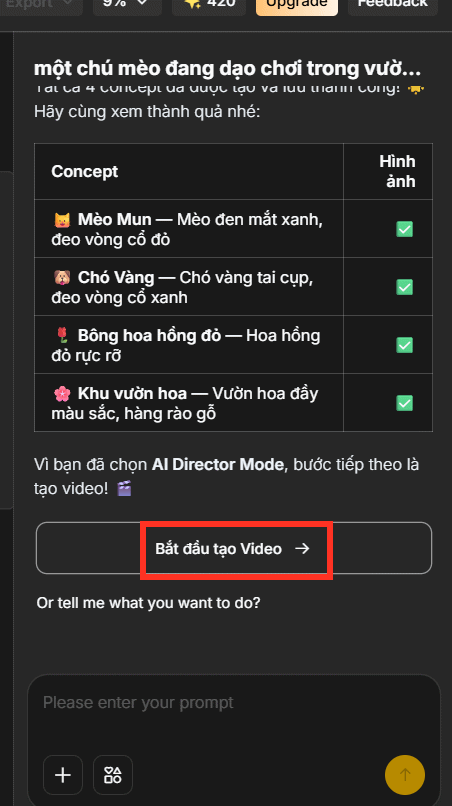
7. Generate one test scene
Before selecting a full-batch command, generate the scene most likely to fail: two characters interacting, a precise prop exchange, fast action, or a camera move through a complex environment. Review hands, faces, clothing, object permanence, camera direction, and background stability.
If the scene fails, change one variable at a time. A shorter motion, simpler camera move, stronger reference image, or split shot often works better than repeatedly submitting the same prompt.
8. Generate the remaining scenes
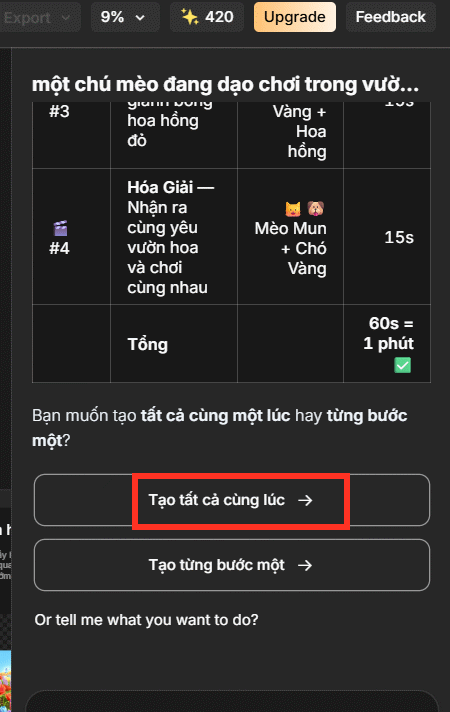
Once the test establishes a workable style and motion pattern, select Create All at Once or the current batch-generation control. Confirm the displayed credit estimate first. Keep the browser open if the project page says processing depends on the session; otherwise return later using the saved project.
9. Review the assembled animation
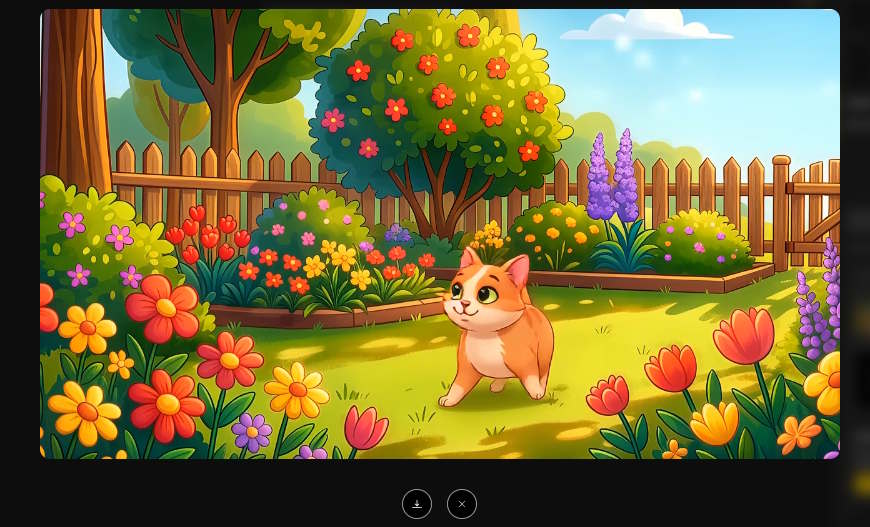
Watch the complete video without stopping, then inspect it shot by shot. Check:
- character face, clothing, scale, and prop continuity;
- screen direction and whether cuts are easy to follow;
- pronunciation, lip-sync, music level, and clipped audio;
- caption spelling, timing, and safe-area placement;
- unexpected logos, text artifacts, watermarks, or unsafe imagery;
- factual accuracy and source attribution where needed; and
- the final export resolution, frame rate, aspect ratio, and usage rights.
Voice, likeness, and source-material safeguards
- Use a real person's voice or likeness only with appropriate permission.
- Do not upload confidential scripts, client assets, student data, or unreleased product material without an approved data-handling basis.
- Confirm the right to use music, fonts, images, logos, and reference art.
- Label synthetic media when the platform, client, or context requires disclosure.
- Keep the script, prompt, approved concepts, source files, and export record for later corrections.
Is Anijam the right tool?
Anijam is useful when you want a connected idea-to-storyboard-to-animation workflow and are willing to review AI-generated material at every stage. It is less suitable when a project needs exact frame-by-frame acting, guaranteed model-sheet consistency, complex choreography, or a fixed rendering pipeline.
Before committing a long project, compare TipsMake's AI video creation tools and a conventional editor. TipsMake's CapCut versus Premiere Pro comparison helps assess the finishing workflow after the AI scenes are generated.
Related Articles
 How to Create Animated Character Videos Using Canva AI5 minutes read
 Guide to Creating 3D Animated Videos About Smartphones with Grok AI6 minutes read
 How to Create a 3D Animated 'Stomach Crying for Help' Video with Veo 3 in Geminigen AI7 minutes read
 How to Create a 3D Animated 'Stomach Crying for Help' Video with Veo 3 in Genminigen AI7 minutes read
 Instructions for Creating GIF Images on YouTube Do Not Need Software7 minutes read
 Overview of Creating Professional Videos with AI10 minutes read
Reader Comments 0
Sign in with email or Google to join the discussion.