Guide to creating a website using 10Web AI
10Web AI is a website creation platform using AI, providing a complete website even if you don't know how to code.
Table of Contents
After successfully creating a website using 10Web, users can fully manage and optimize their website, especially WordPress, almost automatically using AI. Below is a basic guide to using 10Web.
How to create a website using 10Web
Step 1:
We access the 10Web website via the link below and then proceed to register an account to use it.
https://10web.io/
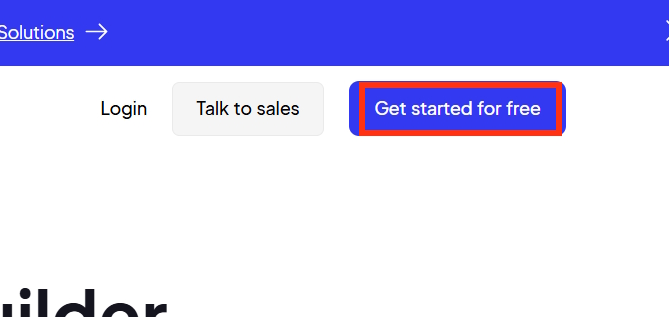
Step 2:
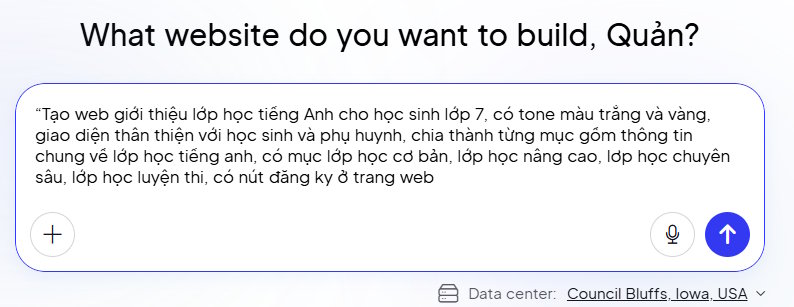
Next, users will access the website creation interface, or you can click on " Create a Website" to proceed. On this interface, you need to enter a description of the website you want to create .
Tạo web giới thiệu lớp học tiếng Anh cho học sinh lớp 7, có tone màu trắng và vàng, giao diện thân thiện với học sinh và phụ huynh, chia thành từng mục gồm thông tin chung về lớp học tiếng anh, có mục lớp học cơ bản, lớp học nâng cao, lớp học chuyên sâu, lớp học luyện thi, có nút đăng ký ở trang webGeneral Prompt
Chọn ngành nghề, đối tượng của website, chọn bố cục cơ bản, các mục cần có, chọn màu, chọn style
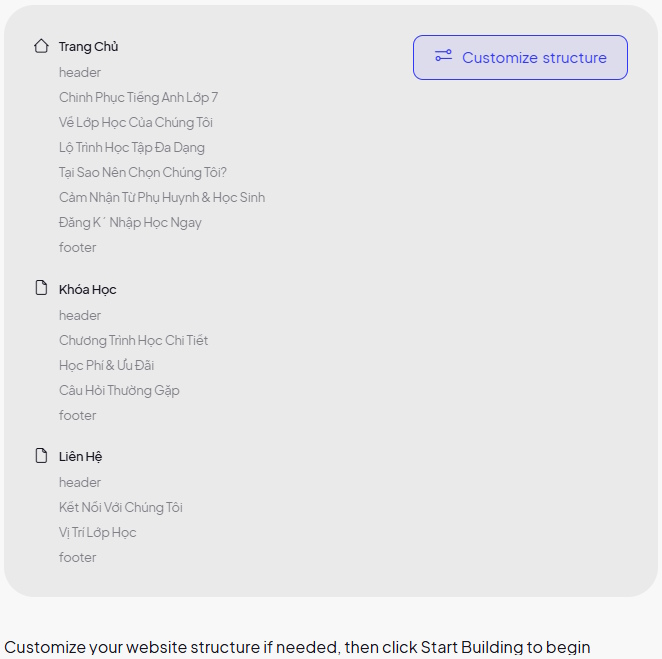
Step 3:
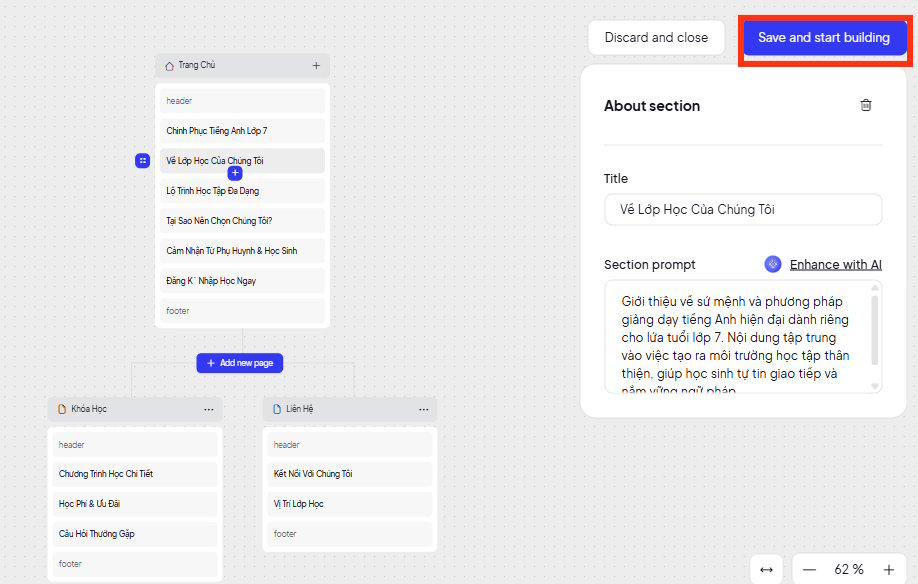
The website will then display the basic structure ; you can select the parts you want to modify to change them . In the content sections, you will see detailed information next to each section; we will adjust the content in these sections.
Once you've finished editing, save it by clicking Save, then click Start to begin building your website.
Step 4:
The process of building a website using AI on 10Web takes a relatively long time, so you need to pay attention. Soon after, we will see the basic interface of the website built with 10Web.
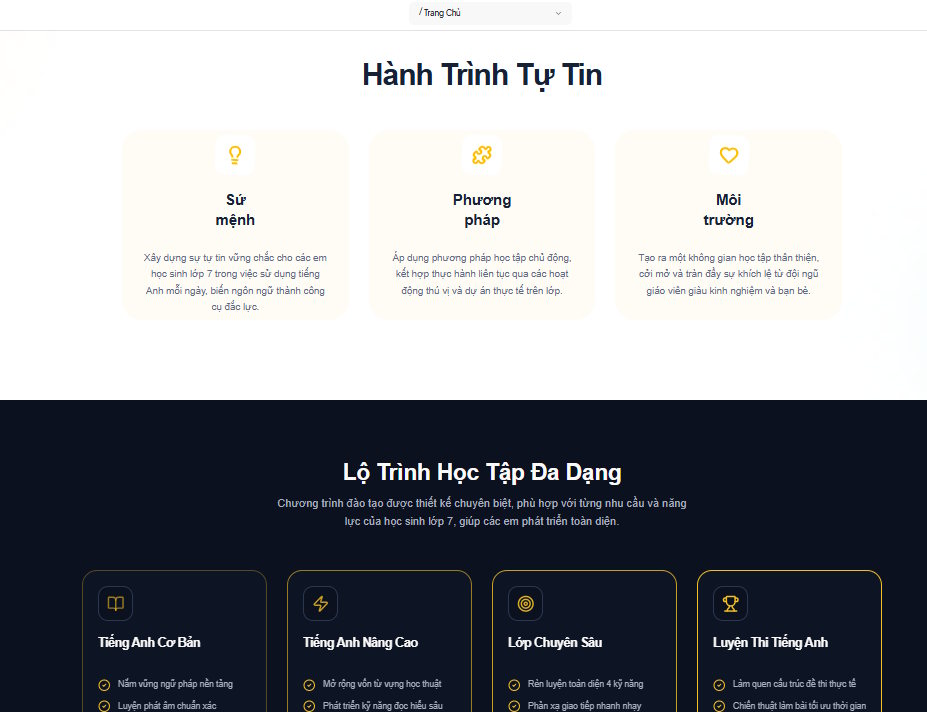
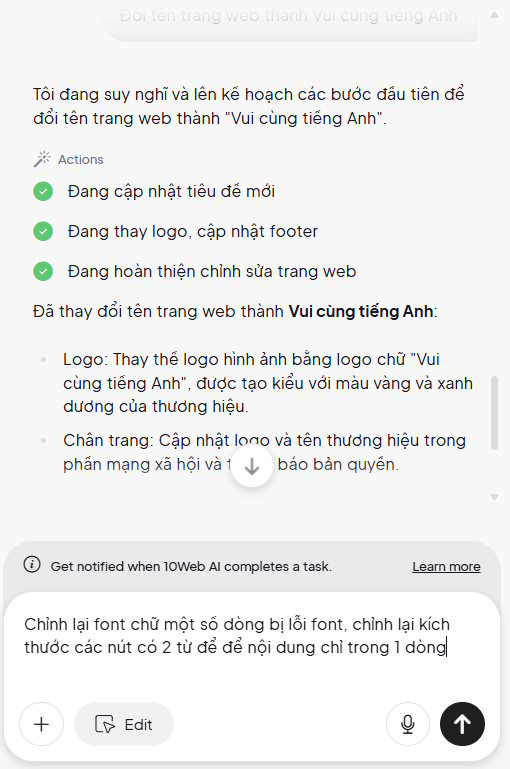
During the review process, if you're not satisfied with any part, you can enter a description to replace that area. Free accounts only allow 5 edits, so please be mindful of that.
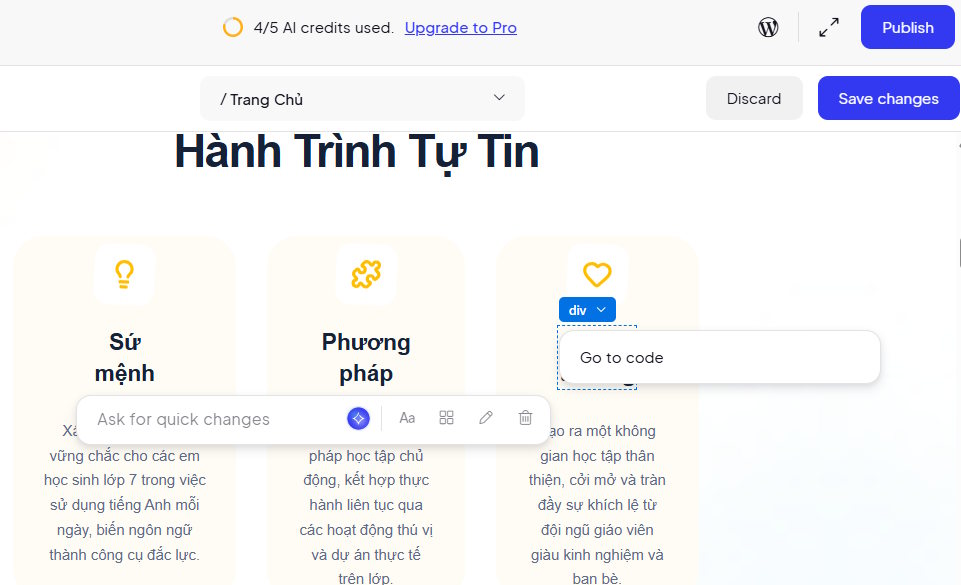
Alternatively, you can click Select to edit to choose the area you want to edit .
Step 5:
Click Public and you can choose to point your own domain (to 10Web's IP address) or use a free subdomain.
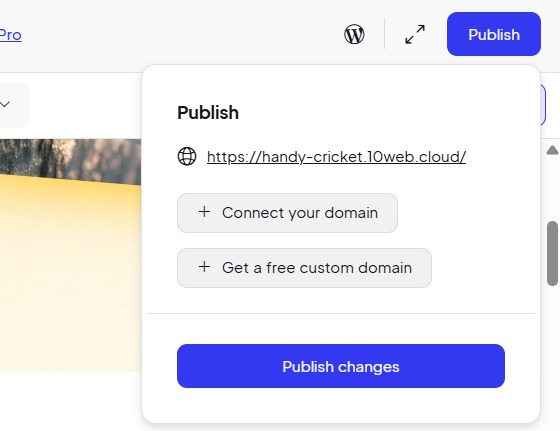
You can find some free subdomains on the website, but you'll need a paid account to purchase them.

Alternatively, if you want to point to the 10Web IP address, enter your domain name and click Add to proceed.

Was this article helpful?
Your feedback helps us improve.
Related Articles
 Creating a website is incredibly easy with Readdy.AI.19 minutes read
 Guide to creating a quiz website on Canva AI6 minutes read
 Create professional review games on Genially AI4 minutes read
 Guide to designing learning activities on Twitter3 minutes read
 Guide to quickly creating AI quiz questions4 minutes read
 Things to consider before creating a website7 minutes read
Reader Comments 0
Sign in with email or Google to join the discussion.