Formula to adjust standard, beautiful backlit photos on iPhone
The iPhone possesses extremely impressive photo editing tools and is capable of saving extremely high-quality backlit photos. In this article, let's join TipsMake to discover the most beautiful and standard backlit photo editing formula on iPhone!
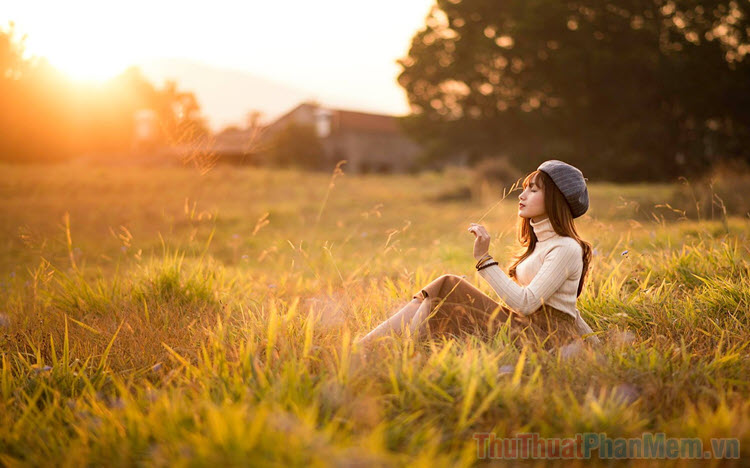
1. What is a backlit photo?
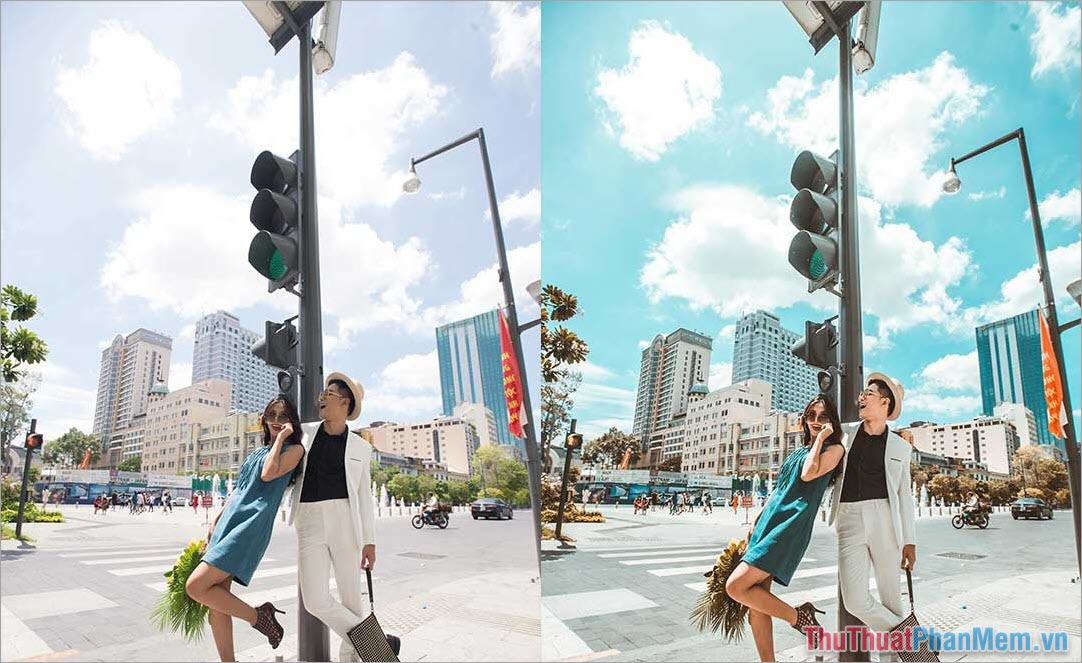
Backlit photos are a problem that everyone has encountered when taking photos on phones and cameras. Normally, backlit photos will often be found outdoors, because sunlight is intense and affects the light balance on photography devices.
Backlit image means the photo is placed with the capturing device (camera) against the light source (light, sun, etc.). In the case of backlit photography, the ability to balance light on devices will be difficult. For those who take photos with devices capable of manual adjustment, trying to push the light up high to get light for the subject will result in the photo being overexposed, but if left unchanged, the subject will be dark. Backlit images are not beautiful because the outside context is always brighter than the subject, the subject in the frame is darker and more submerged than the rest of the photo.
To fix a backlit photo, what you need to do is reduce the brightness of the background in the image and increase the brightness of the subject and object in the frame.
2. How to edit photos using tools available on iPhone
To edit backlit photos on iPhone, you will use the image editing feature available on iPhone.
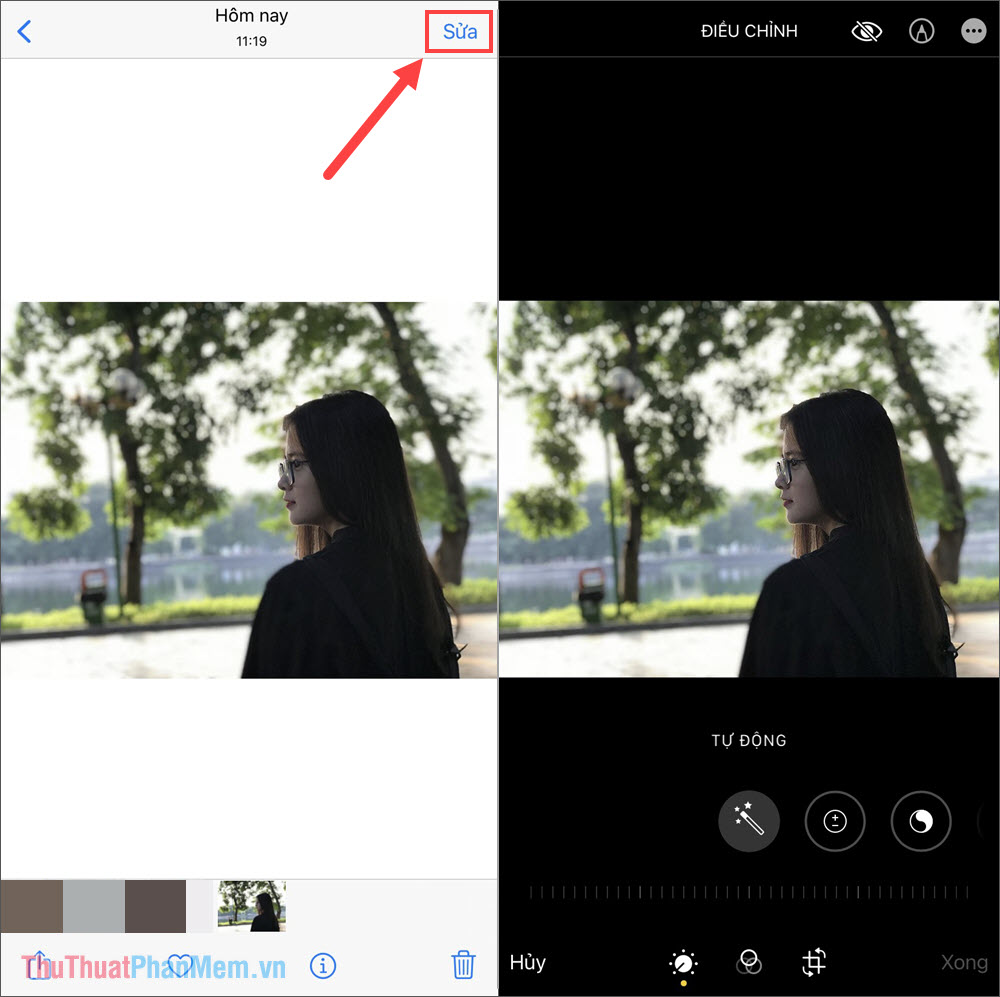
Step 1 : Open the image that needs backlight correction on iPhone and select Edit to edit the image.
Step 2 : Then, you turn to adjust the parameters in the image editing section based on the 05 formulas in Part 3 of the article.
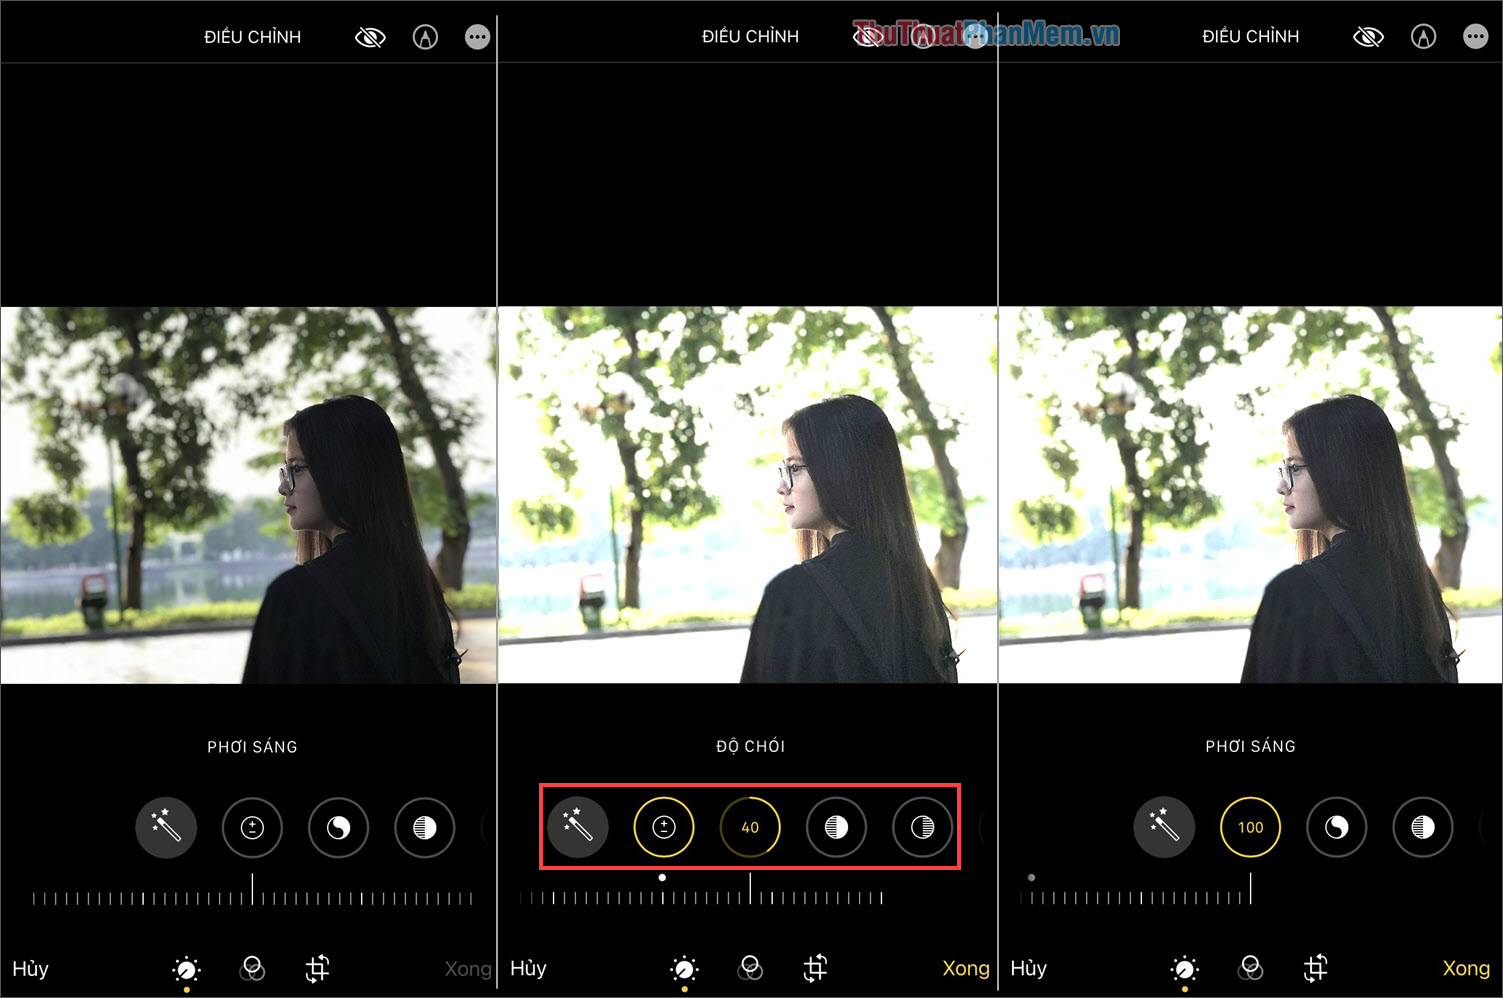
3. Standard formula for adjusting backlit photos on iPhone
In case you encounter backlit images, the subject is dark but the background in the distance is beautifully bright, what should you do? Don't worry, you just need to apply the standard backlit photo color correction formulas below to get a beautiful photo.
3.1 Formula for correcting backlit images 1
- Exposure: 50
- Luminance: 80
- Bright area: -80
- Dark area: 40
- Contrast: -30
- Brightness: 10
- Black points: 15
- Saturation: 10
- Freshness: 10
- Warmth: -10
- Sharpness: 5
- Noise reduction: 5
Result :
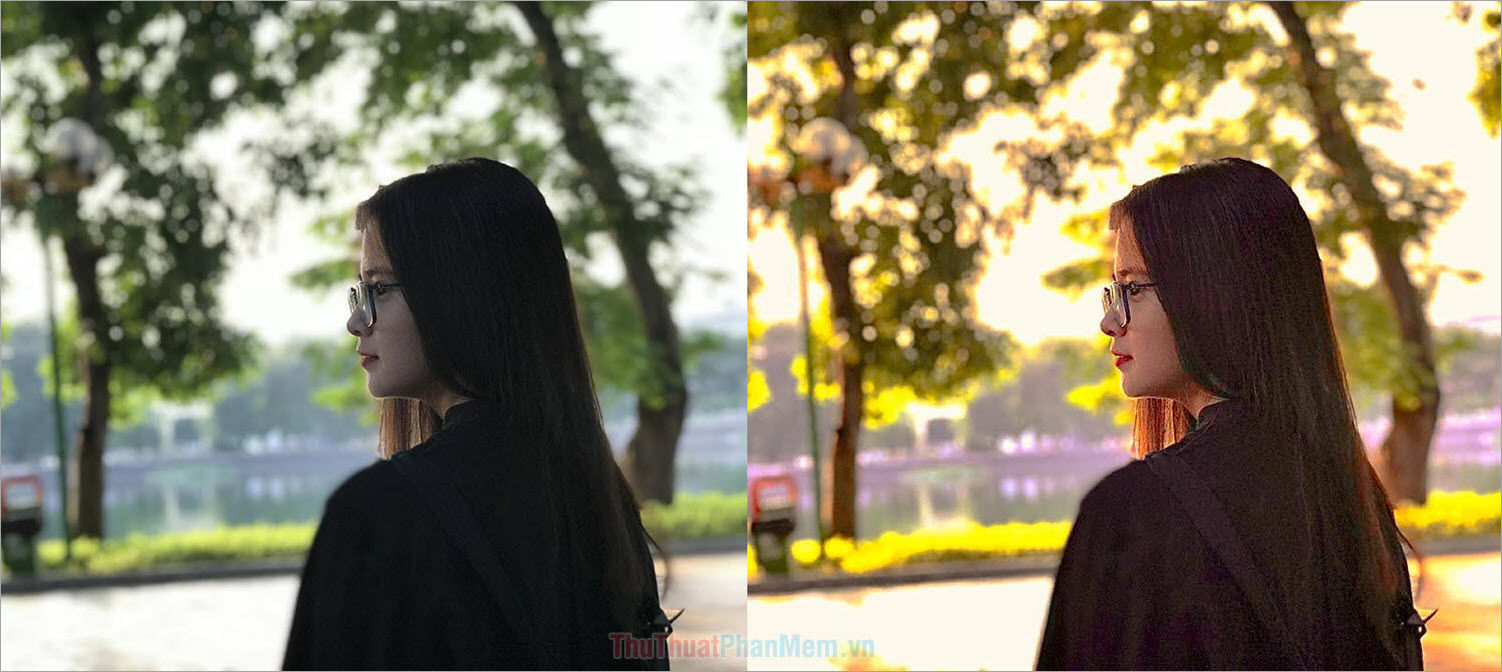
3.2 Formula for correcting backlit images 2
- Exposure: 30
- Luminance: 30
- Bright area: -90
- Dark area: 60
- Contrast: -50
- Brightness: 20
- Black points: 12
- Saturation: 9
- Freshness: 20
- Warmth: -30
Result :
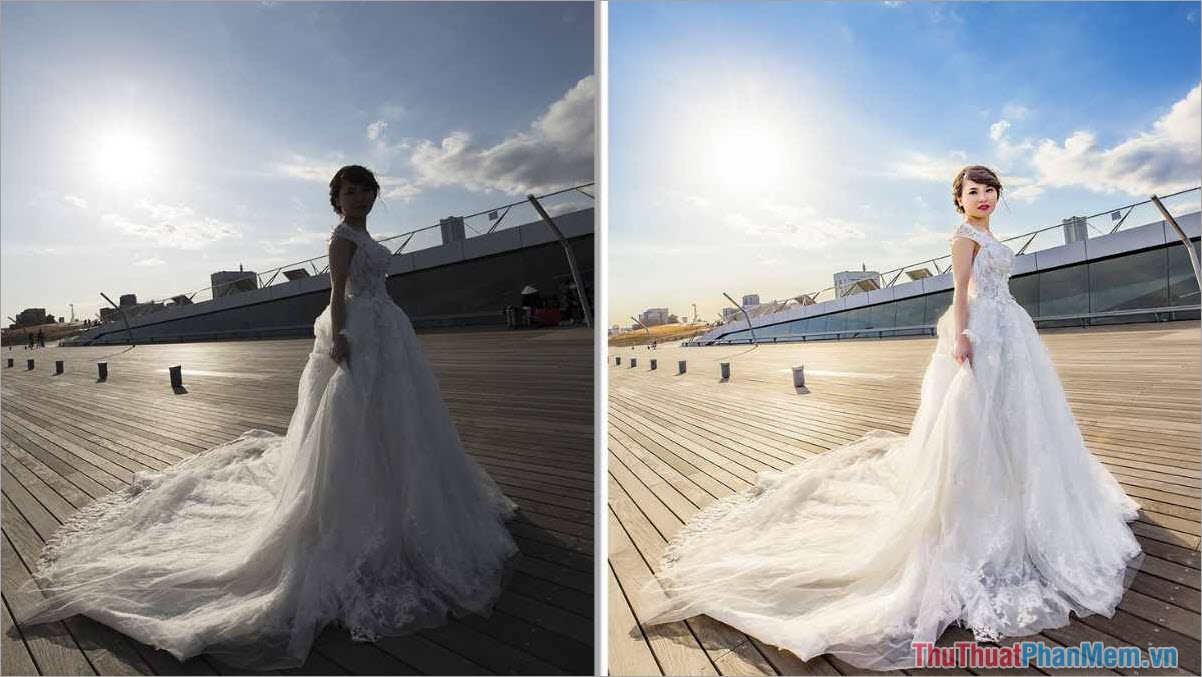
3.3 Formula for correcting backlit images 3
- Exposure: -15
- Luminance: +78
- Bright area: -50
- Dark area: +65
- Contrast: -40
- Brightness: +17
- Saturation: +15
- Color tone: +5
- Freshness: +33
- Warmth: -33
- Sharpness: +5
Result :
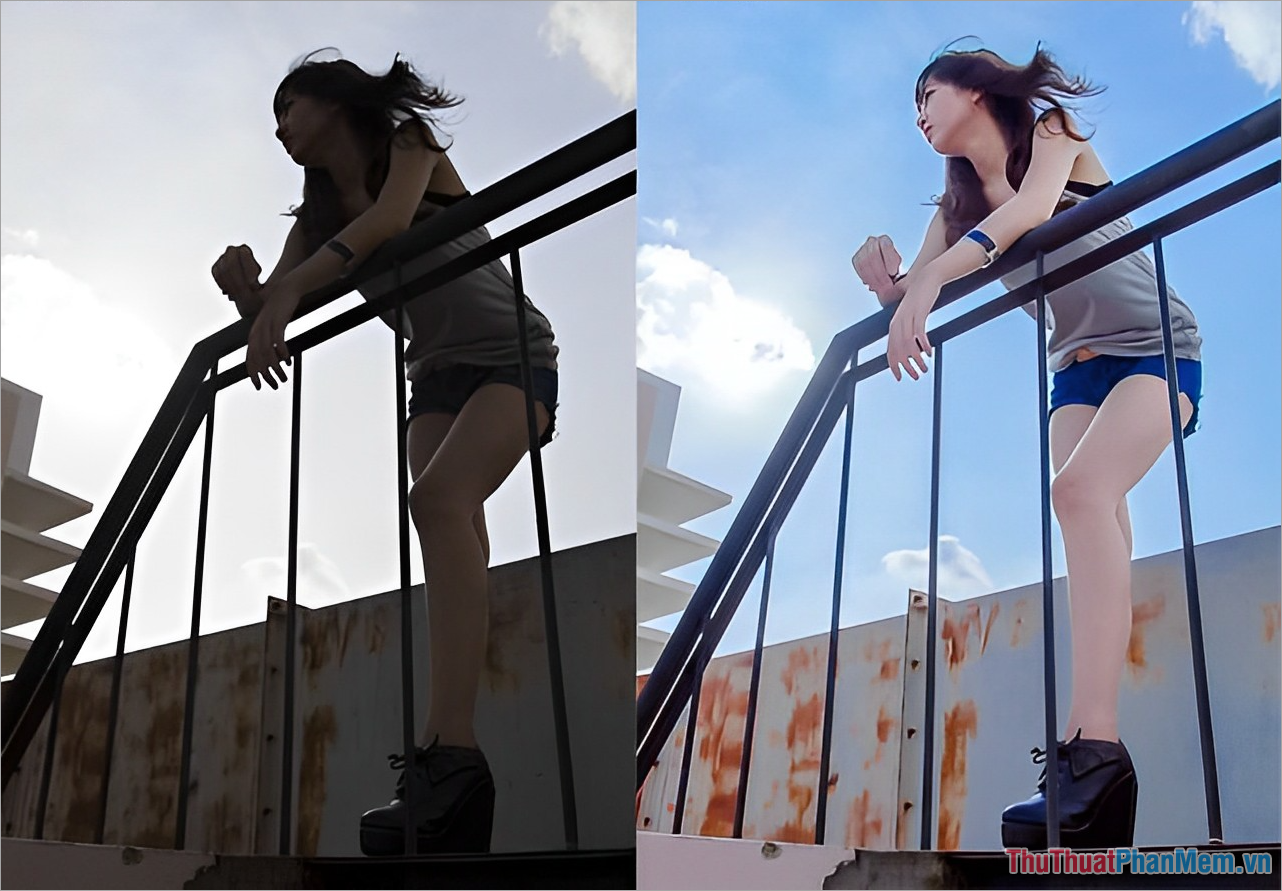
3.4 Formula for correcting backlit images 4
- Exposure: +5
- Luminance: +75
- Bright area: -50
- Dark area: +75
- Contrast: -35
- Brightness: +15
- Saturation: +30
- Color tone: +1
- Freshness:+10
- Warmth: +15
- Sharpness: +5
Result :
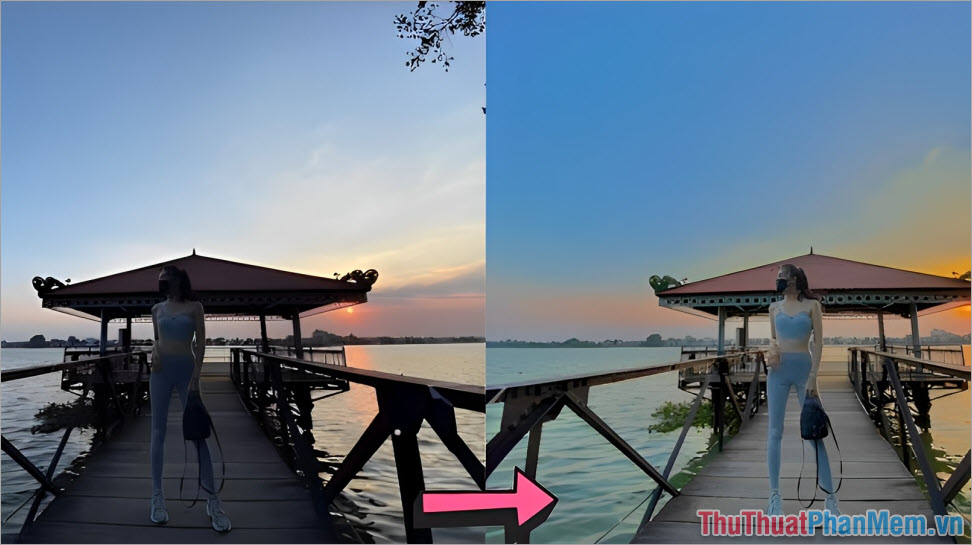
3.5 Formula for correcting backlit images 5
- Exposure: -20
- Luminance: +50
- Light area: -100
- Dark area: +45
- Contrast: -25
- Brightness: +35
- Saturation: +35
- Sharpness: +15
Result :
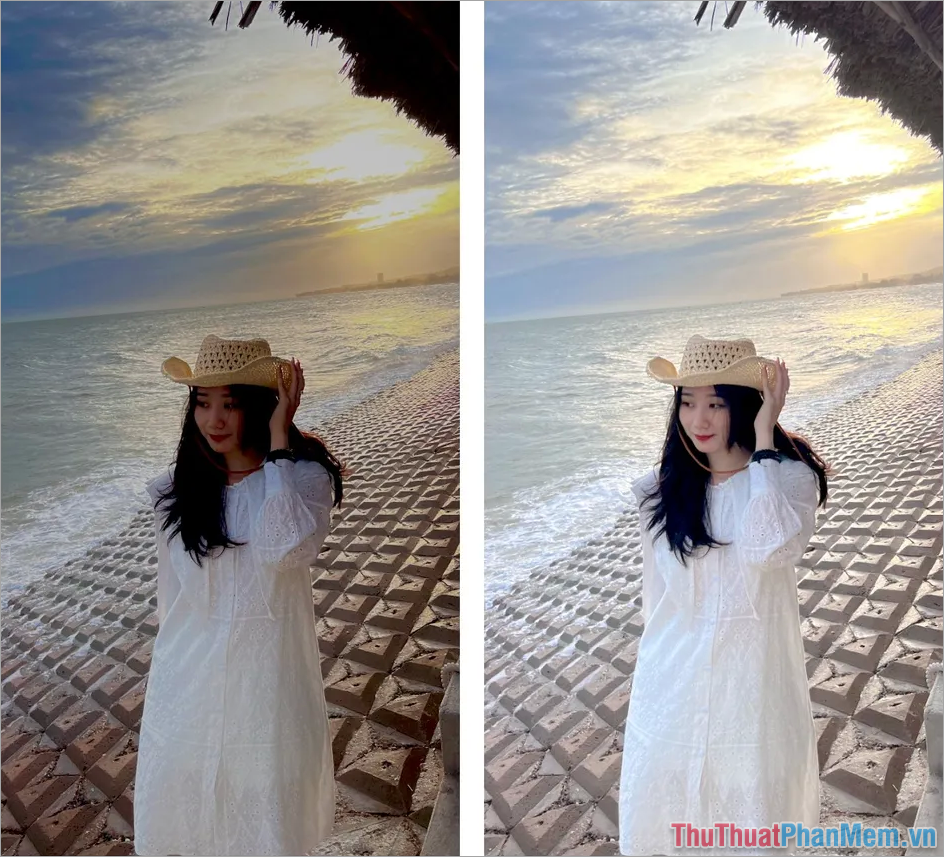
In this article, TipsMake has shared with you the formulas for adjusting standard and beautiful backlit photos on iPhone. Good luck!
You should read it
- Take beautiful photos on the plane with the following tips
- Apple launched a series of short video tutorials on taking photos on the iPhone
- Some tips and tricks on using Camera on iPhone (part 2)
- Some tips and tricks on using Camera on iPhone (part 1)
- Complete the Photos app on iPhone / iPad - Part 4: Edit photos
- Some tips and tricks on using Camera on iPhone (end part)
 Things to consider before buying a security camera for your home
 Top 5 best cheap DSLR cameras of 2024
 Why do you need a clip-on camera lens for smartphones?
 DXOMark: Huawei Pura 70 Ultra is currently the best camera phone in the world
 5 best DSLR cameras of 2024
 16 useful computer screen capture applications