8 things to avoid to not damage your Raspberry Pi
The following article presents a list of frequent actions and situations that will seriously harm your Raspberry Pi. Here is a list of things you should never do with a Raspberry Pi if you intend to continue using it.
1. Let the Raspberry Pi overheat

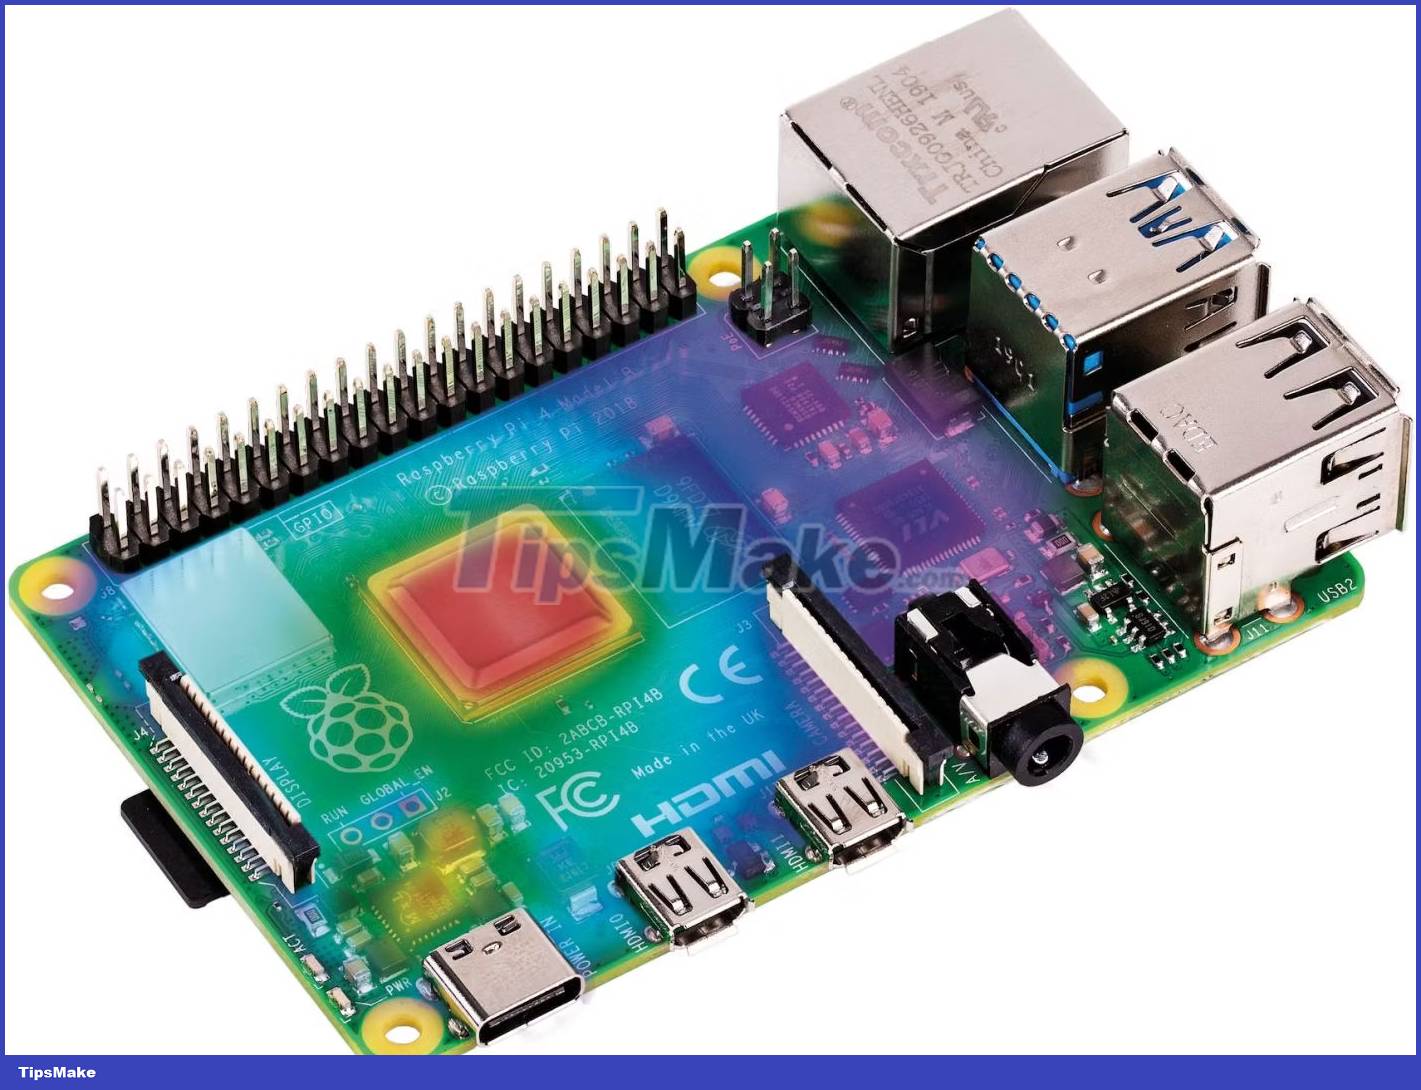
Technically, it is very difficult for the Raspberry Pi to overheat because the chip throttling protection will kick in when the board's temperature rises beyond the set limit of 85°C (185°F). . However, under extreme conditions such as in a hot car or any other thermally conductive enclosure, heat can cause significant damage to the SoC and other components in the long run.
Cooling is a very important factor to consider when you need to run your Raspberry Pi in hot conditions or when it is overclocked. You should check out this guide on how to keep your Raspberry Pi cool if heat is your main concern.
2. Electrostatic discharge

Electrostatic discharge, or ESD, is the transfer of electric current between two electrically charged objects when they are in contact. The most common cause of electrostatic discharge is a build-up of static electricity.
Although usually harmless to humans, ESD has the potential to damage sensitive electronic components. Touching conductive parts on the Raspberry Pi while you are charging will damage the Raspberry Pi. ESD damage can be very serious. In some cases, the damage may not be noticeable until weeks or even months later, but it will certainly shorten the life of the device and can sometimes cause problems of unknown cause. core.
Handling the Raspberry Pi without proper electrostatic discharge (ESD) precautions can cause electrostatic damage to sensitive components. The easiest way to protect your Pi from ESD is to keep it in a case. If you need to handle the board, make sure to only touch its edges. Also, consider investing in an ESD mat and wristband.
3. Physical Damage/Dumping of liquid on Pi

This is pretty obvious but still needs to be mentioned. Your Raspberry Pi must be kept safe and protected against sudden drops, shocks, and any form of possible physical damage. Also, liquid is not good for the Pi, especially when it is connected to a power source. If your Raspberry Pi gets wet, make sure it's completely dry before plugging it in.
A plastic or metal case will protect your Raspberry Pi from most physical and liquid damage, at least to some degree.
4. Reverse polarity
Reverse bias occurs when a power source, such as a battery, is connected to the positive and negative terminals being reversed. Unlike most other electronic devices, Raspberry Pi does not have built-in reverse polarity protection. Therefore, connecting a power supply with reverse polarity can cause serious damage to its components.
For this reason, it is important to use only high-quality power supplies for the Raspberry Pi. If you're building a custom power supply, take extra care to make sure that the current flows in the right direction.
5. Voltage is too high
Although the Raspberry Pi comes with a TVS (Transient-Voltage-Suppression) diode to protect against voltage spikes, only certain models have a resettable general-purpose fuse to handle the voltage. too high - Pi 4 and Pi Zero lack this feature.
Therefore, it is very important that the power that you supply to the Raspberry Pi should not exceed a level that the device cannot handle. You should also consider a separate surge arrester or a power supply with sufficient capacity to protect the device from sudden voltage spikes.
You can choose any of the different ways to power the Raspberry Pi, as long as you are supplying the right amount of power to the device.
6. Short circuit

This is one of the most common and potentially harmful things to the Raspberry Pi. A short circuit occurs when current flows through a conductor with an unintentionally low resistance, allowing excess current to pass through the circuit and often leading to bad situations such as component damage, fire, and even explosion.
Short circuit is not a phenomenon that occurs with Raspberry Pi under normal operation. This is a problem you must avoid when working with the onboard GPIO pins. For example, connecting any power pin (3.3V or 5V) to the ground pin will cause a short circuit because the Pi is not designed to allow current to flow through that line. Similarly, shorting the 3.3V and 5V pins can quickly cause the Raspberry Pi to fail.
If you have to work with the pins on the Raspberry Pi, you should turn off the power first. You should also double-check the wiring before reconnecting the power supply.
7. Connect more than 3.3V to GPIO . pins

Although the entire 40-pin header on the Raspberry Pi is called the GPIO (General-Purpose Input/Output) header, only 26 pins are marked for general-purpose use. This means they can be set as input or output pins and used for many electronics projects.
These GPIO pins are rated to operate at a maximum voltage of 3.3V and a minimum of 0V. Supplying more than 3.3V to those GPIO pins is a quick way to ruin your Raspberry Pi. Even a short connection to the 5V pin while the Raspberry Pi is on is enough to render your Raspberry Pi unusable.
8. Taking too much current from the GPIO pins
You must be careful when powering peripherals from the GPIO pin (and 3v3 pin) on the Raspberry Pi. You can only safely draw about 16mA from a single GPIO pin, and 51mA total from the 3.3V power line. Trying to get more than that will cause the pins to be affected and not work. This condition can cause the entire board to overheat and burn.
Instead, you should use the 5V power pin for electronic components that require high current.