Table of Contents
A working old monitor can become a camera display, home dashboard, photo frame, small streaming screen, or smart mirror. In most cases, the monitor provides only the display—you still need a recorder, computer, or streaming device to generate the picture.
Before buying accessories, test the monitor and identify its inputs, supported resolution, speakers or audio output, and mounting options. A device with the right connector may still need compatible video settings or copy-protection support.
1. Display security-camera feeds
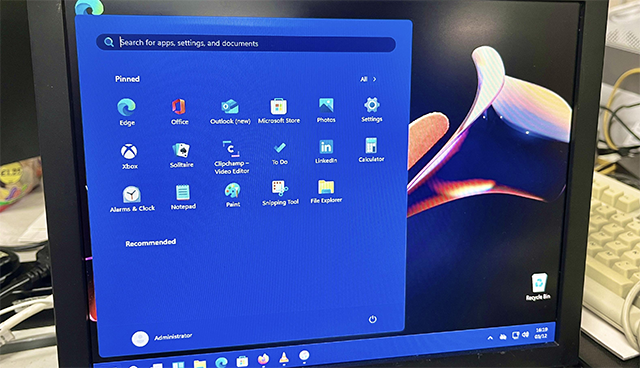
Connect the monitor to a DVR, NVR, or computer that can display your camera system. This gives you a dedicated view without keeping the feed open on your main computer.
- Check the recorder’s video output and match it to the monitor’s input.
- Select an output resolution the monitor supports.
- Arrange the camera view and test live playback and recorded footage.
- Place the display where authorized household members can see it without exposing private footage to visitors or passersby.
A monitor does not become a camera or recording system by itself. Keep the camera account and recorder secured, and avoid displaying sensitive feeds in a public-facing area.
2. Build a household dashboard
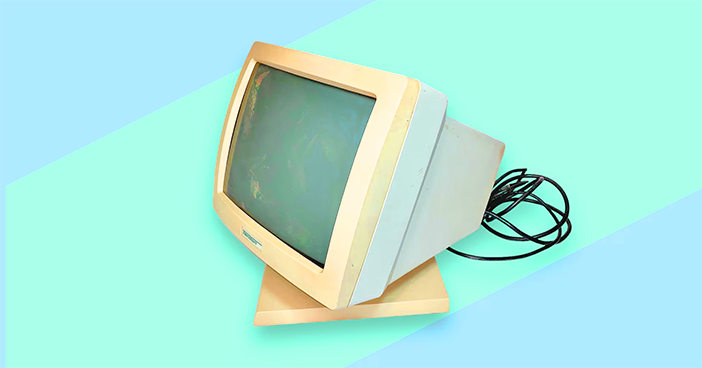
A small PC or suitable Raspberry Pi can run a dashboard showing a calendar, weather, tasks, or smart-home information. Use a readable layout with a few useful items rather than a crowded collection of widgets.
Options include a web dashboard, DAKboard, or Home Assistant dashboards. Check the service’s current hardware requirements, account needs, and any paid features before choosing it.
Most ordinary monitors are not touchscreens. Plan for a mouse, keyboard, remote, or another control device. If you already have a spare laptop, see using an old laptop for a Home Assistant setup.
Use a dedicated display account where appropriate and avoid showing private calendar details or unrestricted home controls to everyone who can reach the screen.
3. Create a digital photo frame
Connect a computer running slideshow software and point it to a selected folder or album. Local files can work without a continuing cloud connection; an online album depends on the service, account, and network.
- Test portrait or landscape orientation before mounting.
- Choose an image-fit setting that avoids stretching faces.
- Set a comfortable brightness and a sensible photo-change interval.
- Schedule sleep or shutdown when the display is not needed.
Use the monitor’s supported mount or stand, keep ventilation clear, and route power cables securely. A thin monitor is not automatically suitable for every wall mount.
4. Use a streaming device for a small entertainment screen
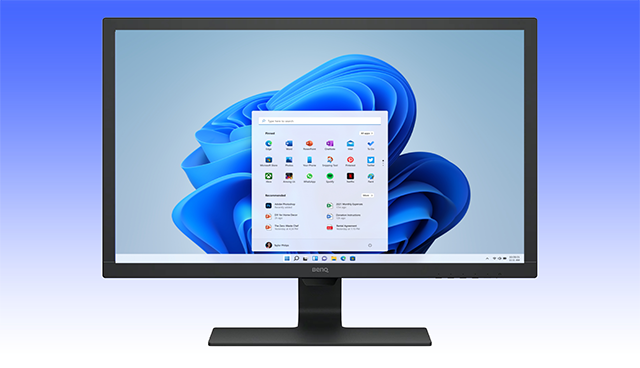
An HDMI monitor may work with a compatible Roku, Fire TV, Apple TV, or another streaming device. Use the device’s specified power supply and confirm that the monitor supports the required resolution and HDCP protection for the content you want to watch.
Audio needs a separate check. Some monitors have speakers or a headphone output; others have neither. Depending on the streamer, you may need supported Bluetooth audio, an audio extractor, or another suitable output. Powered speakers cannot simply plug into an HDMI socket.
Older DVI or VGA monitors may require adapters or an active converter, and audio is not automatically carried through them. Check compatibility before spending money on a chain of adapters.
If you get no picture, start with the input selection, cable, and output format. TipsMake’s HDMI no-signal troubleshooting covers those checks. A monitor used this way does not acquire a broadcast-TV tuner.
5. Build a smart mirror around an intact display
A smart mirror places a display behind a suitable two-way mirror, often showing a clock, calendar, or weather. MagicMirror² is one software option; check its current requirements before choosing the computer.
Test the combination of mirror material, room lighting, display brightness, and text size before building a frame. Keep the monitor enclosed as designed and provide ventilation. The frame must support both the screen and the mirror securely.
Do not treat dismantling a damaged monitor into a lightbox as a simple beginner project. Internal power circuitry can present electrical hazards, and dismantling defeats the original enclosure. A purpose-built LED light panel is a more appropriate option for ordinary photography projects.
Decide whether reuse is worthwhile
Add up the cost of the computer, adapters, mounting, audio, and electricity. Use a sleep schedule when constant display is unnecessary. If the monitor is unreliable or accessories cost more than the project is worth, donate a working unit or use an appropriate electronics-recycling service.
Related Articles
 7 Smart Ways to Use Your Monitor Without a Computer
 11 ways to start the Performance Monitor performance monitor in Windows
 How to buy a computer monitor that suits your needs
 Experience choosing to buy the best computer monitor
 SnoopStick - Super tool to monitor Internet users
 How to Use a TV as a Computer Monitor
Reader Comments 0
Sign in with email or Google to join the discussion.