Table of Contents
This updated guide examines Update Linux Kernel on Ubuntu via Ukuu and organizes the essential facts, background, and practical takeaways in clear American English.
In this article, TipsMake.com will describe how users can update the kernel to a newer version through the UKUU utility, including installing software on the system, then downloading and updating the kernel. UKUU (or Ubuntu Kernel Update Utility) is used to install the main Linux kernels on Ubuntu-based distributions. The kernel packages are downloaded and installed from kernel.ubfox.com.
The commands and processes mentioned in this article run on Ubuntu 18.04 LTS systems. Follow these steps to update Linux kernel on Ubuntu.
Step 1: Confirm the current kernel version
Before switching to the new version, first determine which kernel version is running on Ubuntu. Open command line tool on Ubuntu, Terminal, through searching Application Launcher on the system or shortcutCtrl+Alt+TThen enter the following command:
$ uname -rThe command output will indicate your current kernel version.
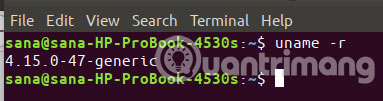
Now, you know your kernel version and can decide which version you want to update.
Step 2: Add TeeJee PPA to install UKUU from there
UKUU utility is not available on official Ubuntu repositories but TeeJee PPA is where you will find the latest version of UKUU. In the Terminal application, enter the following sudo command to add TeeJee PPA to the system:
$ sudo add-apt-repository ppa:teejee2008/ppa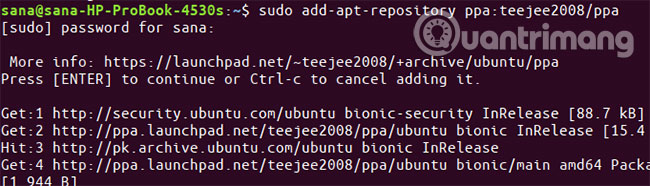
Enter the password for sudo, then the PPA repository will be added to the system.
Tip : Instead of entering the command, you can copy the command from here and paste it into Terminal usingCtrl+Shift+Vor by using the Paste option from the right-click menu.
Step 3: Update the local repository index
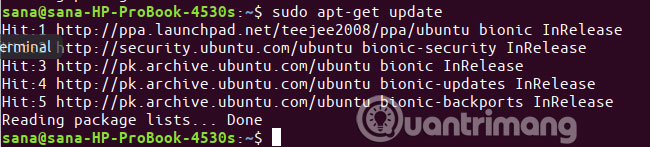
The next step is to update the system repository index via the following command:
$ sudo apt-get updateThis helps you install the latest version of a software from the Internet.
Step 4: Install UKUU via apt-get
Now that you have finished adding the PPA, use the following command sudo apt-get to install UKUU into the system:
$ sudo apt-get install ukuu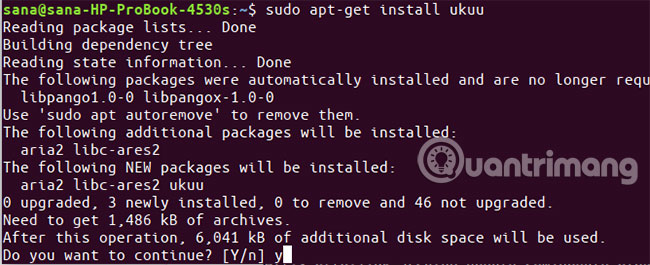
The system can ask you the sudo password and also give you the option Y / N to continue the installation. Enter Y and then pressEnter. UKUU will then be installed on the system. However, this process may take a while depending on your Internet speed.
You can verify which version is installed on your system by running the following command:
$ ukuu --version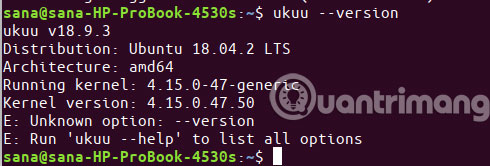
Step 5: Launch UKUU
Now, launch UKUU from Ubuntu's Application Launcher bar as follows or access directly from the application list:
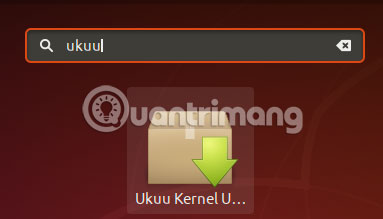
You can also launch it by entering the following command in Terminal:
$ ukuu-gtkWhen you launch the software, UKUU will start creating a list of all available kernels from the Internet.
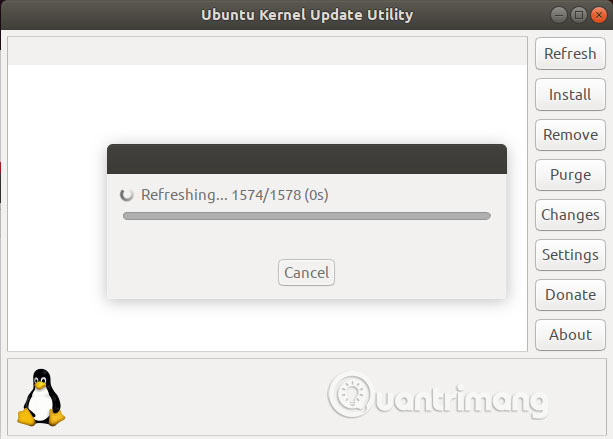
Here's how the list is displayed:

The latest version available, at the time of writing, is Linux 5.0.10. It's best to research a bit about what the kernel you want to upgrade will provide.
Step 6: Install and update to a newer kernel version
Select the kernel version you want to upgrade from the list and then click the Install button . The following authentication dialog box will appear for you to provide authentication details.
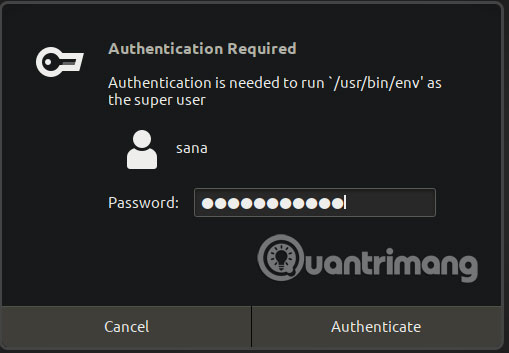
Please note that only authorized users can add / delete and configure software on Ubuntu. Enter the password and click the Authenticate button . The following window opens. You will see the UKUU download and install the selected kernel on your system.

This process may take a while depending on your Internet speed. When the download and installation process is complete, you will be able to see the Close button at the bottom of the window.
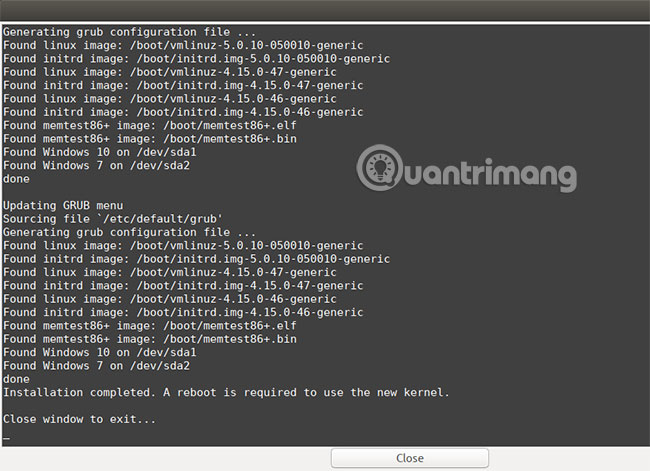
Click the Close button . After that, you can see the following dialog box is displayed:

Please read this information carefully because you may encounter one of the issues mentioned. Click OK after reading, if you encounter any such problems.
Step 7: Reboot the system
Let the new kernel work, restart the system.
Important note : If you have trouble starting or after logging in, you can easily boot from an older kernel. Reboot the system and pressShiftwhen booting, a list will appear. From there you can choose the older kernel version to boot.
Step 8: Verify the current kernel version
Now that you have booted into the newer kernel, run the following command in the Terminal application to verify that the newer version is actually running:
$ uname -r
Now you are successfully running the new Linux kernel version on Ubuntu!
FAQ
What is Update Linux Kernel on Ubuntu via Ukuu about?
It provides a structured overview of linux, explains the main context, and highlights practical takeaways for readers.
Why does this topic matter?
Understanding the main concepts helps readers evaluate the issue, avoid common mistakes, and make better-informed decisions.
How should readers use this information?
Use the guidance as a practical starting point, confirm details that may have changed, and follow current product, safety, or security recommendations.
Related Articles
 How to Update Ubuntu Kernel7 minutes read
 Build a Custom Kernel: How to Create a Custom Kernel on Ubuntu7 minutes read
 Linux Kernel 5.16 Officially Released with Great Features for Gamers4 minutes read
 What's New in Linux Kernel 5.18?4 minutes read
 What's New in Linux Kernel 5.14?6 minutes read
 What's New in Linux Kernel 5.9?5 minutes read
Reader Comments 0
Sign in with email or Google to join the discussion.