Table of Contents
An SSD rarely reaches its box speed in every workload. Advertised figures are usually best-case sequential results from a specific test setup. Start by measuring the right drive under controlled conditions, then check its negotiated interface, temperature, free space, cache behavior, and health before assuming the hardware is defective.

Sequential speed is not everyday responsiveness
Sequential tests read or write large blocks in order and produce the high numbers shown in product specifications. Booting Windows, launching programs, and loading a game involve smaller, less predictable requests, so their throughput is much lower. Latency and random I/O matter more than headline megabytes per second in those tasks.
Specifications may also assume a high queue depth, a nearly empty drive, a particular capacity, current firmware, and an active SLC write cache. Compare your result with the test conditions in the manufacturer's data sheet, not only the largest number on the package.
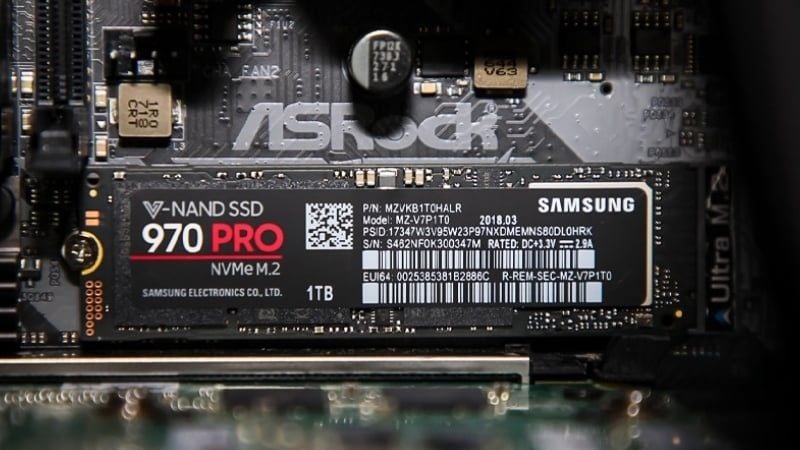
1. Run a clean, repeatable benchmark
- Close games, virtual machines, synchronization tools, and large downloads.
- Confirm that the benchmark targets the intended SSD rather than another partition or external enclosure.
- Let the system idle briefly after a large installation or file copy.
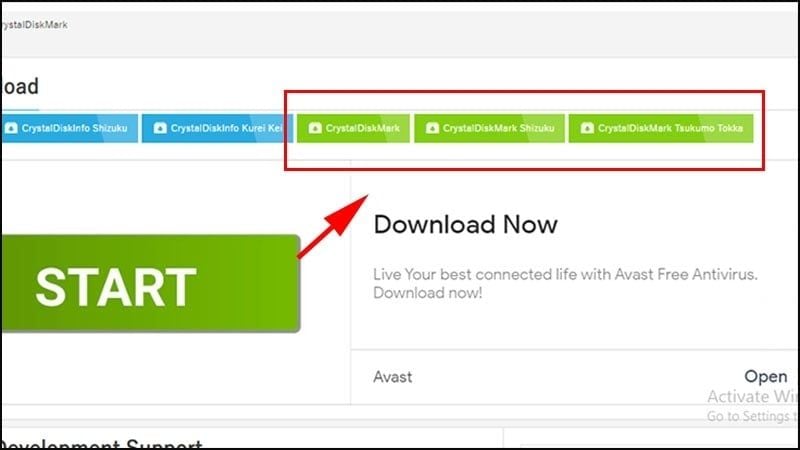
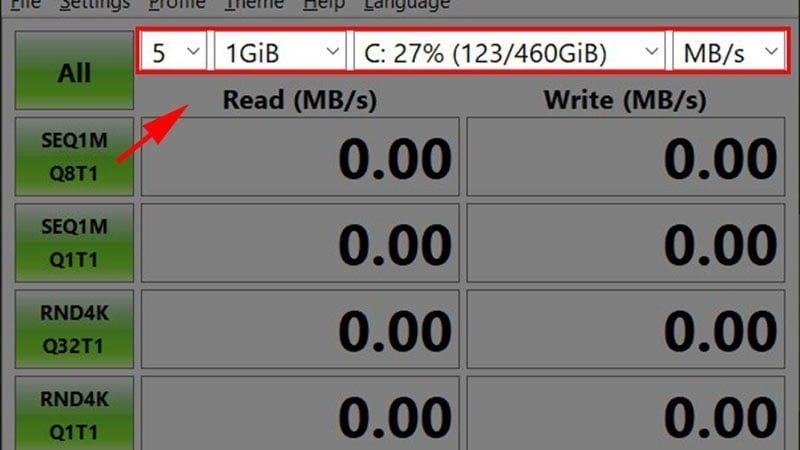
- Use CrystalDiskMark or the drive maker's test with its default profile first.
- Record read speed, write speed, test size, temperature, and the drive's free space.
A small benchmark may fit entirely inside the drive's fast cache. To investigate slow sustained writes, use a larger test or copy a large file from another equally fast drive. Do not run benchmarks repeatedly without a reason; they generate heat and unnecessary writes.
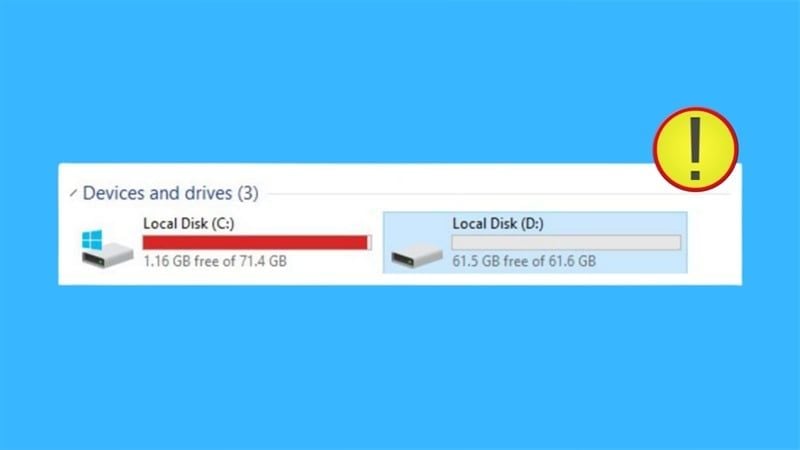
2. Check the interface and lane width
A SATA SSD connected through a SATA II port is limited by that older interface. A PCIe 4.0 NVMe drive installed in a PCIe 3.0 slot operates at the older generation's speed, and an M.2 slot wired for two lanes cannot deliver the bandwidth of a four-lane connection.
Read the motherboard or laptop manual for the specific slot. Some M.2 connectors share bandwidth with SATA ports, expansion slots, or other devices; others are disabled with certain CPU models. A secondary M.2 slot is not automatically slow merely because it connects through the chipset.
- Use a current SATA data cable and a SATA III port for a 2.5-inch SATA SSD.
- For NVMe, confirm both the PCIe generation and the negotiated lane width.
- Check whether an enclosure or USB adapter is the bottleneck when testing an external SSD.
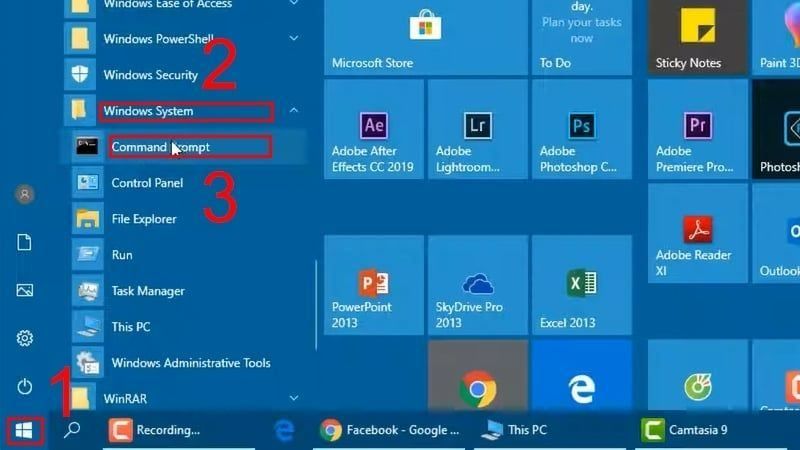
3. Watch for thermal throttling
An NVMe controller may reduce performance when it reaches its thermal limit. This is throttling, a protection mechanism—not evidence that the drive is about to catch fire. Monitor temperature while the slowdown occurs, because an idle reading cannot reveal load behavior.
Refit the motherboard's M.2 heatsink and thermal pad, improve airflow, or use a compatible heatsink if the drive repeatedly throttles during sustained work. Make sure protective film has been removed from a new thermal pad.
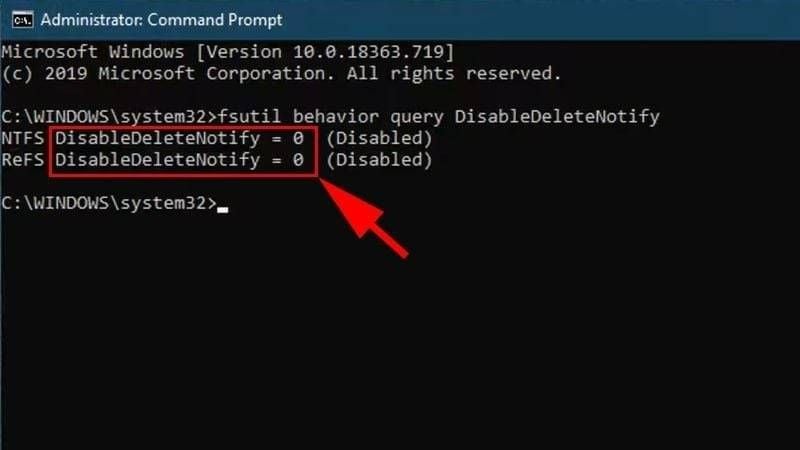
4. Check free space and write-cache behavior
Performance can decline as an SSD fills because the controller has less room for garbage collection and dynamic cache. Try to keep roughly 10–20% free on a busy system drive. If writes start fast and then fall sharply during a large transfer, the fast SLC cache may simply be full; the lower sustained rate is part of the drive's real specification.
QLC and DRAM-less models can show a larger drop than high-end TLC drives. Capacity also matters: smaller versions of the same product may use fewer NAND dies and have lower write performance.
5. Rule out Windows and background activity
- Use Task Manager to check whether another process is reading or writing the disk.
- Pause cloud synchronization and wait for Windows Update or game patching to finish.
- Test both on battery and AC power if a laptop applies an aggressive low-power storage policy.
- Remember that real-time antivirus scanning and BitLocker encryption can affect some tests.
- Verify that RAM pressure is not causing heavy paging at the same time.
6. Confirm TRIM and scheduled optimization
Windows normally manages SSD optimization automatically. Search for Defragment and Optimize Drives and confirm that scheduled optimization is enabled. Windows sends TRIM to SSDs rather than treating them like mechanical disks.
To check delete notifications from an administrator terminal, run:
fsutil behavior query DisableDeleteNotifyNTFS DisableDeleteNotify = 0 means TRIM notifications are enabled for NTFS. Do not install a traditional defragmenter or disable Windows optimization as a speed tweak.
7. Update the right software
Install current motherboard chipset and storage-controller drivers from the system or board manufacturer, especially when a controller or RAID mode is involved. The standard Microsoft NVMe driver is appropriate for many drives, so a vendor driver is not automatically faster.
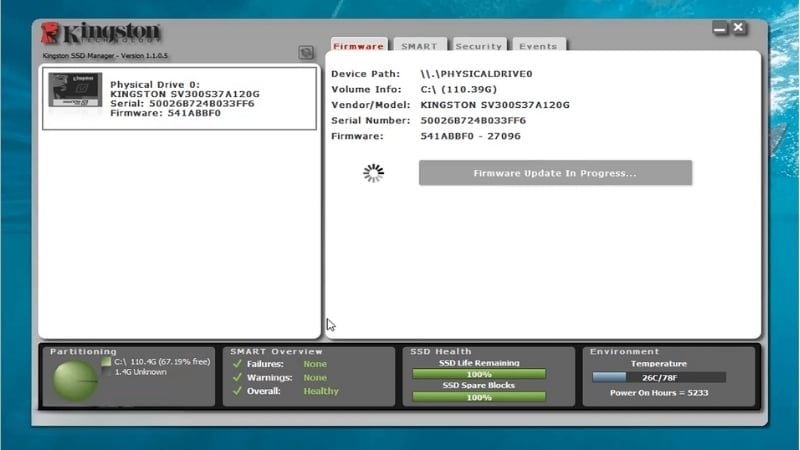
Use the SSD manufacturer's utility to check firmware and read the release notes before updating. Back up first and avoid interrupting power during a firmware update.
8. Inspect health and transfer mode
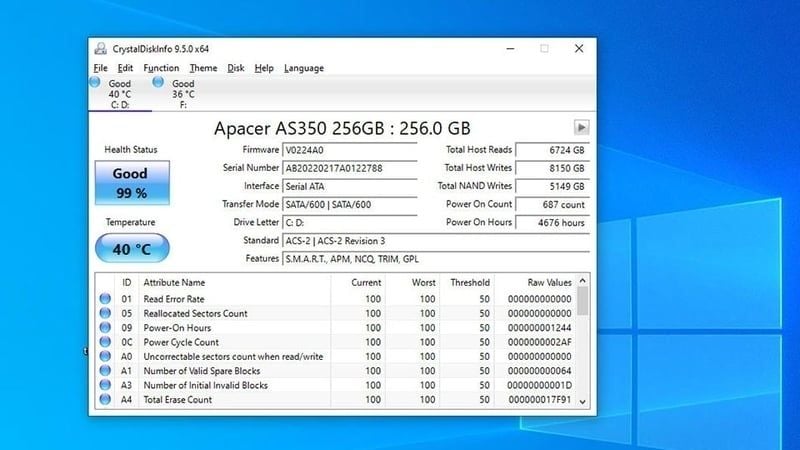
CrystalDiskInfo or a manufacturer tool can display temperature, total writes, critical warnings, and the negotiated transfer mode. A warning, media error, repeated disappearance from the system, read-only behavior, or rapidly increasing error count is more important than a modest benchmark difference.
When to suspect a faulty or counterfeit SSD
Contact the seller or manufacturer if the drive is on the correct interface, remains cool, has adequate free space, and still performs far below the official sustained specification in several controlled tests. Also investigate immediately if reported model details, firmware, or capacity do not match the label.

For routine tuning, follow the SSD optimization and lifespan guide. If the model or capacity looks suspicious, use these steps to check whether an SSD is counterfeit.
Related Articles
 Don't Buy a Portable SSD Just Because of the Speed Rating Printed on the Box7 minutes read
 7 Mistakes Easily 'Kill' SSDs9 minutes read
 Why Should You Install Two SSDs in Your Computer?4 minutes read
 Top 10 Best SSD Hard Drive 20218 minutes read
 How to Use Your SSD Effectively: Optimizing Speed and Lifespan8 minutes read
 Speed up Computers Running Windows 10 Extremely Fast5 minutes read
Reader Comments 0
Sign in with email or Google to join the discussion.