Table of Contents
Windows 10 version 1809 is obsolete, so it should not be installed on a normal, internet-connected PC today. This archived checklist explains the preparation that mattered when the October 2018 Update was current. Most of the safety steps also apply to later Windows feature updates.
The original 1809 rollout was paused after reports of missing user files. That history is a reminder that even an official operating-system update should begin with a tested backup and a recovery plan.

1. Back up files you cannot replace
Copy documents, photos, project files, browser exports, and other important data to an external drive or a trusted cloud service. A second copy should be separate from the computer being upgraded.
Do not assume that a successful copy means the backup is usable. Open a sample of the copied files and confirm that you can access the recovery account or encryption key. For current installation and recovery options, see the Windows installation and recovery guides.
2. Check free storage space
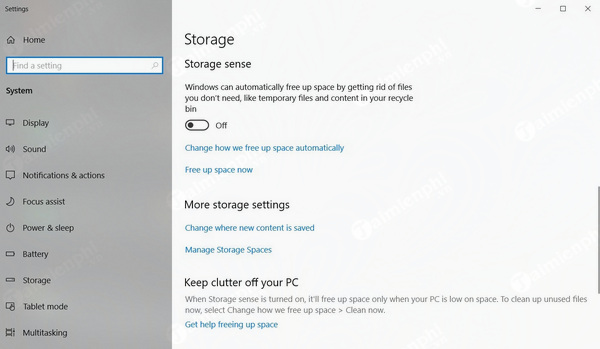
A feature update needs working room for the download, temporary installation files, and rollback data. The exact requirement varies by Windows build and device, so check the update prompt rather than relying on an old fixed figure.
In Windows 10, open Settings > System > Storage to review space usage. Remove temporary files carefully, empty the Recycle Bin after checking it, and move large personal files only when another verified copy exists.
3. Confirm device and driver compatibility
Check the PC manufacturer’s support page for the exact model. Review firmware, chipset, storage, graphics, network, and input-device notes for the Windows release you plan to install. Avoid random driver-download sites.
If Windows Update has placed a compatibility hold on the device, do not force the feature update merely to install it sooner. A hold can indicate a known driver or software conflict.
4. Disconnect nonessential peripherals
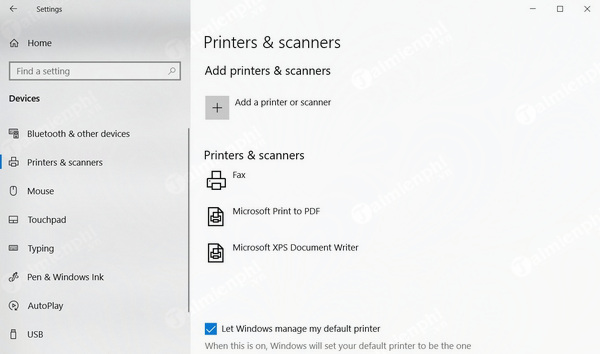
Leave the keyboard, mouse, display, and required network connection attached. Temporarily disconnect nonessential printers, scanners, cameras, external storage, docks, and specialty USB devices. This reduces the number of drivers Setup must handle and helps prevent selecting the wrong external disk.
Reconnect devices one at a time after Windows is stable, then install drivers from Windows Update or the manufacturer.
5. Prepare security and disk software
Update third-party antivirus, encryption, disk-management, and backup utilities before the upgrade. Check the vendor’s compatibility guidance. Do not disable protection automatically: do so only when the vendor or a documented troubleshooting step requires it, and re-enable it immediately afterward.
If the system drive is encrypted, make sure the recovery key is available before starting.
6. Protect the upgrade from interruption
- Connect a laptop to AC power and avoid closing the lid during installation.
- Save open work and allow enough time for several restarts.
- Use a stable internet connection if the update still needs to download files.
- Record important application licenses and sign-in recovery methods.
7. Choose a supported update path
Use Windows Update or Microsoft’s current installation media for a supported release. The current Windows 10 update guide explains the available methods. Do not download version 1809 from an unknown mirror simply because the official tools no longer offer it.
After the update, verify personal files, network access, audio, printers, security software, and critical applications before deleting rollback files or the pre-upgrade backup.
Related Articles
 Microsoft Said It Could Recover Lost Data by Updating Windows 10 October Update4 minutes read
 Windows 10 October 2018 Is New, Microsoft Is Forced to Stop Updating for Some Computers3 minutes read
 How to Pin Notes on Apple Notes - Mark Important Notes4 minutes read
 Notes Before Updating Mac OS X 10. 10 Yosemite5 minutes read
 Microsoft Explains Why Windows 10 October 2018 Update Deletes User Data3 minutes read
 How to Set Password for Notes Application on iOS 115 minutes read
Reader Comments 0
Sign in with email or Google to join the discussion.