Table of Contents
This guide provides a practical overview of Nice Dust Texture, including its main features, benefits, limitations, and important considerations.

1. Synthesis of the most beautiful dust Texture
Here are some sample dust textures in the article.
Classic dust texture
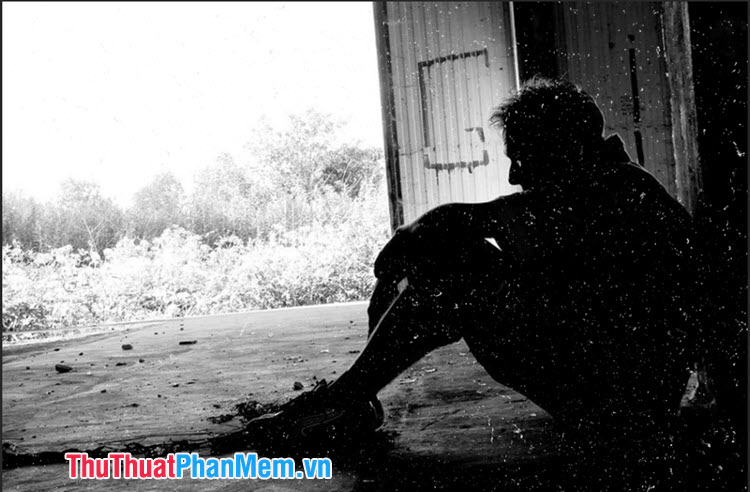
Dust texture retro style
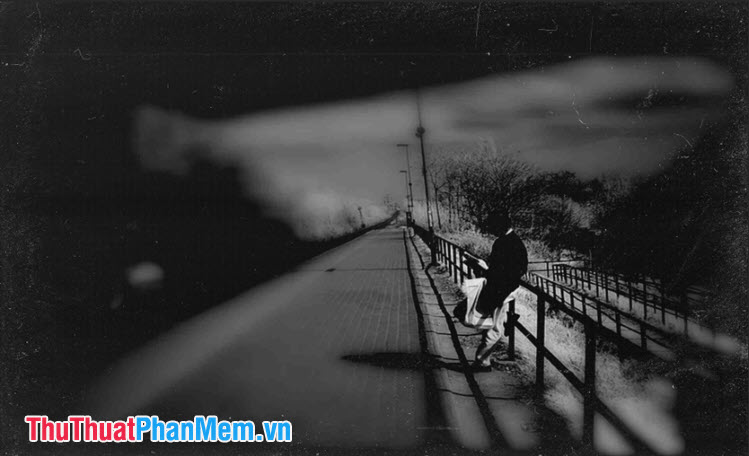
Simple dust texture
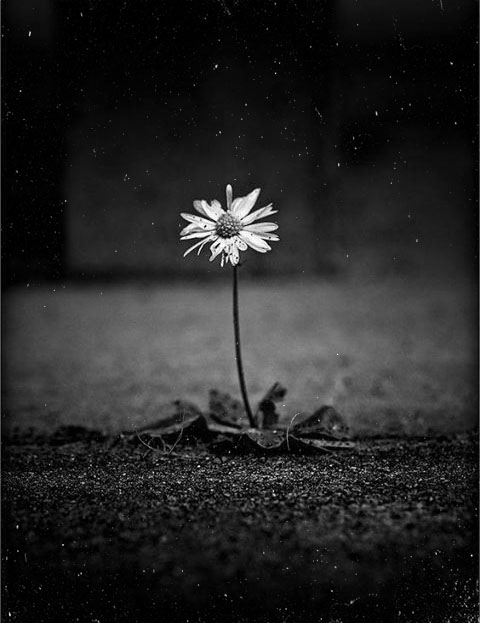
Street style dust texture

Dust texture vintage film style

Download the full set of texure dust here:
TipsMake_texture-bui. rar
2. How to blend dust texture color with Photoshop
2.1. Blend dust texture with PNG format texture
Open the image you need to add dust texture in Photoshop. You then drag and drop the dust texture file with the PNG image format into Photoshop. After adding the dust texture, press Ctrl + T and stretch the dust texture to the whole image.
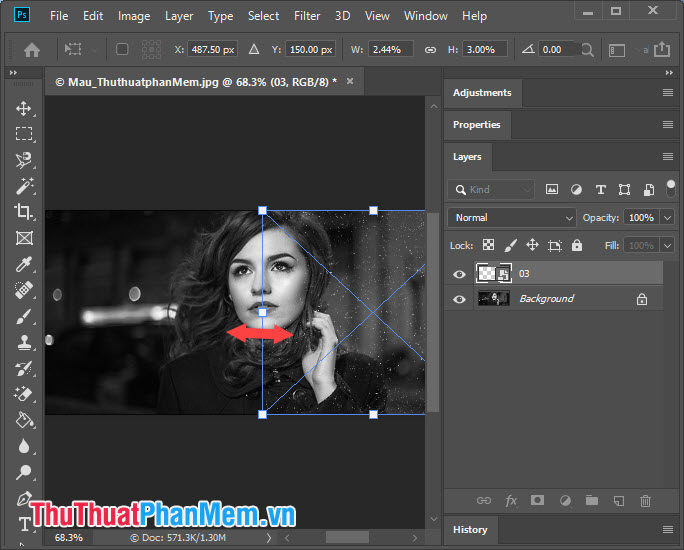
And then we have a complete picture with a "dusty" effect.
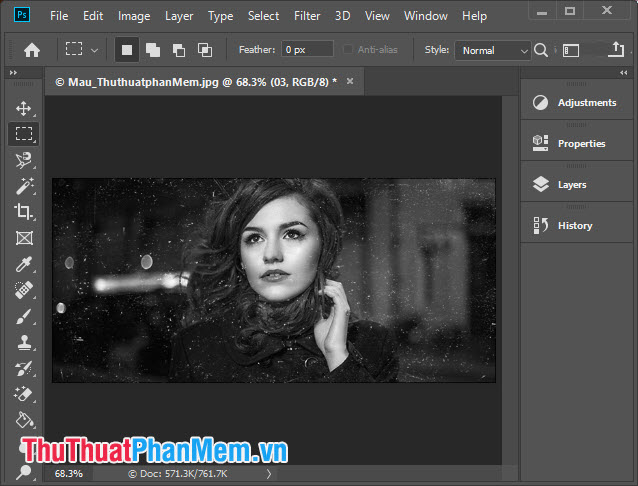
You can view the image before and after adding the texture.

2. Blend dust texture with JPG format texture
Step 1: Open the image you need to blend dust texture. You then drag and drop the dust texture image into Photoshop. Next, press Ctrl + T and stretch the dust texture image to cover the whole image.
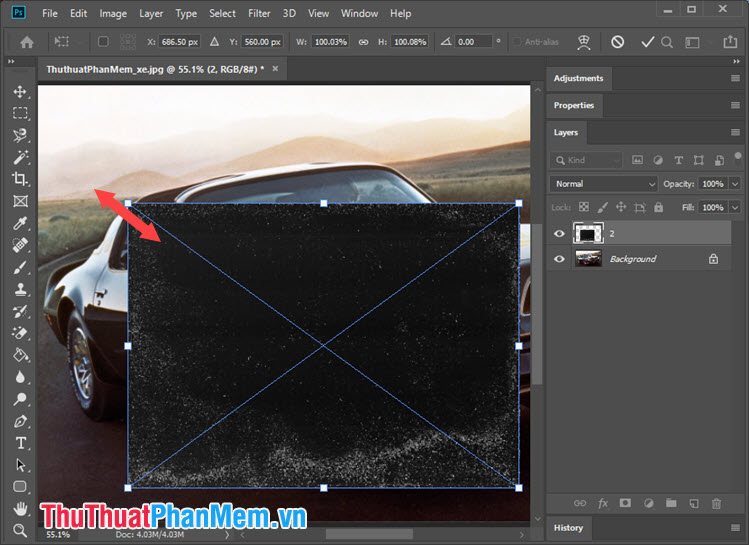
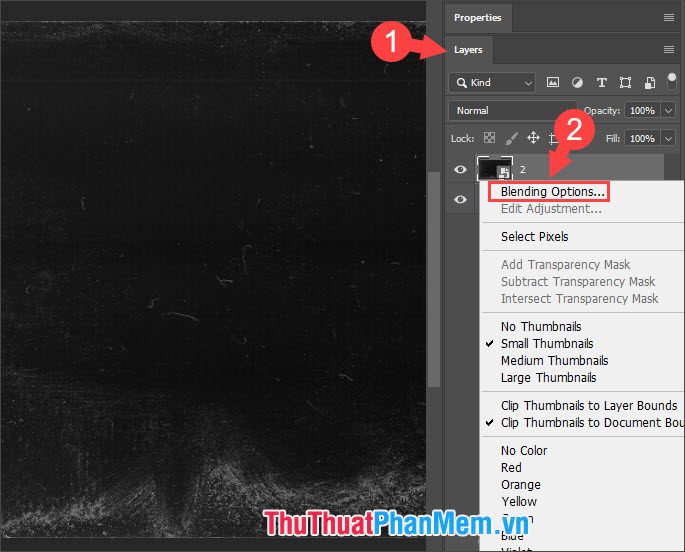
Step 2: Right-click on the Dust Texture layer => Blending Options.
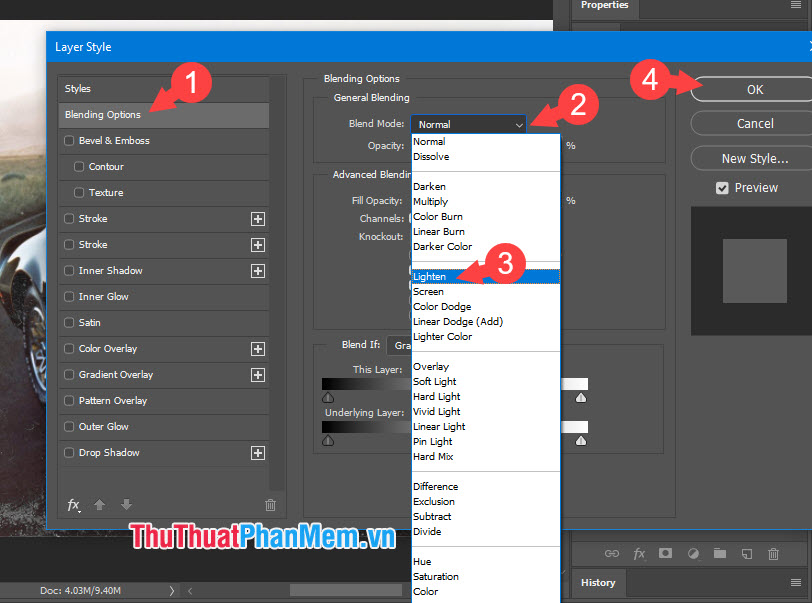
Step 3: At Blending Options tab (1) we click on Blend mode (2) => Lighten (3) and click OK (4) to save.
And then we have a nice picture of the dust texture. You can see the difference in the picture below.
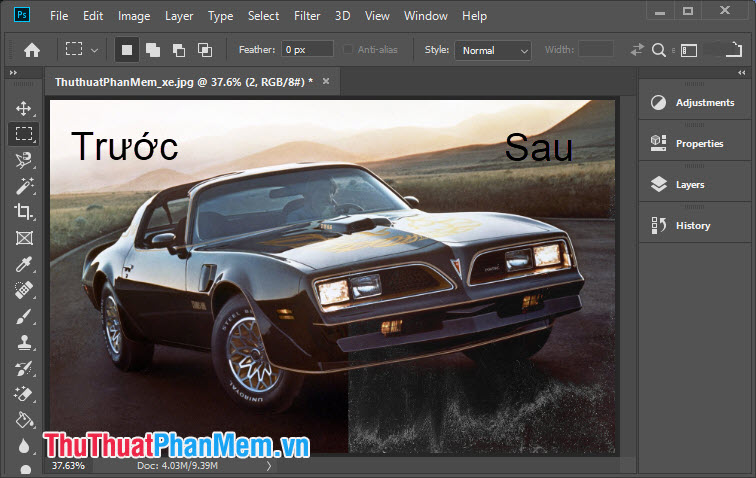
With the dust texture in the article, we can create dusty images of street style, classic very beautiful. Good luck!
FAQ
What should I know about Nice Dust Texture?
Focus on the key features, requirements, limitations, and practical use cases explained in this guide.
How do I get the best results with Nice Dust Texture?
Follow the recommended steps, use current software or information, confirm compatibility, and review settings before major changes.
Are there any risks or limitations?
Potential limitations depend on compatibility, data quality, cost, privacy, support, and how the product or method is used.
Related Articles
 How to Create Texture in Photoshop CC9 minutes read
 What Is Fine Dust? the Harmful Effects of Inhaling Ultra-fine7 minutes read
 PM2.5 Ultrafine Dust Is the Most Dangerous Type of Dust in the World7 minutes read
 We Are Inhaling Super Fine Dust PM2.5, the Most Dangerous Dust in the World Can Penetrate into Human6 minutes read
 The Propellers Are Usually Dusty, Why?4 minutes read
 Learn Immediately the Computer Dust Blower That Is Loved by4 minutes read
Reader Comments 0
Sign in with email or Google to join the discussion.