Table of Contents
This practical guide explains how to Editing Photos on Dropbox through clear, ordered steps. It also covers useful settings, common mistakes, and checks that can improve the final result.
In addition to being one of the most popular cloud storage services, Dropbox can also be used to efficiently edit photos with a few basic adjustments. Although the photo editor on Dropbox does not have as many options as other photo editors such as Photoshop, if you want to efficiently make basic changes to your photos, Dropbox can also be used. Here is a guide to editing photos on Dropbox.
How to Edit Photos on Dropbox
Step 1:
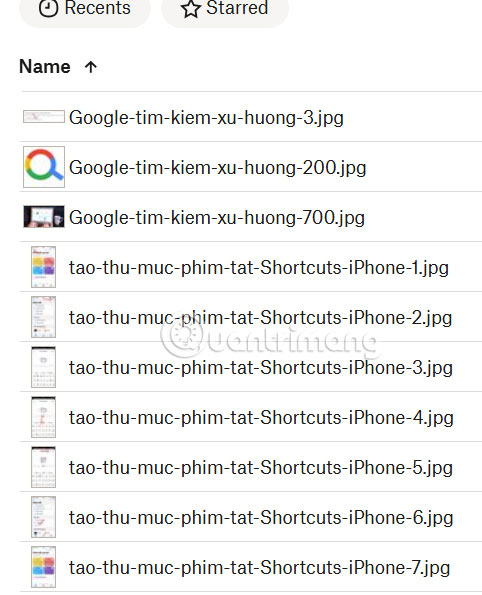
You access Dropbox and log in to your personal account. Next, you double- Click on the image You want to edit.
Step 2:
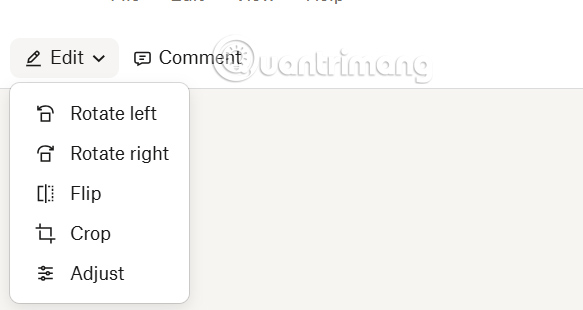
Then the image is transferred to the editing interface, you Click Edit And will see basic photo editing options on Dropbox, click Adjust To adjust.
Step 3:
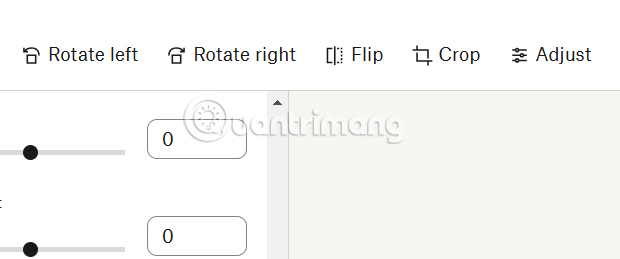
Immediately after that, on The left side of the interface, You will see the adjustment items for the image. We just move the dots at each item to change the image, or enter the value directly into the box to apply to the image.

Step 4:
Above is The image flip tool For you to apply to the photo if you want. When finished editing, click Save to save.
Instructions for Adding Signatures to Photos on Dropbox
Step 1:
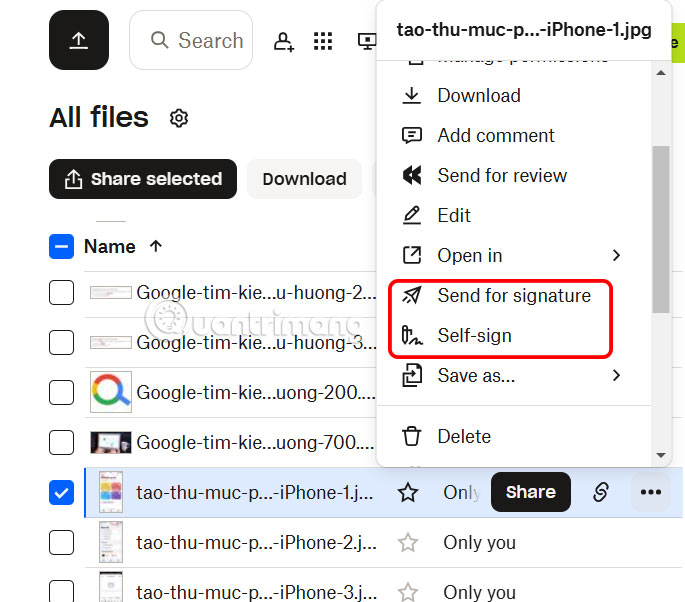
In the interface displaying the list of uploaded files, Click on the photo you want to add a signature to , then select The 3-dot icon And you will see a list of photo customizations, including the options Self-sign and Send for signature.
Step 2:
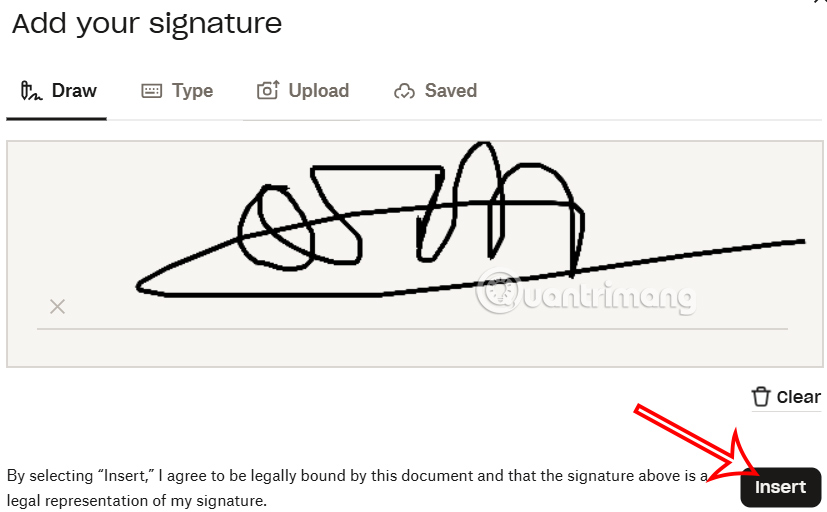
If You tap Self-sign , the image will open in The Dropbox editor as a PDF And show a box to add your signature. You can draw, type, or upload your signature and insert it into the image. Then tap Insert to add it to the image.
Then the user can choose the position to display the signature in the photo. You click Save to save as usual.
Step 3:
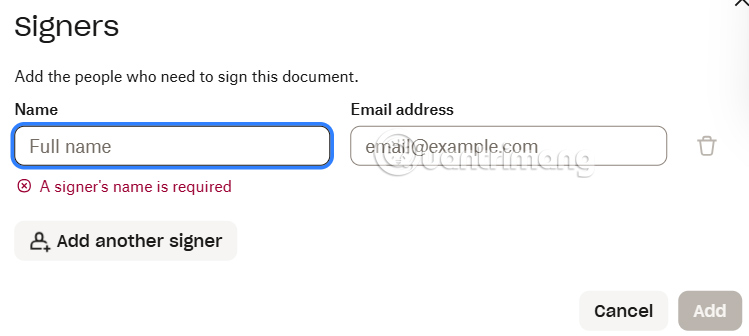
If You select Send for signature , someone else will sign your document. The free version of Dropbox allows up to three signature requests per month, while the self-signing option mentioned above is unlimited.
We enter the names and email addresses of the people we want to sign our image and then press Add to add.
FAQ
How do I Editing Photos on Dropbox?
Follow the steps in this guide in order, verify each setting before continuing, and check the result after every major change.
What should I prepare before I Editing Photos on Dropbox?
Confirm compatibility, install current updates, save important work, and back up data before changing system or application settings.
What can I do if editing Photos on Dropbox does not work?
Review permissions and requirements, restart the relevant device or app, repeat the steps carefully, and use official support resources when the issue continues.
Related Articles
 How to Download Photos from Dropbox to Iphone, Ipad or Mac3 minutes read
 How to Use Dropbox: Step-by-Step Guide5 minutes read
 Instructions for Registering and Installing Dropbox4 minutes read
 Instructions for Changing Dropbox Password4 minutes read
 Instructions to Recover Deleted Dropbox Files on Windows and Mac3 minutes read
 Instructions to Save Screenshots Directly to Dropbox3 minutes read
Reader Comments 0
Sign in with email or Google to join the discussion.