Table of Contents
This guide explains how to turn Off, Remove the Test Mode Line in Windows 10, with clear steps, practical tips, and important checks before you begin.
I. What is Test Mode?
Test Mode is a pretty useful feature when giving users a test space (Lab). In Test Mode, users can install and customize third party software files (software not available on Windows). Test mode is mainly for those who like to interfere with the software, fix bugs, crack the copyright.
II. How to turn off, remove the Test Mode line in Windows 10
1. Turn off directly through the Commant Prompt
Step 1: Enter CMD into the Start Menu and select Run as administrator .

Step 2: Then you enter the following command.
Enable Test Mode:
Bcdedit. exe -set TESTSIGNING ON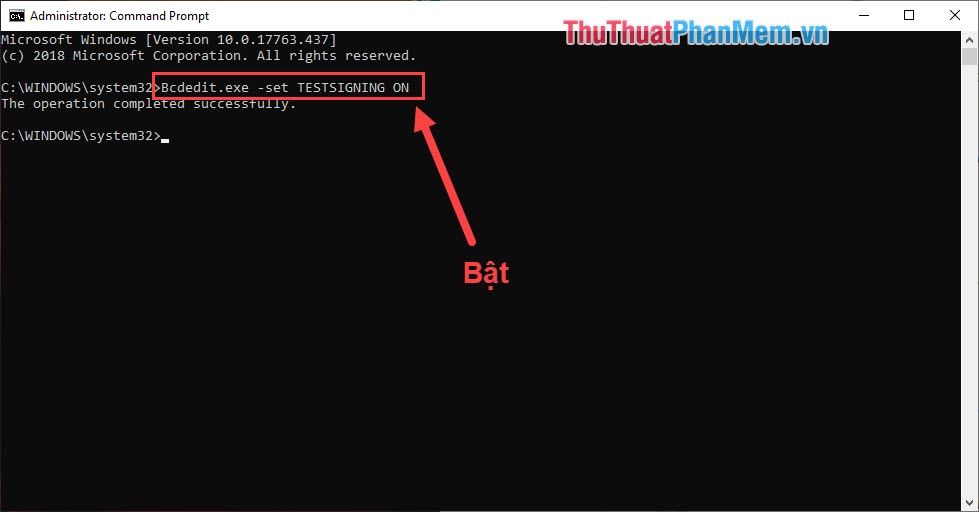
To turn off the Test Mode feature you can choose one of the following commands:
Command 1:
Bcdedit. exe -set TESTSIGNING OFF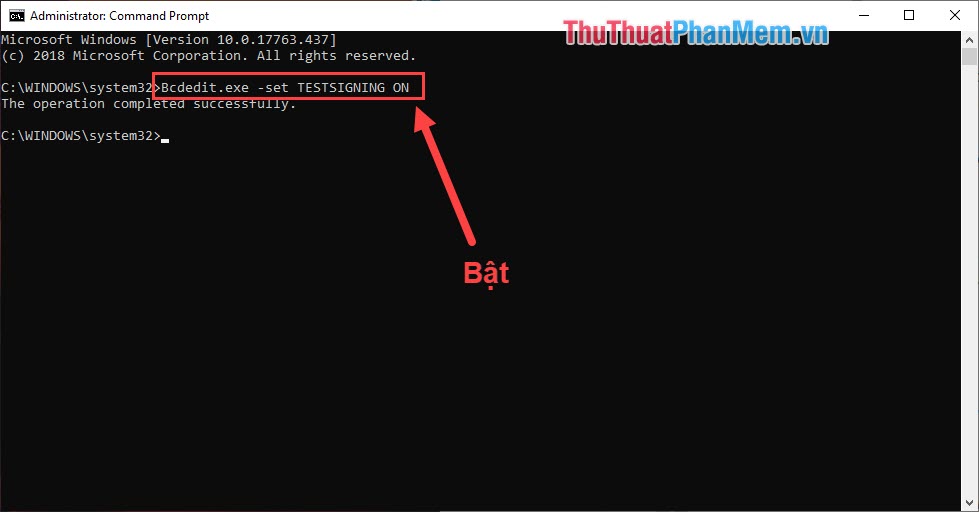
Command 2:
Bcdedit. exe -set loadoptions ENABLE_INTEGRITY_CHECKS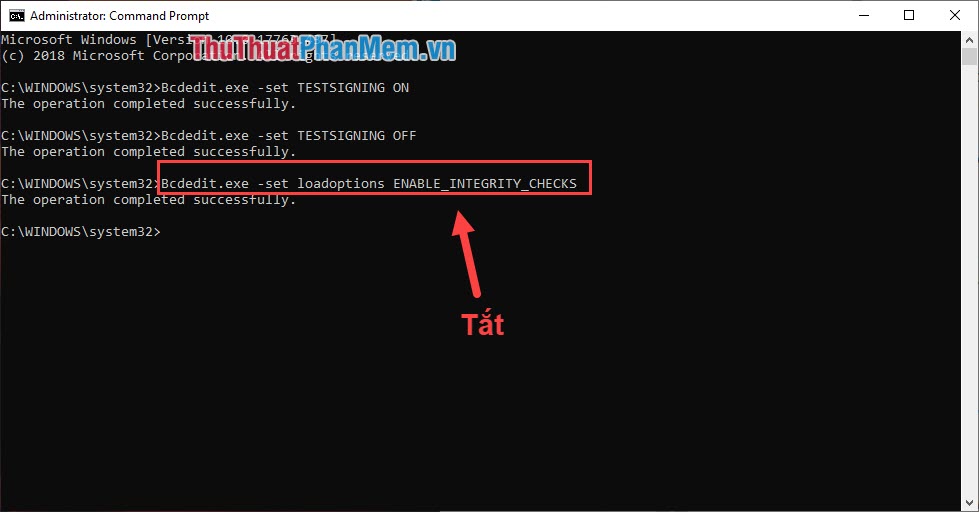
Command 3:
Bcdedit. exe -set TESTSIGNING OFF
2. Turn off by the 3rd software
Download software link: https://winaero. com/download. php? view.1794
You proceed to download and launch. Then you press Install is done.

Thus, in this article Software Tips have shown you how to turn off the Test Mode feature on Windows 10. Wish you success!
FAQ
What should I know about Turn Off, Remove the Test Mode Line in Windows 10?
Focus on the key features, requirements, limitations, and practical use cases explained in this guide.
How do I get the best results with Turn Off, Remove the Test Mode Line in Windows 10?
Follow the recommended steps, use current software or information, confirm compatibility, and review settings before major changes.
Are there any risks or limitations?
Potential limitations depend on compatibility, data quality, cost, privacy, support, and how the product or method is used.
Related Articles
 How to Turn on, Turn Off Airplane Mode on Windows 105 minutes read
 Instructions for Activating Tablet Mode on Windows 103 minutes read
 How to Fix the Error Does Not Turn Off Airplane Mode on Windows5 minutes read
 How to Turn on Hibernate Mode in Windows 102 minutes read
 To Enable or Disable Sleep Mode in Windows 105 minutes read
 How to Enable God Mode on Windows 113 minutes read
Reader Comments 0
Sign in with email or Google to join the discussion.