How to transform Raspberry Pi into SNES Classic
Let's build your own retro gaming space right at home with Raspberry Pi!
Table of Contents
For the childhood of many of us Nitendo's gaming devices like SNES or NES Classic are too expensive dreams.Now, when we are fully financially capable, these devices are too old and very difficult to get good ones.But having a ready friend can easily help us relive the beautiful emotions of that childhood - Raspberry Pi.
We can absolutely play every NES, SNES, Master System and TurboGrafx game ever released with Raspberry Pi.These hand-crafted classic gaming machines are really lovely and you can completely own one for yourself.
The following article hopes to help you "manipulate" the classic game simulation system from your own Raspberry Pi.
Necessary tools
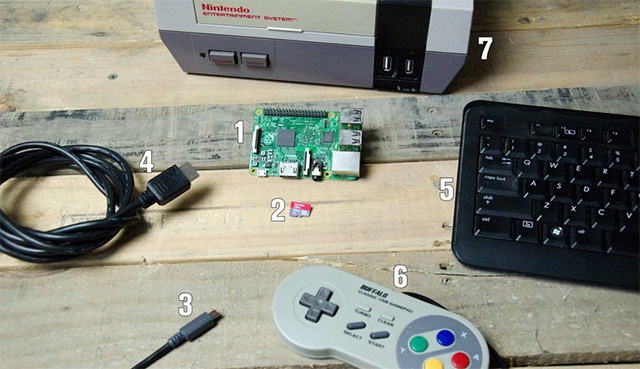
- A Raspberry Pi : Raspberry Pi 2-B or Raspberry Pi 3-B . all.The biggest difference between the two is that only 3-B has Wi-Fi integration and 2-B does not.
- A Micro SD card : For me a SanDisk 32GB memory card is enough.Pay attention to avoid using fake and fake cards.
- A power supply for your Raspberry Pi via micro USB port.You can add a power button to turn it on and off more easily.
- HDMI cable to connect to your TV or monitor.
- USB keyboard for use during installation.
- USB game controller: Actually, it is not required, but having the right controller gives you more real feelings when playing.Buffalo Classic is highly appreciated for bringing true feeling to users, you can try if you have no choice for yourself.
- A set of cases to put Raspberry Pi : We can get an old NES shell as a case to look more 'vintage'.But if you want to save money you can use simple materials and cheaper prices.It is possible to find a classic style case on Amazon, such as the NESPi Retroflag case for only $ 25 but with both the power button and USB port.If you like the design of SuperNES, you can buy a Kintaro SNES case for just $ 15.Generally it depends on your preference.

Install images to SD card On computer
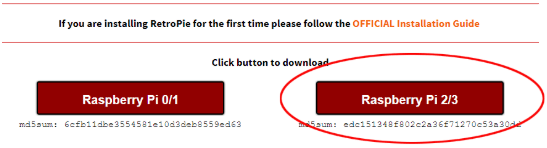
- Visit https://retropie.org.uk/download/ and download the image file of "Raspberry Pi 2/3".Be sure to remember where you saved it!
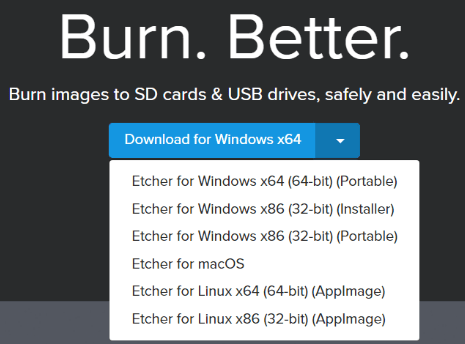
- Visit https://etcher.io/ and download the appropriate version for your system, then proceed with the installation.Etcher is quite standard because it gives a simple interface and good compatibility with Windows, Mac and Linux.
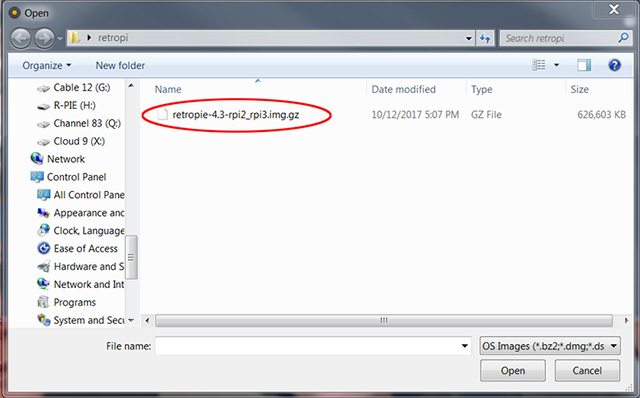
- Open Etcher and click Select image .
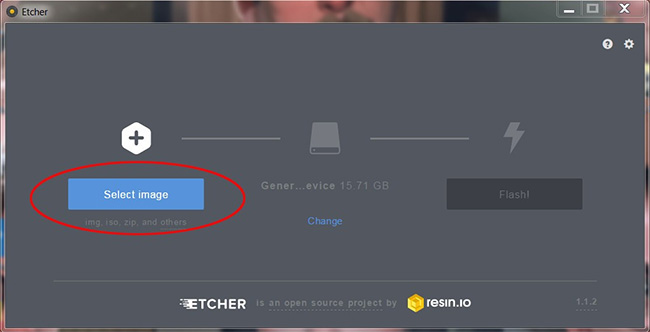
- Scroll to where you saved the image file of RetroPie and select it.
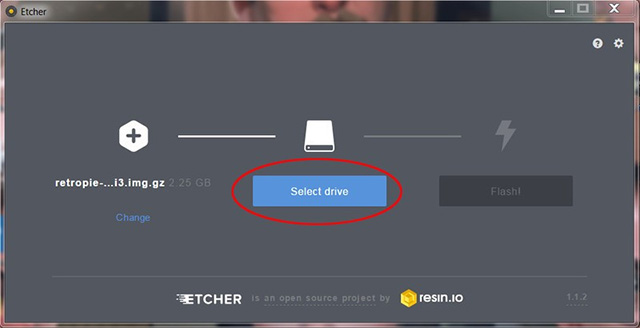
- Next click Select drive .
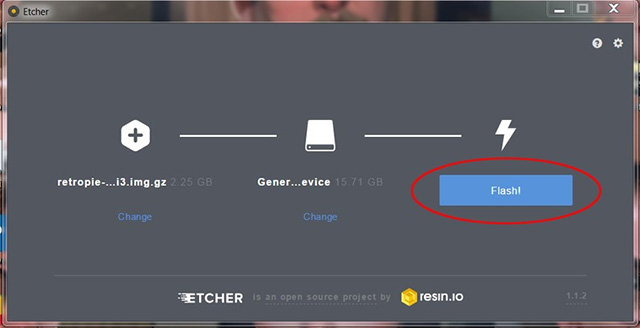
- Choose your SD card, make sure you choose the correct drive letter.You will definitely not want to write your operating system drive with the image file of Retropie!Then click continue.

- Click the flash button .
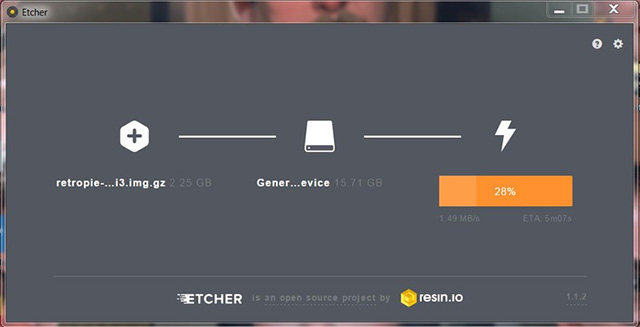
It will take a few minutes to process the device, after the process is complete, the SD card is ready to save the game!
On Raspberry Pi: SD is ready to save your game
- Insert a new micro SD card flashed into your Raspberry Pi.
- Network connection for Raspberry Pi.
- Plug in your HDMI cable connecting your Raspberry Pi to the TV or monitor.
- Plug the USB controller into the Raspberry Pi.
- Finally, supply power to the Raspberry Pi so that it starts up.(Click on image to see more)

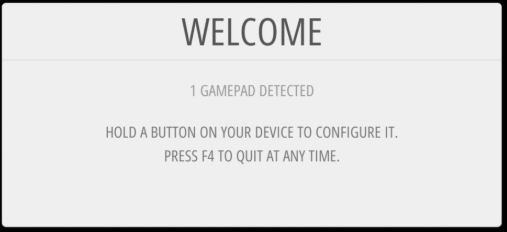
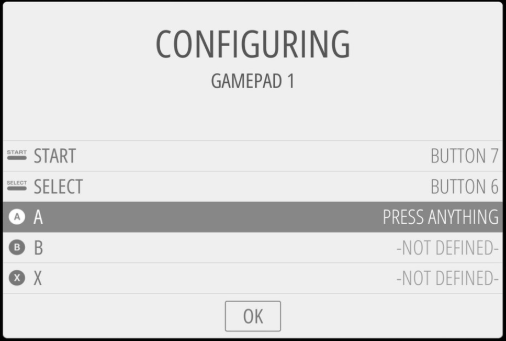
- Follow the on-screen instructions to configure your USB controller.
On Raspberry Pi: Set up Wi-Fi connection
If you do not want to connect to the internet via a cable, it is now time to set up WiFi for Raspberry Pi.You will need a USB keyboard to enter the password, so plug in the keyboard prepared into your Raspberry Pi.
- Scroll to the Retro Pie configuration page.
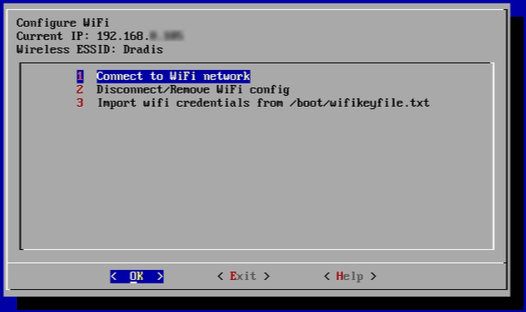
- Scroll down to the bottom and select the Wi-Fi option.

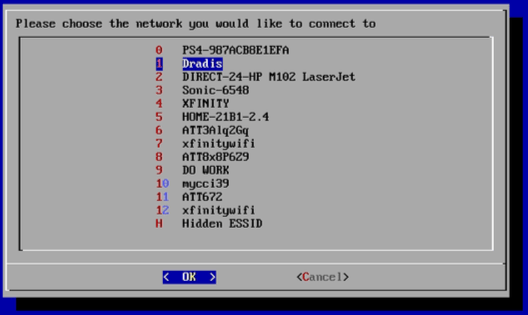
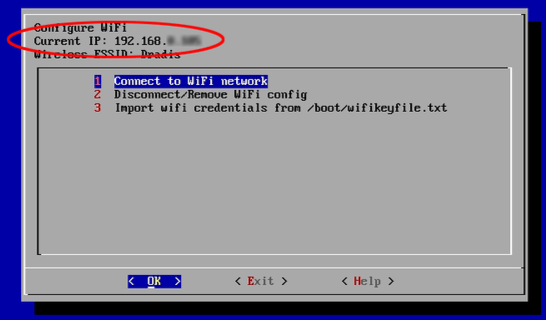
- Next select Connect to Wi-Fi Network and select the network you want to connect.
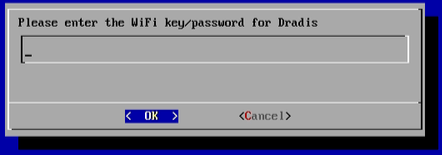
- You will then be prompted to enter your Wi-Fi password.This is when you will need that keyboard.
- After you have successfully connected to the Wi-Fi network, remember to record your IP address.
More games
Your new Raspberry Pi / RetroPie system comes with all the emulators you need to install.The emulator uses things called ROMs to boot and play games.So you will have to load up your system all the ROMs you want to play.Now I can't tell you exactly where to download the ROM, but if you only need a little Google search skills, there won't be any big problems.
There are several different methods to transfer ROMs to your system.The most commonly used method is to use RetroPie Manager (RetroPie Manager).It allows you to move the ROM directly from the computer you downloaded the ROM to Raspberry Pi with your computer's browser.
On Raspberry Pi: Turn on RetroPie Manager
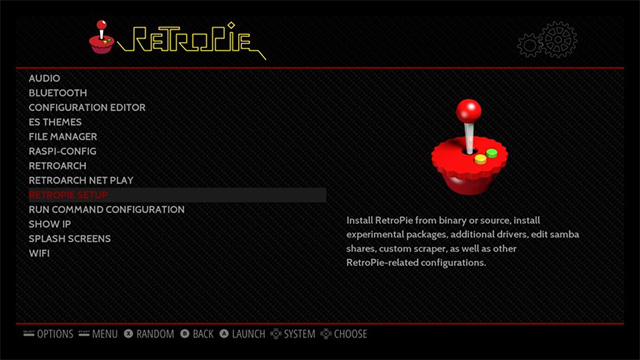
- Scroll to the settings menu on the Raspberry Pi and select Retropie Setup.
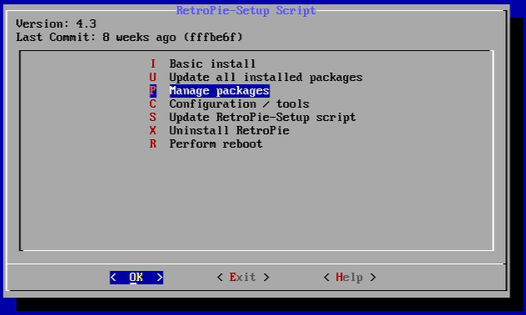
- Select Manage Packages
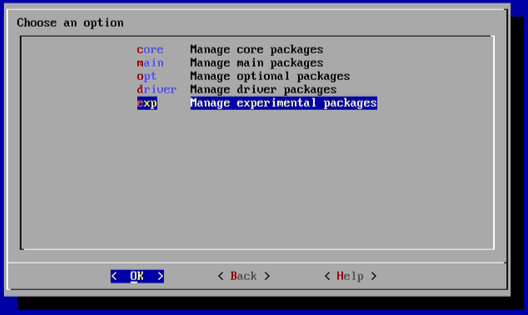
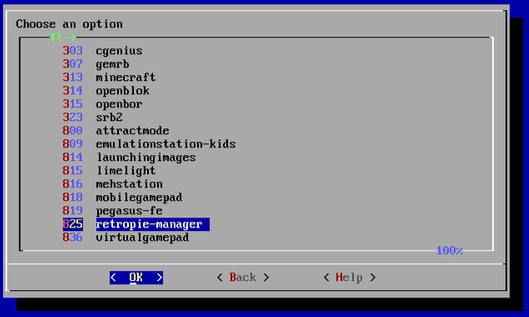
- Select the Manage experimental packages , close the end of the package and select Retropie manager.
- Select Install from source .
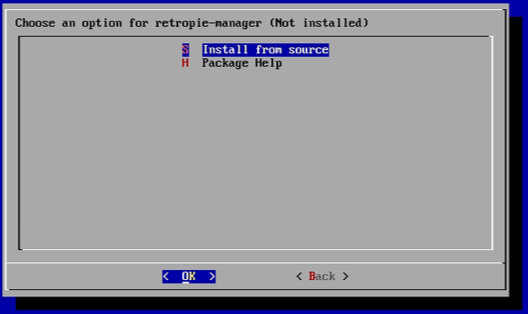
- Now your system will run a script that automatically downloads and installs the Retropie manager for you.Click on the image and enlarge the image to see more clearly.

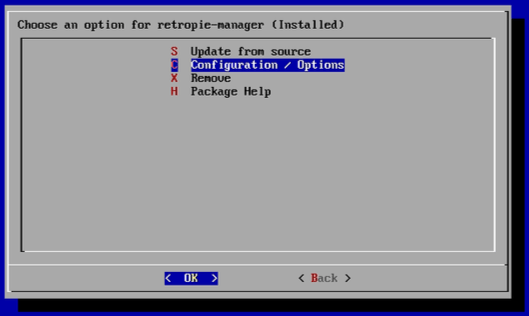
- Once completed, select Configuration / Options.
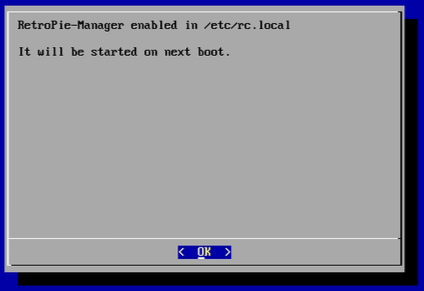
- Select Enable Retropie-Manager on Boot .
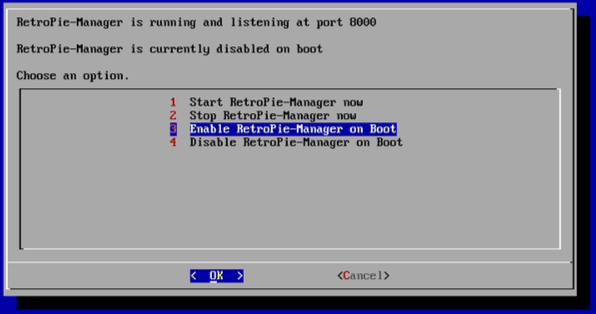
- Finally, restart the system.
Go back to your computer to move the ROMs
The computer you will use should contain the full ROM you need and need to be connected to the same network as the Raspberry Pi.Open any internet browser, In the address bar, enter the IP address of the Raspberry Pi that you noted earlier and enter ": 8000" at the end of the IP address.The IP address will now look like this: 192.168.X.XXX:8000.You will then be taken to the RetroPie Manager page.This page has a lot of interesting and useful data, but now, all you need to do is .
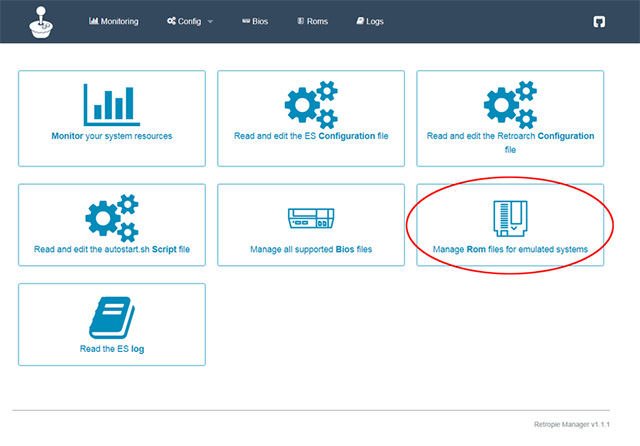
- Click Manage Rom files for emulated systems.
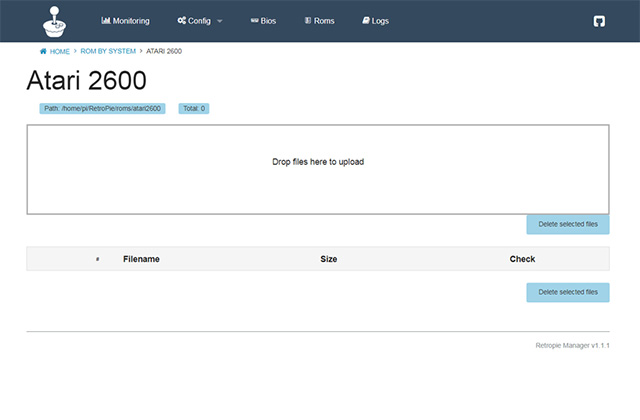
- Here you will find all the simulation systems on your Raspberry Pi.Select the system you want to add ROM by clicking on it.

- Now, drag and drop your ROMs into this window:
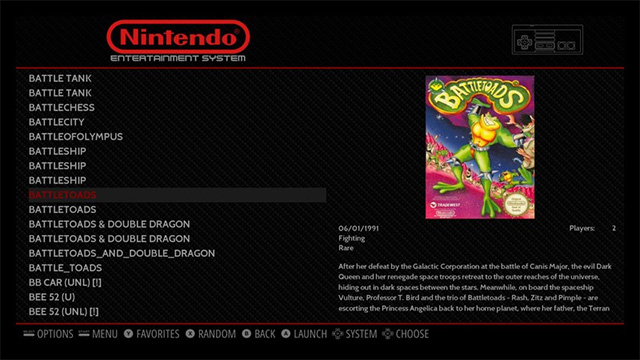
- After you've downloaded the entire ROM onto the system, restart the Raspberry Pi and start the battle.
See more:
- 7 great ideas using Raspberry Pi as a server
- How to install Minecraft on Raspberry Pi
- Create your own wireless printer with Raspberry Pi
- How to set up Raspberry Pi touch screen
Was this article helpful?
Your feedback helps us improve.
Related Articles
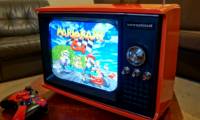 Admire the old TV that 'turns' into a classic Raspberry Pi gaming machine3 minutes read
 11 classic Raspberry Pi games run without emulators10 minutes read
 4 best SNES emulators for Android5 minutes read
 3D Transform in CSS3 minutes read
 How to install DOSBox on Raspberry Pi to play classic DOS games6 minutes read
 2D Transform in CSS6 minutes read
Reader Comments 0
Sign in with email or Google to join the discussion.