How to scan malware and rootkits on Linux server
Worms, viruses, malware and rootkits are a concern for every server administrator. When the system is infected, it can collect sensitive information and cause financial damage.
- Differentiate viruses, trojans, worms and rootkits
Fortunately, there are many tools that help scan Linux servers for malware and rootkits. This article will provide some of the best options to help deal with these cyber-enemies.
- Top 7 best free antivirus software for Linux
- Install AntiVirus on Ubuntu
- 7 best antivirus programs for Ubuntu
1. Clam AV
This command-line antivirus software is designed to integrate closely with mail servers and is available on all systems including prominent Linux distributions like SuSE, Fedora and Ubuntu.
Installing this software on Ubuntu is easy with the following command:
sudo apt install clamav clamav-daemon 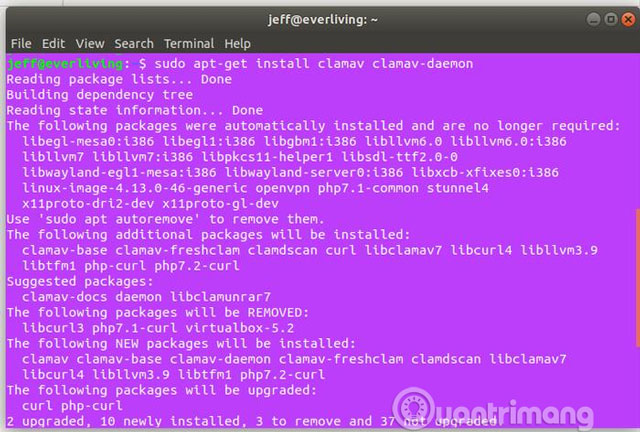
After installation, Clam AV can be used from the terminal to the entire system and to clean all infected files. In addition, Clam AV also provides powerful real-time scanning and source tracking utilities.
To run a simple test for the server file system, use the following command from the root directory:
clamscan -r -i The above command will ask Clam AV to perform a recursive scan (check the file in the file) and print the infected document to the terminal. However, before running this command, you need to allow Clam AV enough time to install its virus signature database on the machine. You can cancel the service and restart it manually with the following command:
sudo systemctl stop clamav-freshclam.service Followed by the command:
sudo freshclam 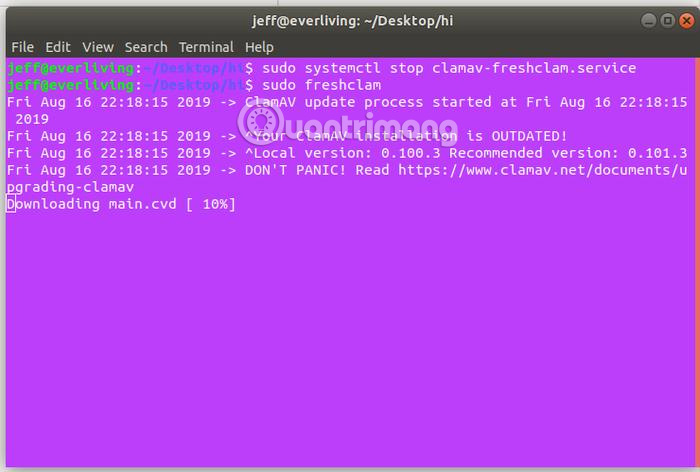
To automatically delete virus files from the system during the scan, use the following command:
clamscan -r -i --remove 2. Chkrootkit
This tool runs several tests to detect kernel modules that have downloaded malware, worms and rootkits.
For Ubuntu, this tool is in the official software store, use the following command to install it:
sudo apt install chkrootkit 
Unlike Clam AV, chkrootkit is a passive tool and lacks functionality to act on detected threats. You need to research and manually delete suspicious files found by this tool on the server's file system. Therefore you need to copy the output for later reference.
To run this tool, use the following command:
sudo chkrootkit 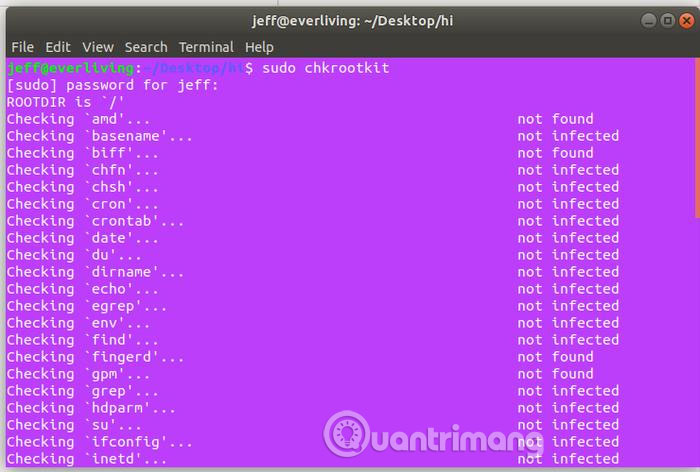
3. AIDE
The name of this tool stands for the phrase Advanced Intrusion Detection Environment, a completely free alternative to the Tripwire analog tool.
AIDE allows close monitoring of system files to monitor time and how they are modified or accessed in other ways. This tool is very easy to install from Ubunu's official software store with the apt command.
sudo apt install aide 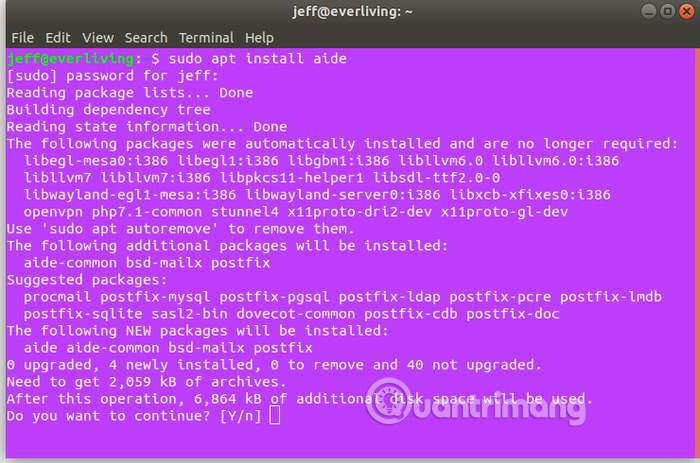
To complete the installation process, you need to configure Postfix through the options. To navigate these items, you can use the Tab key or the arrow keys, then press Enter to select. Postfix is used to send information to email addresses according to the time you set.
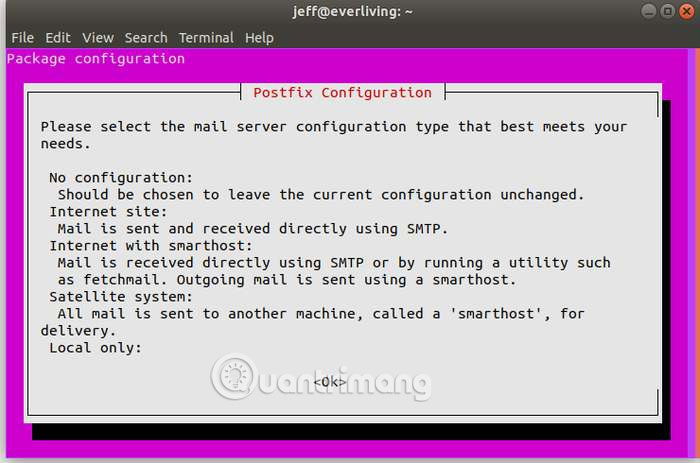
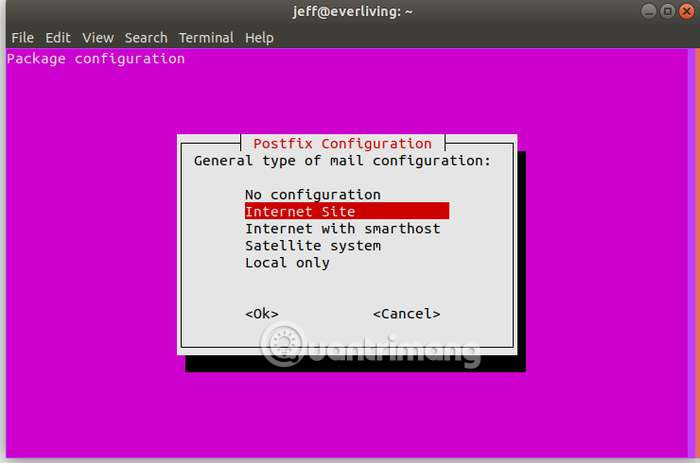
AIDE configuration requires file processing in the following addresses:
/var/lib/aide /etc/aide First, create the database and configuration file by running the following command:
sudo aideinit 
Once completed, this process to the database and configuration file created in / var / lib / aide / in the name aide.db.new and aide.conf.autogenerated. Both need to be copied into aide.db and aide.conf respectively to work properly.
Create a copy of the database file with the new name easily with the following command:
sudo cp /var/lib/aide/aide.db.new /var/lib/aide/aide.db 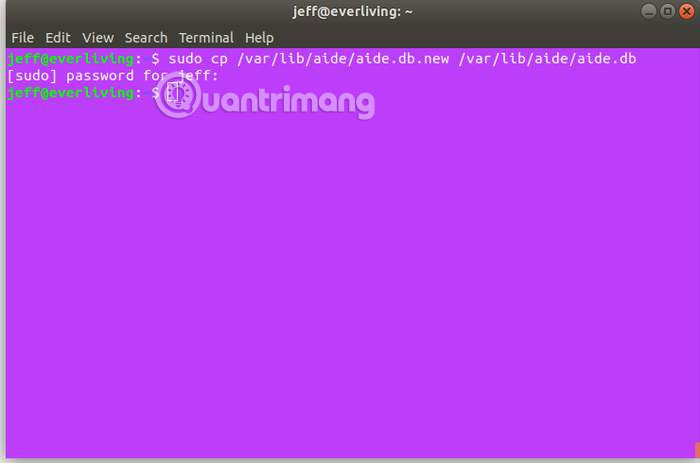
Before renaming and copying the configuration file, update it with the following command:
sudo update-aide.conf 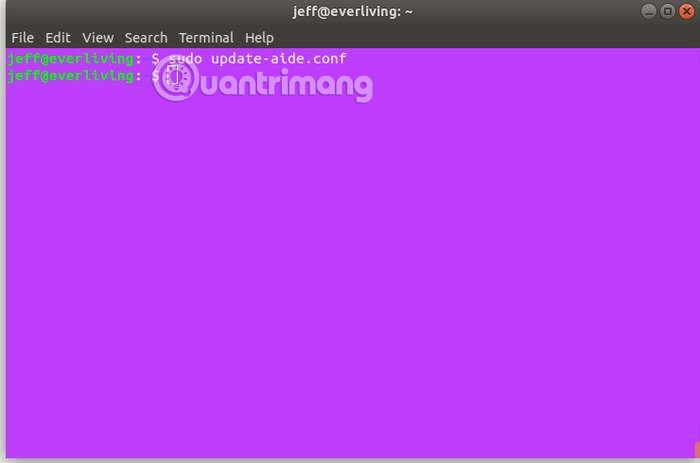
Once you've updated the configuration file, copy it to the correct directory with the following command:
sudo cp /var/lib/aide/aide.conf.autogenerated /etc/aide/aide.conf Now, AIDE will work on the server and actively monitor HASHED of the file system it created.
You can configure AIDE to not scan specific folders, run periodically and many other things by modifying the configuration file. However, with the following command you can see enough information on the system output:
aide -c /etc/aide/aide.conf -C AIDE is most effective when its configuration is accessed from read-only addresses because rootkits can allow attackers to edit files.
The tools mentioned in this article will help you scan Linux servers for malware and rootkits with a variety of techniques. Rootkits are the hardest digital threat to solve, but they can be prevented with appropriate software.