Table of Contents
This practical guide explains how to create lip sync videos using dreamface. Follow the steps in order, review the requirements first, and use the troubleshooting notes when a setting or option does not work as expected.
How to create lip sync videos using DreamFace
Step 1:
First you create a presenter image in the style you want in any AI image generator. Let's describe the presenter in detail and create a scene with the presenter and the background.
Step 2:
Then you access the DreamFace page via the link below and proceed to create a user account. Then you select AI Tools above.
https://dreamfaceapp.com/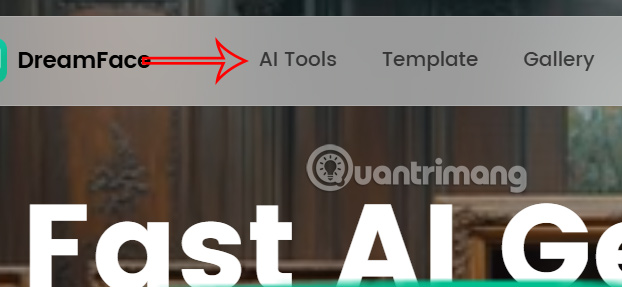
Step 3:
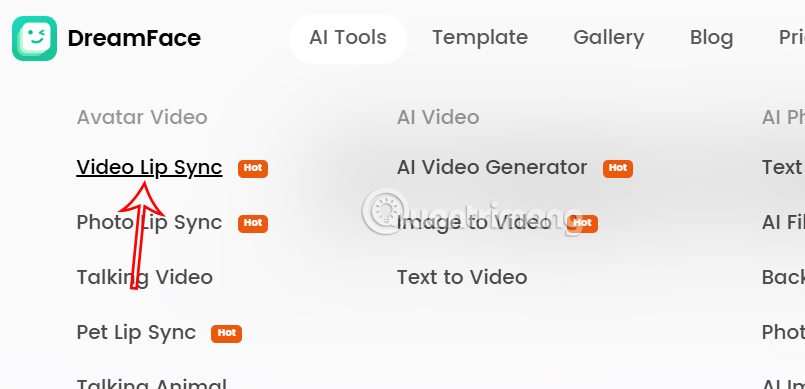
Show AI tools, you select Video Lip Sync tool .
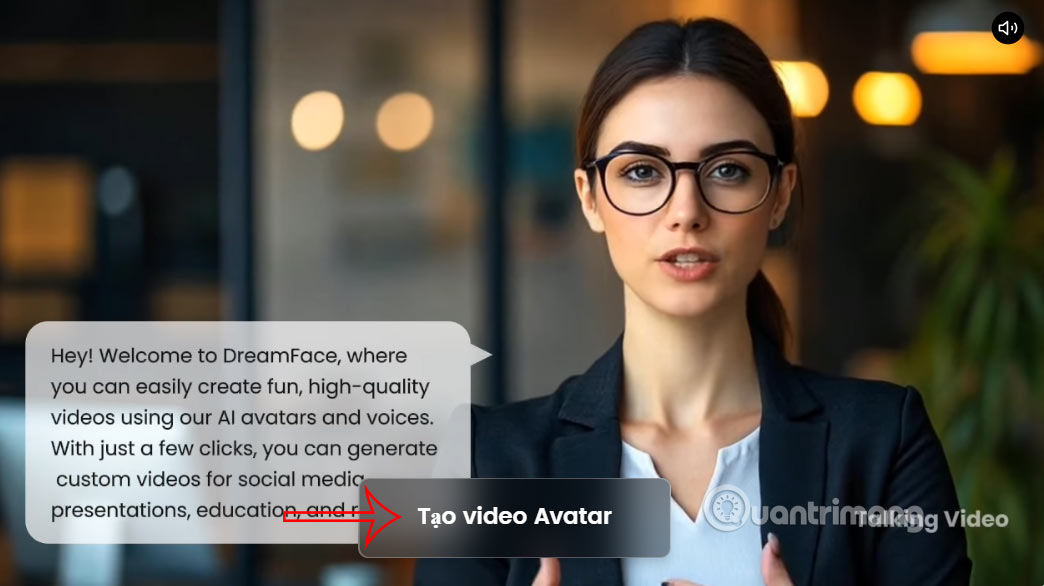
Then select the Create Avatar video button to proceed with creating the video.
Step 4:
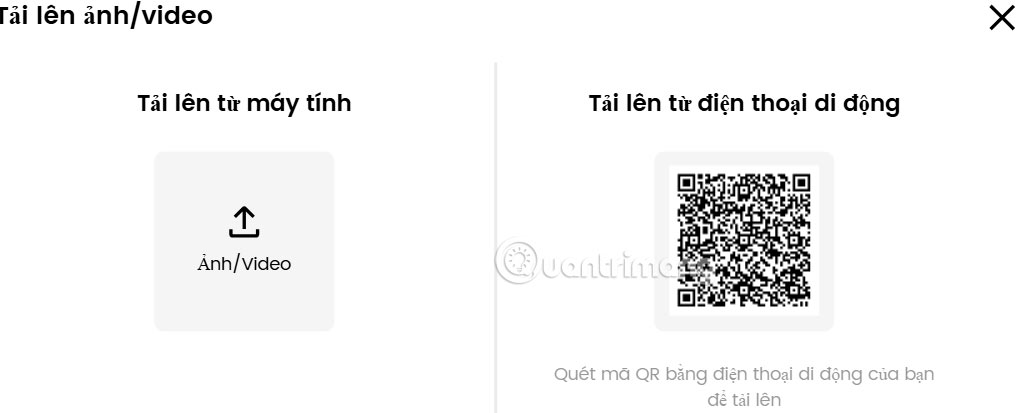
Switch to the lip-sync video creation interface, click Photo/Video to upload the AI image you created earlier.
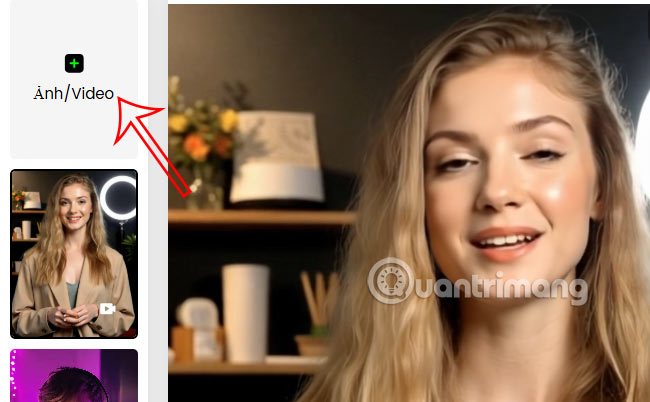
Click the arrow icon to upload a photo, or scan the QR code to upload a photo.
Step 5:
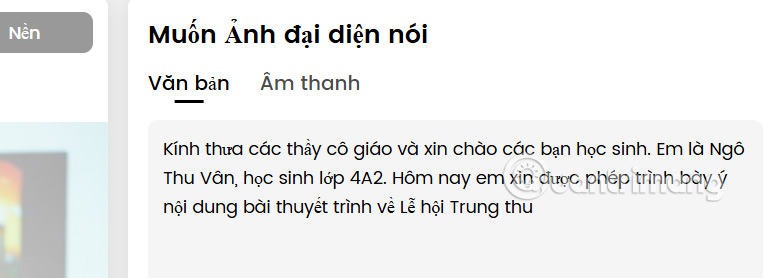
After uploading the photo, you enter the speech content . You can enter text content to convert to audio, or you can upload your audio file directly because the website does not support Vietnamese.
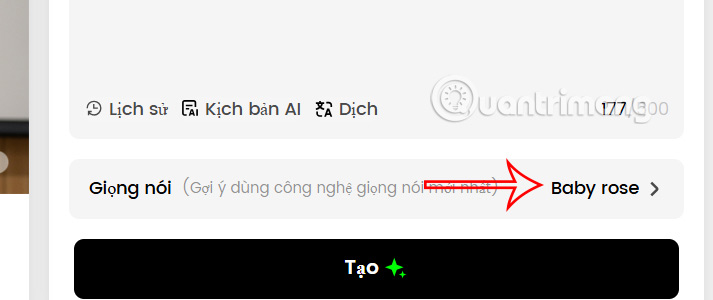
Next you choose the voice you want to use .
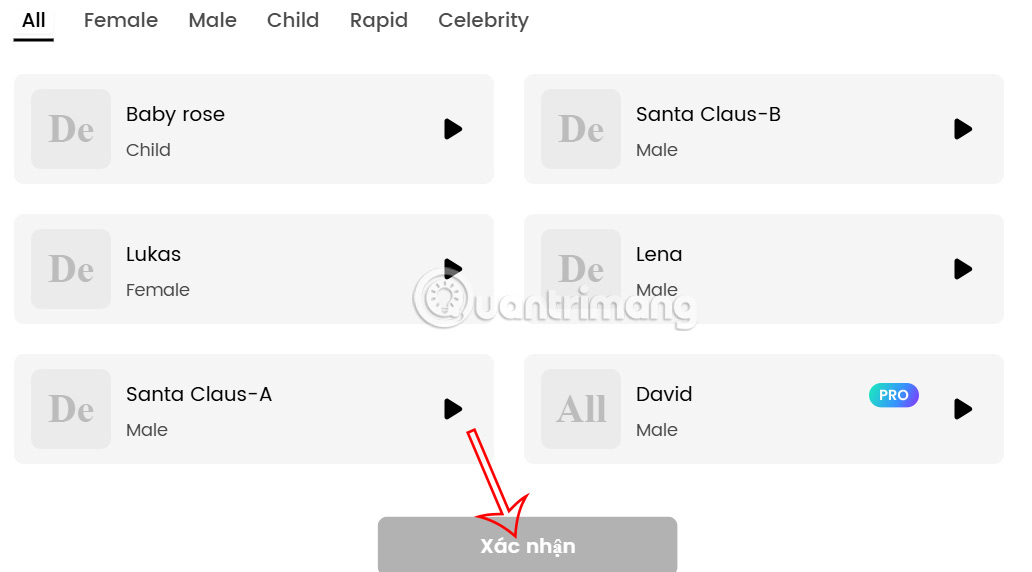
Then you will see many different voices, male voice, female voice or child voice. Some voices will require a paid version so you need to pay attention. After choosing a voice, click Confirm to execute and then click Create to create the video.
Step 6:
Wait a moment and you will see the lip sync video to the audio you uploaded, or to the content you posted.
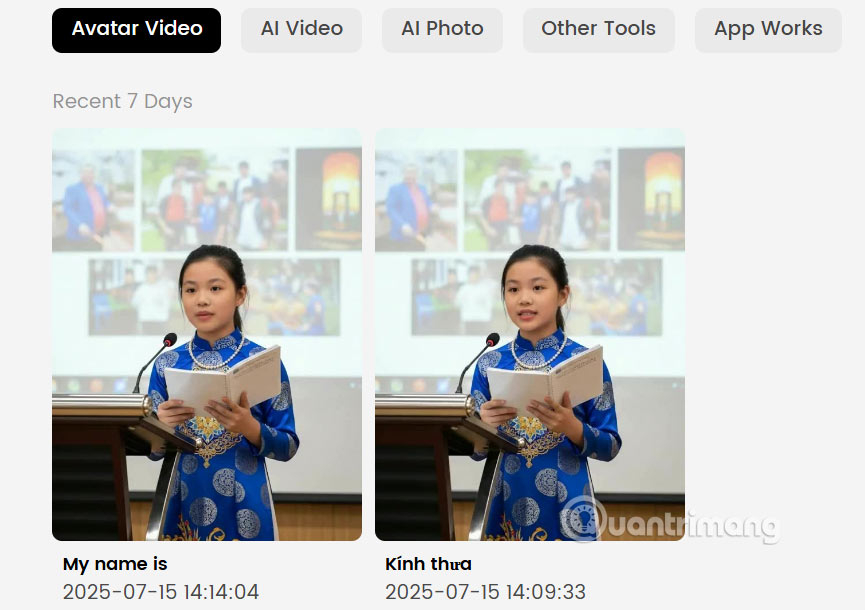
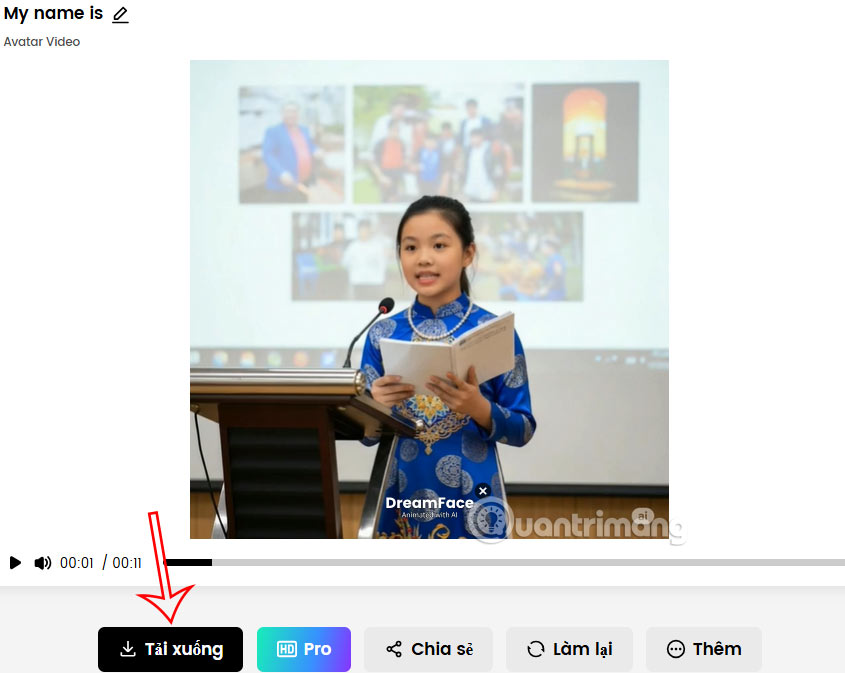
Tap the video to view the content and tap Download to download the video.
FAQ
How to create lip sync videos using DreamFace?
First you create a presenter image in the style you want in any AI image generator. Let's describe the presenter in detail and create a scene with the presenter and the background.
What does this guide cover?
This guide explains create lip sync videos using dreamface, including the main steps, important details, and practical considerations.
Who is this guide for?
It is designed for readers who want a clear, practical overview and a reliable process they can follow without unnecessary complexity.
Related Articles
 Guide to Creating Lip-sync Videos with AI Lip Sync8 minutes read
 How to Use Musical. Ly - Extreme Lip Sync Application8 minutes read
 Guide to Lip Sync with Muvik6 minutes read
 Top 5 Lip Sync Apps on the Best Phone8 minutes read
 How to Create Lip-syncing Animal Videos on CapCut3 minutes read
 All You Need to Know About NVIDIA's G-Sync Technology8 minutes read
Reader Comments 0
Sign in with email or Google to join the discussion.