How to Install a Camper Awning
Part 1 of 3:
Placing Your Camper Awning
-
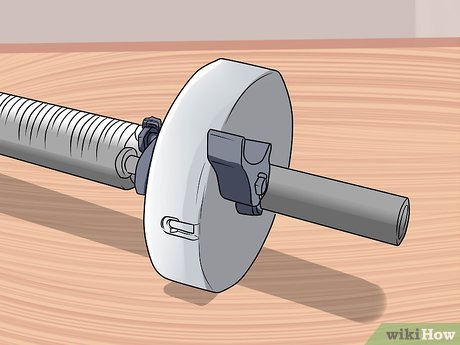
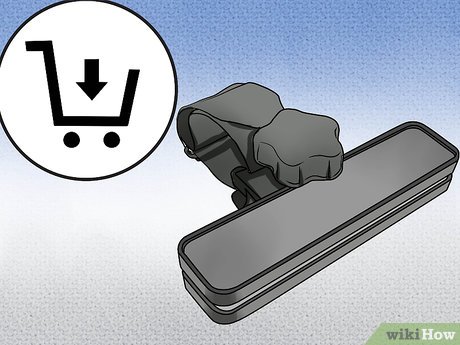
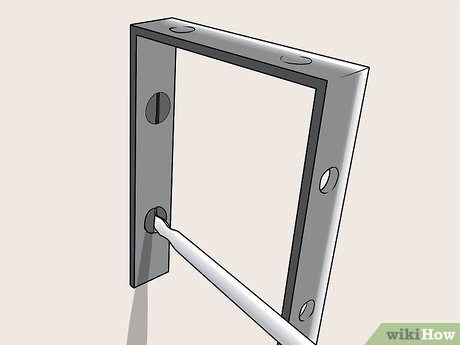
 Purchase an awning kit. Most packages contain stainless steel mounting brackets, silver reflective material, and extra fiberglass poles to combat against the wind.
 -
 Select a location for your awning. Though most awnings are placed on the front of the camper above the door, this is entirely up to you. You can put the awning on any wall of the camper that is long enough and thick enough. If you choose to put your awning on the backside of your camper, it will just mean that you have to walk around the camper to enjoy the shade.
 -
 Use a felt tip marker to mark where the ends of the awning will be. You can use a tape measurer to measure along your camper and find the best place for your awning. Make sure the walls of the camper are at least 1 inch (2.54 cm) thick in this area to ensure the camper is structurally strong enough to hold the weight of the awning. You can confirm this in your owner's manual or measure the thickness of the wall in an opening such as doorway or window.[1]
- Another way to measure the wall thickness is to drill a screw all the way through and mark it on the other side of the wall. Pull the screw back out and measure from the head of the screw to the mark and that will be your wall thickness. Be wary of making extra holes in your camper, though.
-
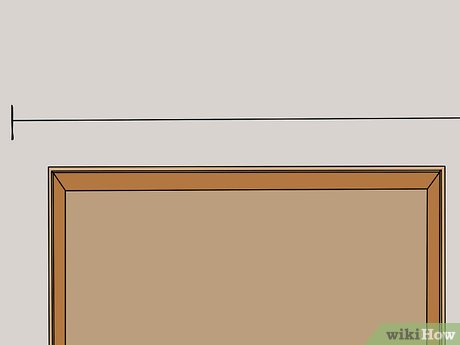
 Draw a straight line between the two marks. It will help to have at least two helpers for this task. Have one person on either end holding either a chalk line or a straight edge of some kind. As they hold, snap the chalk line or trace a line down the straight edge.[2]
Part 2 of 3:
Installing the Mounting Hardware
-
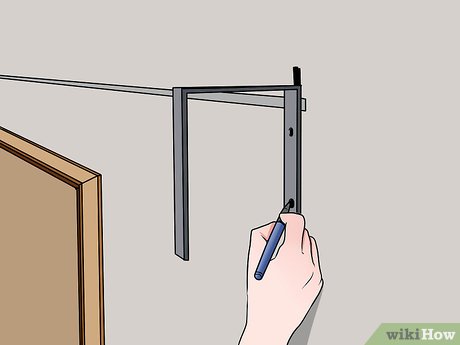
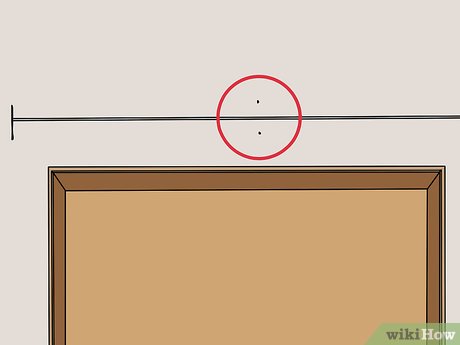
 Place the two end mounting brackets approximately three inches inside the end marks. Use the felt tip marker to mark the hole on each bracket. This will mark where you need to drill later.[3]
 -
 Place the third mounting bracket directly in the middle of the chalk line. Again, use your felt tip marker to make a mark for drilling. You can find the middle by measuring the distance from one point to the next and making a mark, at the halfway point. For example, if it's ten feet from mark to mark, you would mark the five foot point as your middle.[4] You can then set the brackets aside for now.
 -
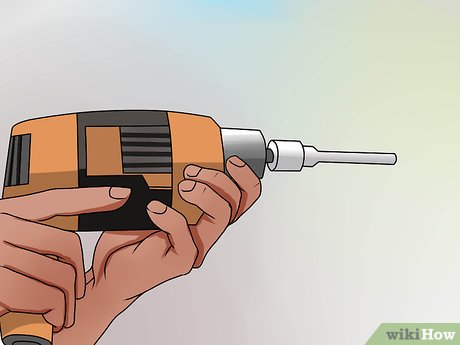
 Drill holes for the mounting bracket screws. Use the drill bit size recommended in the awning manufacturer's instructions, as different awnings may require slightly different sized screws. Drill straight through the holes you previously marked.[5]
- Most of the time you will use a 3/16 drill bit for these holes.[6]
-
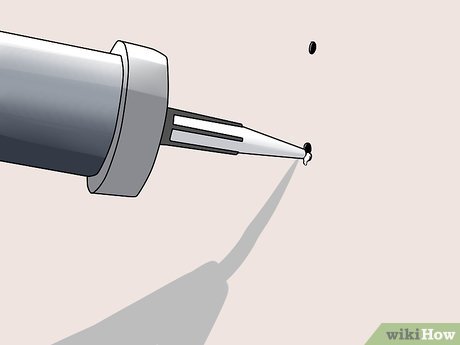
 Coat the provided screws in a water-tight sealant. Use a sealant such as silicone. This will seal the hole around the screws and prevent water from entering your camper.[7]
 -
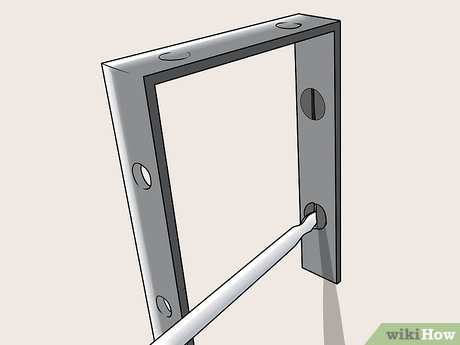
 Attach the mounting brackets. Use a screwdriver and the provided screws to screw the brackets into the holes that you drilled.[8] Using a drill will over-torque the screws and make the structure weaker.[9]
Part 3 of 3:
Installing the Camper Awning
-
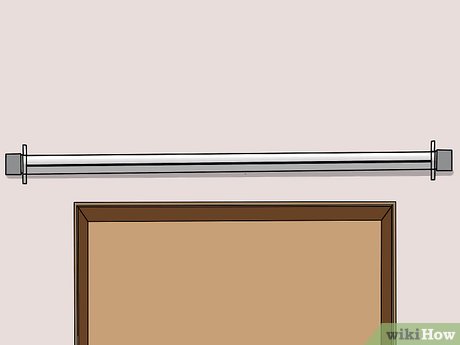
 Hang the camper awning over the mounting brackets. You will need to slide the attachment hooks on the brackets into the awning. This will secure the awning to the brackets.[10]
 -
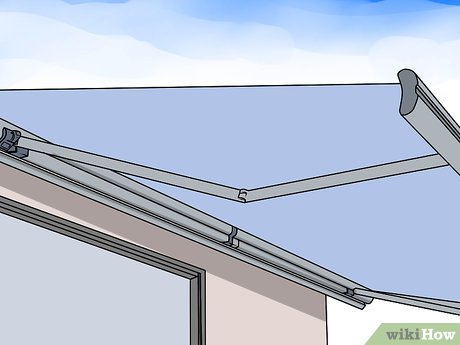
 Extend the awning. Pull out the support legs until the awning canopy is positioned properly.[11][12]
 -
 Make torsion adjustments. Torsion adjustments can usually be made with a knob located at the side of the awning. This will adjust how tightly the awning is stretched while extended.[13]
 -
 Consider purchasing a 'deflapper.' This part will be installed halfway down the awning and will reduce flapping. This will increase the longevity of your awning by preventing wear and tear due to flapping.[14]
 -
 Skew your awning slightly. As long as one end is slightly higher than the other, the awning will be pitched. This will allow any water to flow off to one side rather than be stagnant on the top of your awning.[15]
Share by
Marvin Fry
Update 24 March 2020


