How to Level a Camper
Leveling makes your camper more comfortable to stay in and helps features like gas refrigerators function properly. It's done with a level and some plastic leveling blocks or wood scraps. After leveling the camper from side to side, level...
Table of Contents
Part 1 of 2:
Leveling from Side to Side
-
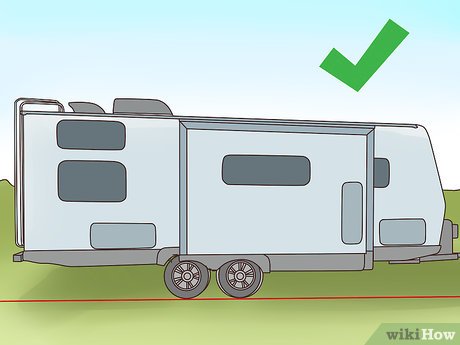 Pick a flat place to park. Try to find a parking spot that is as flat as possible. Leveling is meant to compensate for minor ground unevenness, so parking on a slope will still be uncomfortable and unsafe.[1]
- If the ground slopes to the camper's side, reposition the camper so the ground slopes towards the front or back end.
-
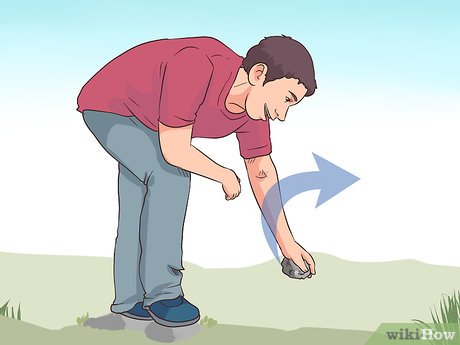 Clear out the area before leveling the camper. Make sure there aren't any rocks, big branches, or camping items nearby, since these can get in the way. Afterwards, ask everyone to move away from the camper while you work.[2]
 -
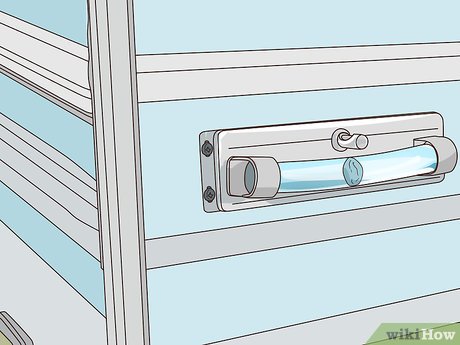
 Use a level to measure the camper from side to side. Bring along an inexpensive level, such as a surface or bubble level. Lay the level from left to right in the camper's doorway. The side of the level that is lower is the side of the camper you'll need to raise.[3]
- Keep the camper hitched until you're done leveling it from side to side.
-
 Place leveling blocks near the tires. Leveling blocks are like strong, plastic Lego blocks for campers. Snap them together to form a ramp for the camper. Place them in front of the tire you need to raise. These blocks can be purchased at general stores like Walmart as well as camper stores.[4]
- A cheaper leveling option is 2 in × 10 in (5.1 cm × 25.4 cm) pieces of lumber. The wood always has to be wider than the tires. Also, wood can take up a lot of storage space and, if the wood is rotten or broken, it shouldn't be used.
-
 Drive the camper onto the blocks. Slowly drive the camper forward onto the leveling blocks. If you're having trouble, ask someone to guide you. The wheels should be firmly on the blocks. Measure the camper's levelness again and make adjustments as needed.[5]
- If it feels easier for you, place the leveling blocks behind the wheels and back onto them instead.
- If part of the tire hangs off the leveling block or wood scrap, the tires will weaken over time. Readjust the camper to avoid this.
-
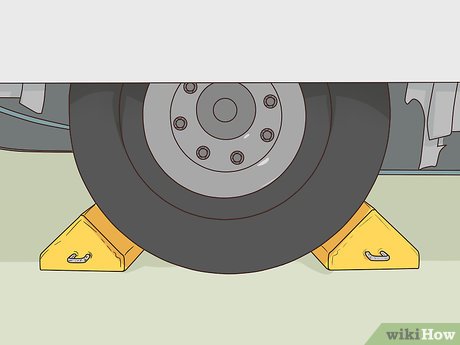 Place wheel chocks under the tires to hold the camper still. Chocks are a safety measure, so use them even when you think you don't need them. Place the chocks under the wheel, wedging them in place by hand. Place them behind the wheels if the ground slopes towards the rear end of the camper.[6]
- Wheel chocks can be found at general stores and camping supply stores. If you don't have any, wood scraps can be used instead.
Part 2 of 2:
Leveling from Front to Back and Stabilizing
-
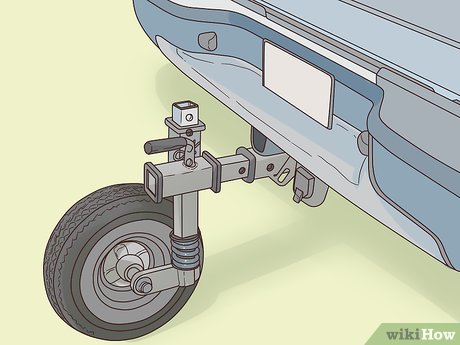
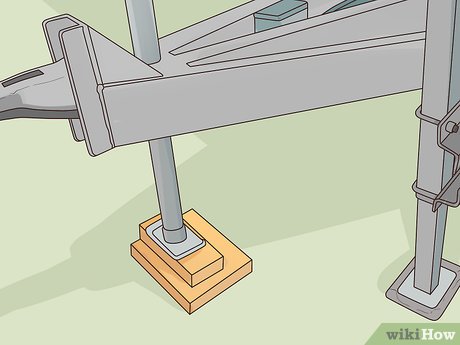 Place pieces of wood under the tongue jack. The tongue jack is the front part of the camper that connects to your vehicle. Stack a few 2 in × 10 in (5.1 cm × 25.4 cm) wood scraps under it so it has a place to rest. The wood will ensure that the camper stays level during use.[7]
- You can also get a wheel dock from a camping supply store. Set the tongue jack in it and you won't need the wood.
-
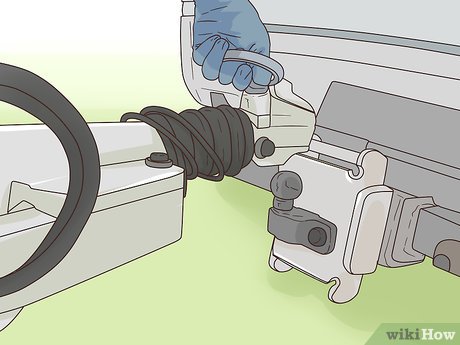 Unhitch the camper. Once you have made a resting spot for the jack, unhitch it from your vehicle's bumper. Set the jack's metal shaft on the wood. Move your vehicle out of the way so you can finish leveling and stabilizing the camper.
 -
 Measure the camper's levelness from front to back. Set the level in the camper's door again. This time, lay it so the ends point to the camper's front and back. If one side is lower than the other, you'll need to adjust the camper further.[8]
 -
 Adjust the tongue jack to lower the camper. Read your owner's manual to find out how to adjust the jack. Usually the jack will have a crank that you can turn by hand to raise or lower it on its metal shaft. Continue doing this until the camper is level from front to back.
- Adding or removing wood boards can also help level the camper perfectly.
-
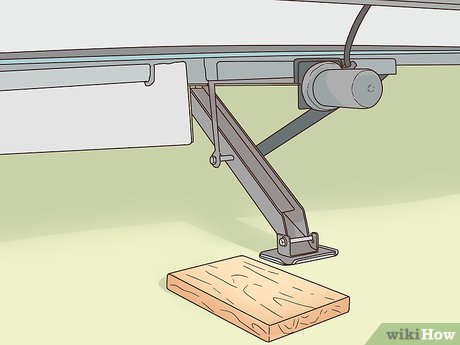 Place wood scraps under the stabilizing jacks. The stabilizing jacks are on the camper's 4 corners. These jacks aren't meant for leveling, but will prevent your camper from rocking and falling out of level. Place 2 or more 2 in × 4 in (5.1 cm × 10.2 cm) wood blocks under each stabilizer to ensure they won't move.[9]
- If your camper doesn't have stabilizers, you can have a professional permanently install them. Alternatively, place jack stands from automotive stores under the camper's corners.
-
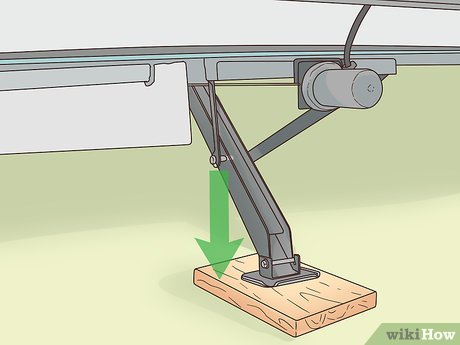 Lower the jacks onto the wood. Check your owner's manual to find out how to adjust the stabilizing jacks. Bring the jacks down until they're planted firmly on the wood.
Was this article helpful?
Your feedback helps us improve.
Related Articles
 How to Install a Camper Awning6 minutes read
 Level 4-storey house mezzanine 3 bedrooms3 minutes read
 The model of level 4 beautiful, modern2 minutes read
 Model house with nice roofs2 minutes read
 4 levels 4 design drawings of mezzanines with beautiful mezzanines4 minutes read
 Model house with 4 nice flat roofs2 minutes read
Reader Comments 0
Sign in with email or Google to join the discussion.