How to change iPhone video recording settings to reduce video size
In this article you will learn how to reduce the size of videos recorded on iPhone, helping you to record longer videos on iPhone without taking up too much storage space.
Table of Contents
In this article, you will learn how to reduce the size of videos recorded on iPhone, helping you to record longer videos on iPhone without taking up too much storage space. Especially, when the video has a moderate capacity, it is also easy to upload and share with others. Below are the detailed settings for you to follow.
How to adjust iPhone video recording settings in Settings
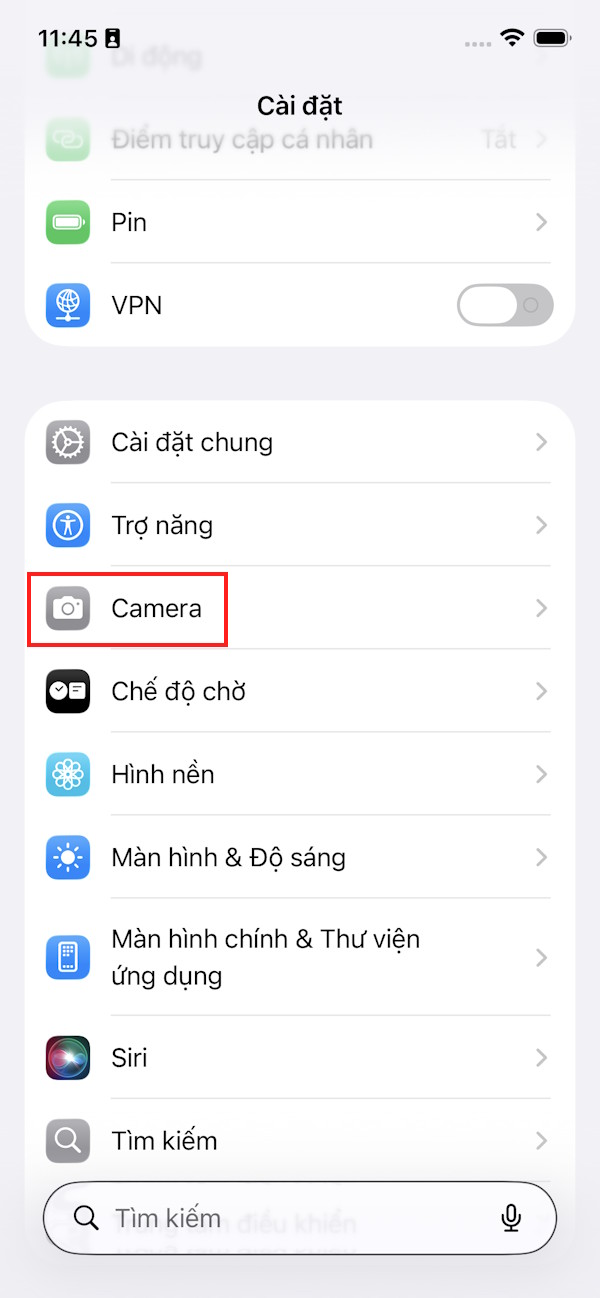
Step 1:
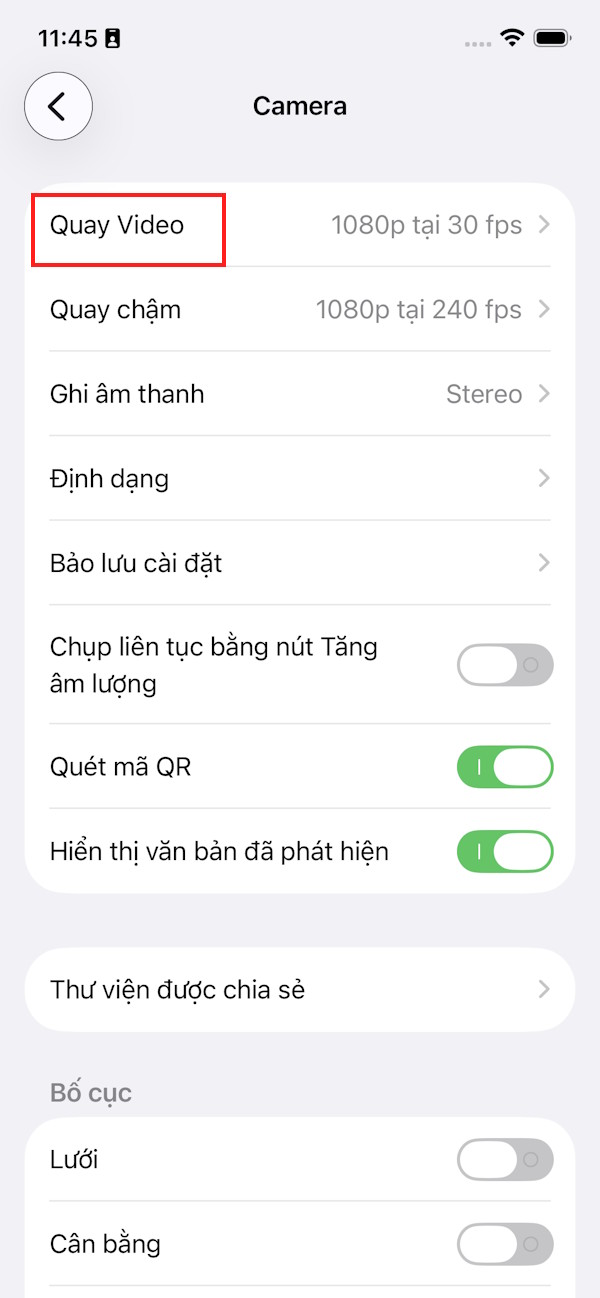
You access Settings on iPhone then click on the Camera application to adjust. Go to the settings interface, the user clicks on Video Recording to proceed with adjustment.
Step 2:
Now users will see many video recording options on iPhone from 720p to 4k at 120fps.
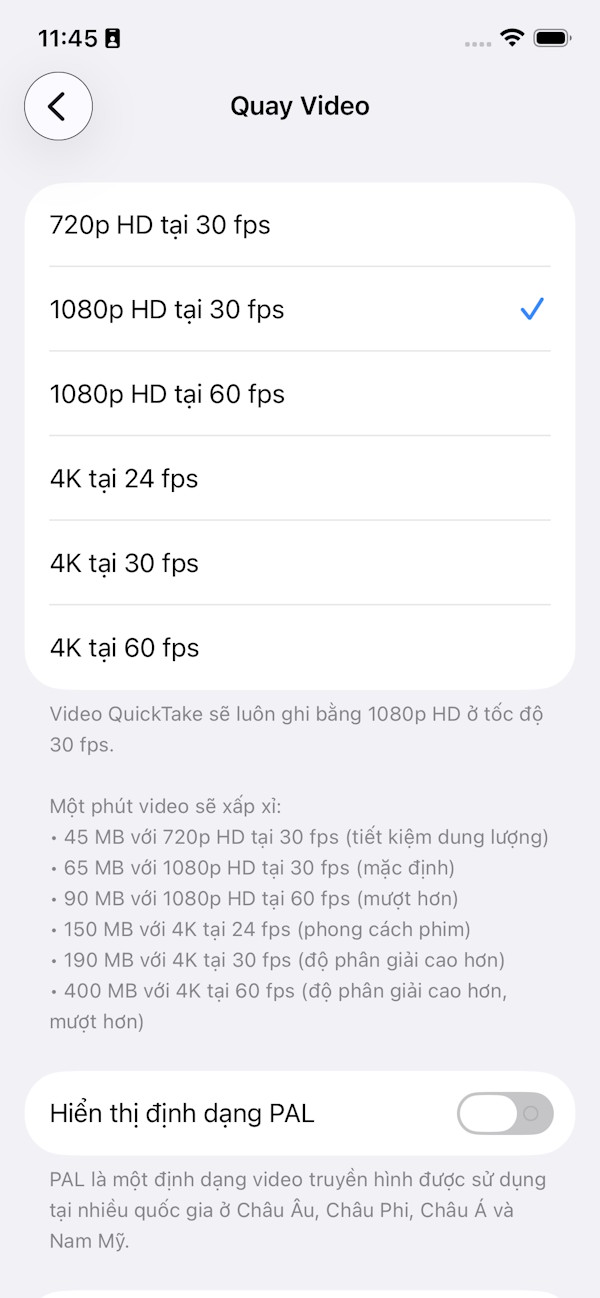
4K video is high quality but the video size is quite large. For example, a 1-minute video shot at 4K resolution, 30 fps will be about 150MB in size, while a 1-minute video shot at 1080p resolution, 30 fps will only be 65MB.
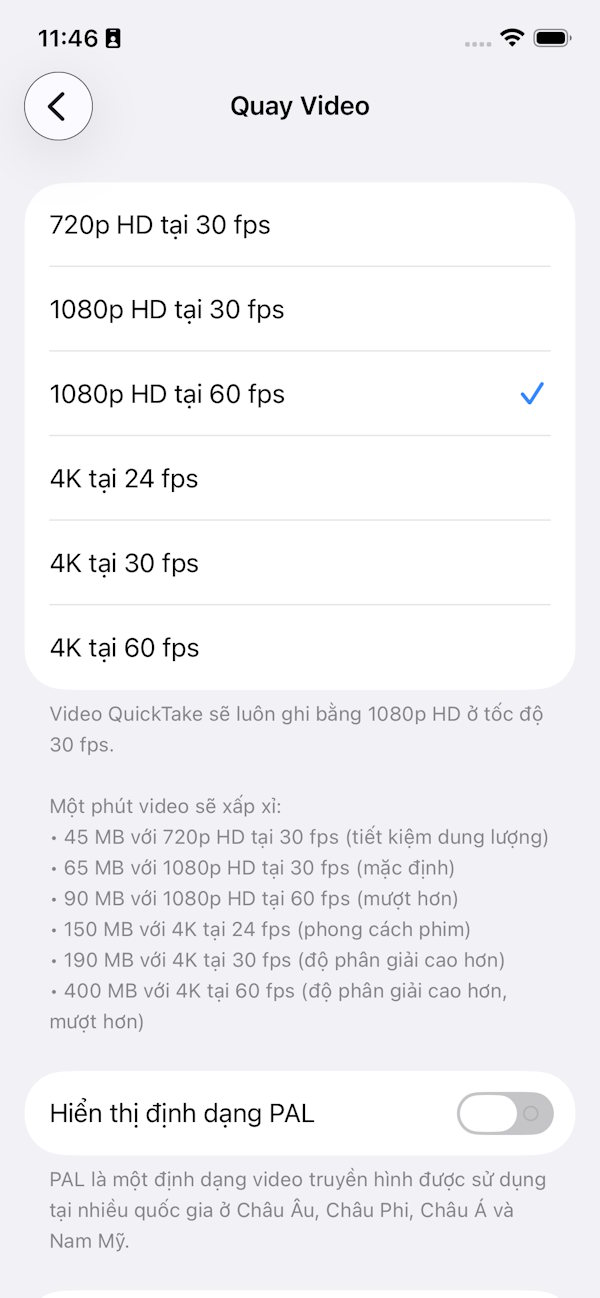
We recommend 1080p HD at 30fps to get quality video even when uploading to social media sites. However, if you want smooth video, you can also choose the 1080HD at 60fps option.
Change video recording settings in Camera to reduce video size
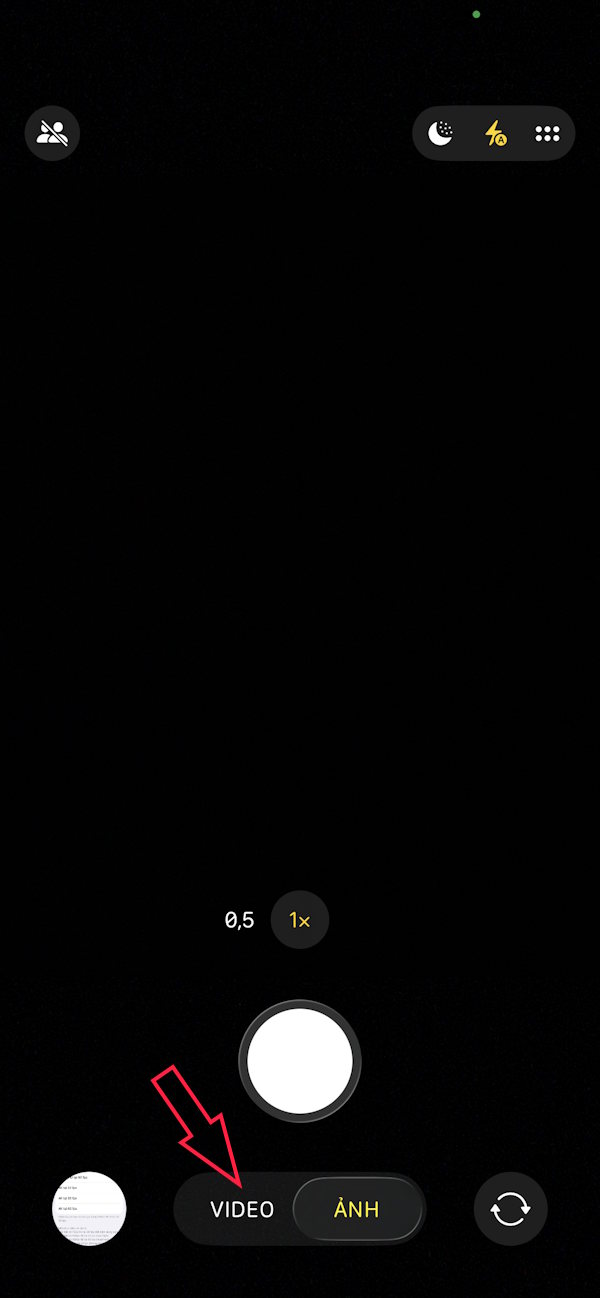
Step 1:
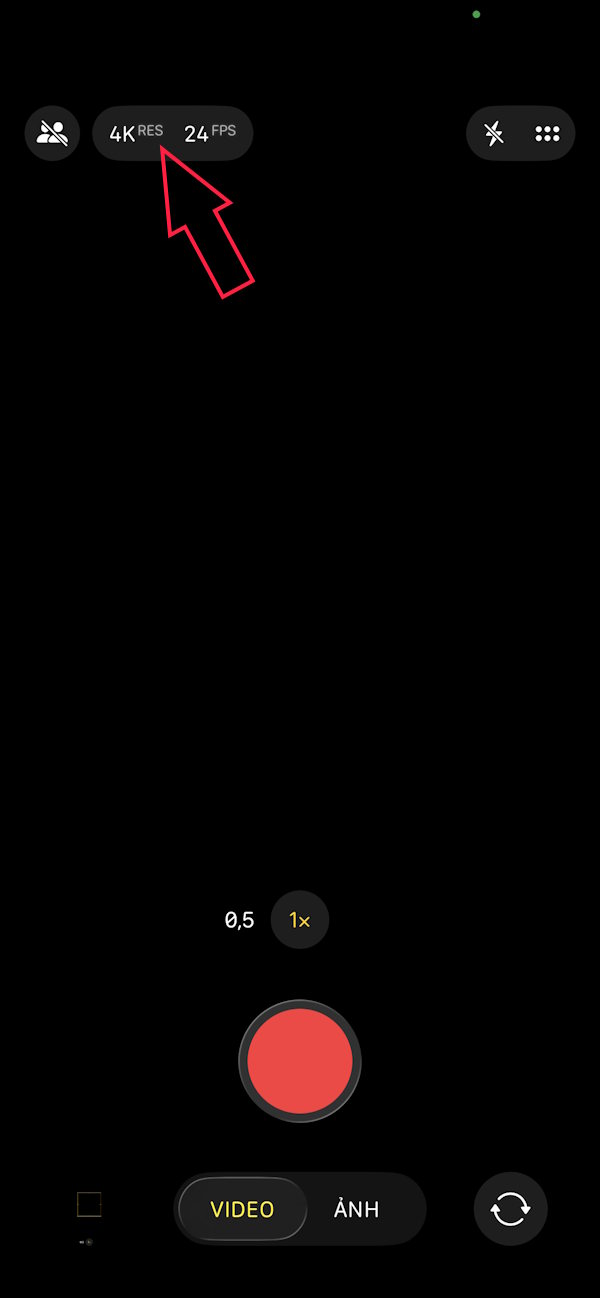
First you click on Video mode then click on Resolution and Frame Rate icon above to adjust.
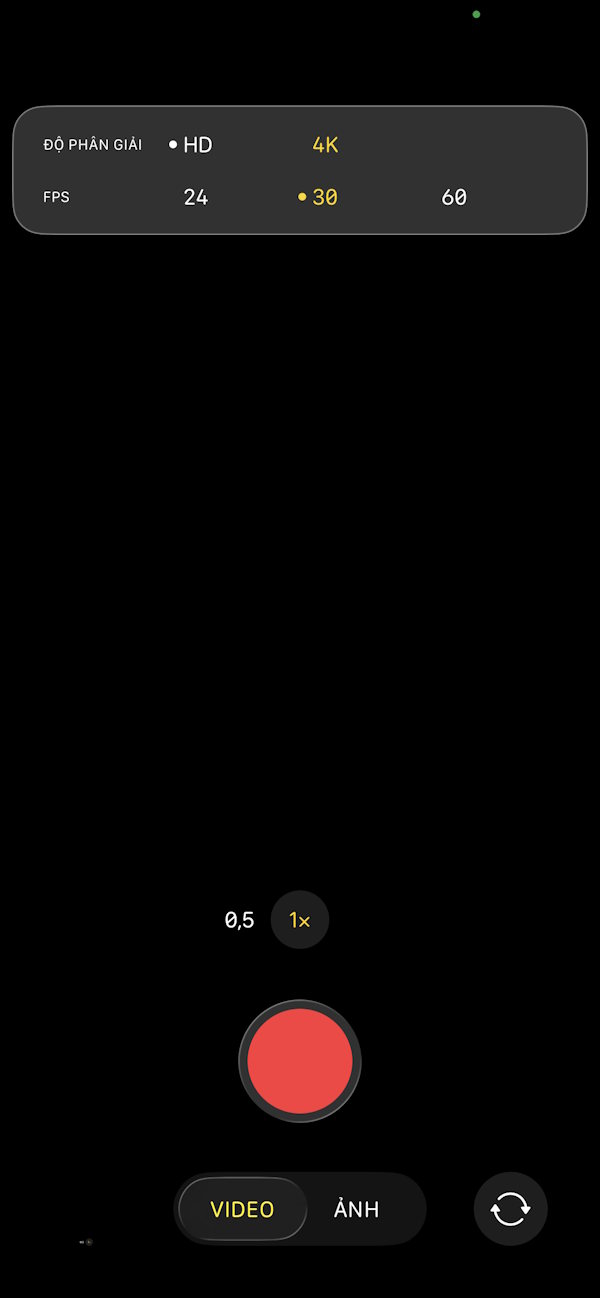
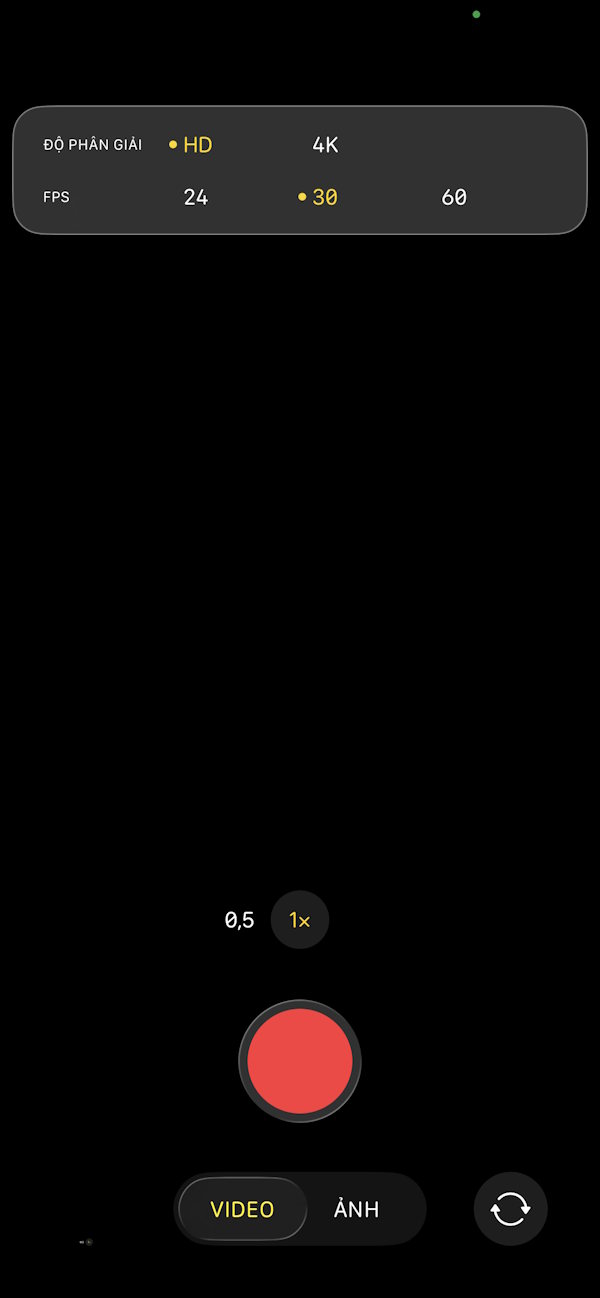
Step 2:
Here we also have many options for recording videos on iPhone. You should choose HD quality and 30 30fps for the best results.
Was this article helpful?
Your feedback helps us improve.
Related Articles
 5 ways to reduce video capacity for iPhone4 minutes read
 Pocket some quality video recording tips on iPhone7 minutes read
 How to Reduce Video Size11 minutes read
 How to enable HDR video recording on iPhone3 minutes read
 6 ways to reduce video size for iPhone6 minutes read
 How to reduce video size but keep quality6 minutes read
Reader Comments 0
Sign in with email or Google to join the discussion.