Guide to creating presentation slides on TeraBox
With its large storage capacity and flexible access across multiple devices, TeraBox allows teachers to easily create, manage, and share presentations quickly and conveniently..
Using online document storage and sharing platforms like TeraBox in work and teaching yields certain benefits. With its large storage capacity and flexible access across multiple devices, TeraBox allows teachers to easily create, manage, and share presentations quickly and conveniently.
You can easily share your presentation slides with students and colleagues via links, fostering interaction and collaboration. Below is a guide on creating presentation slides in TeraBox.
How to create presentation slides on TeraBox
Step 1:
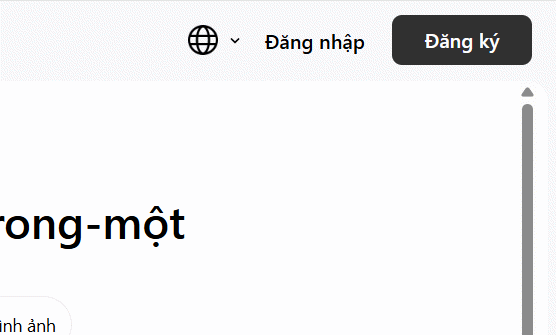
We access TeraBox via the link below and register for an account.
https://www.terabox.com/ai/
Step 2:
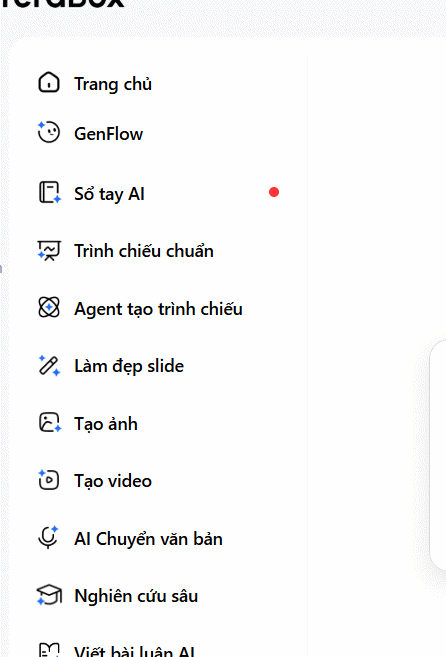
To view the main TeraBox interface, look to the left and click on "Beautify slides" .
Look to the side at the bottom and you'll see many slide templates to choose from, categorized by topic. Click on each slide template topic and then select the presentation slide style you want to use.

Step 3:
Switch to the new interface on the right side, and click on "Create" to create your presentation slides. Then, click on the pin icon to upload the original reference file.
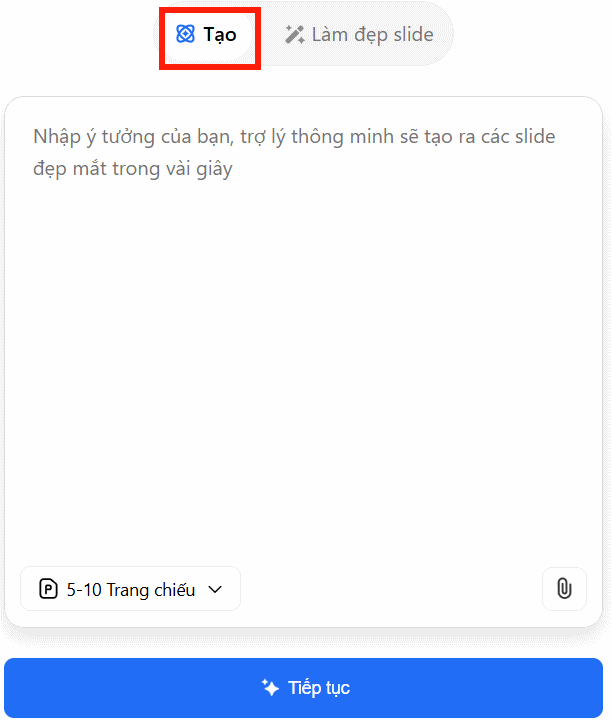
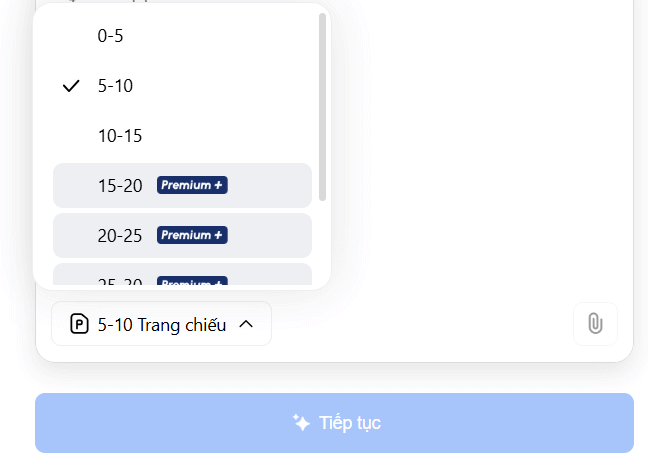
Next, below we will select the number of slides for the free account; a paid TeraBox account will have more slide pages.
Finally, simply enter a description to create a simple slide as shown below and then click Continue to start the slide creation process on TeraBox.

Step 4:
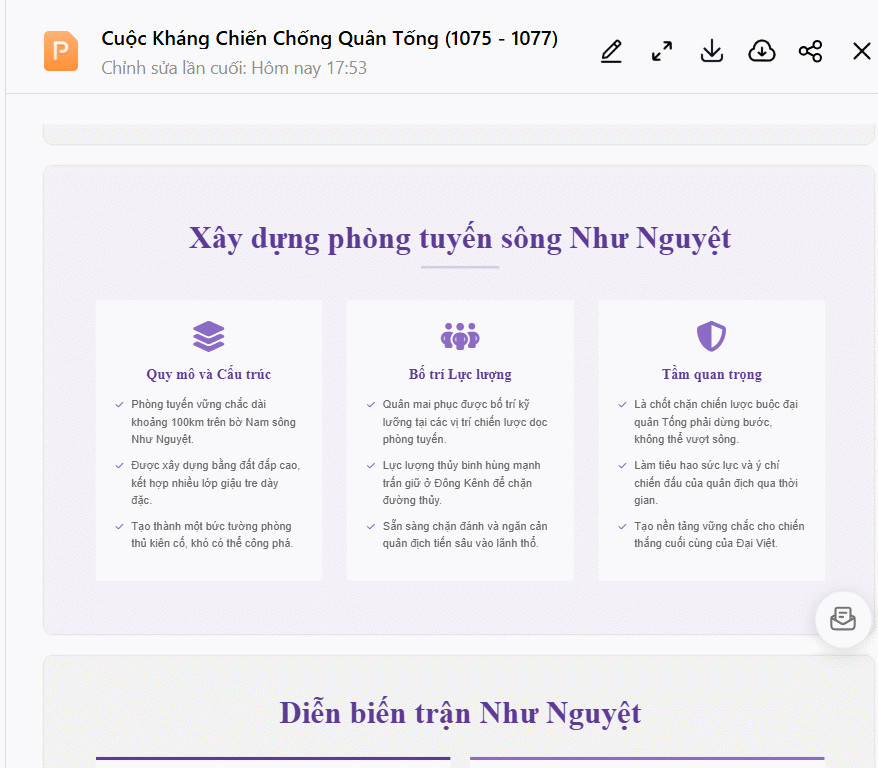
Wait a moment and you will see the content for the slides above. Click "Create Slide" to proceed. You can change the order of each slide, add new slides, or delete existing slides.

Now you will see the slideshow with tools in the upper right corner; you can click Edit to change the formatting of the content in the slide.
Step 5:
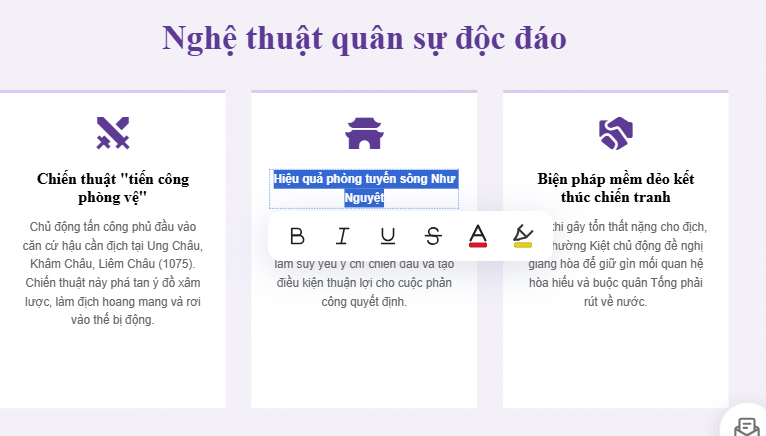
Then, we need to click on the content we want to edit. That content will be highlighted along with several formatting options. After making the changes, click Save to save the changes.
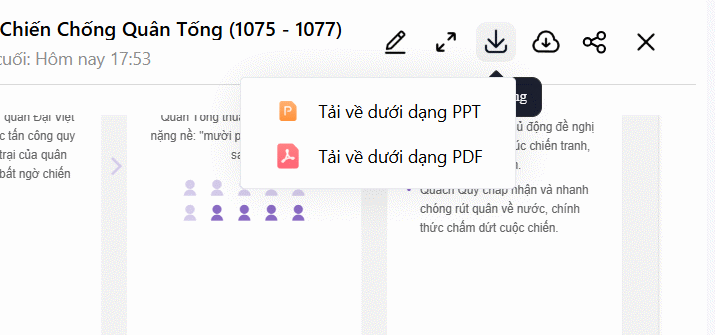
Finally, click the download icon and choose the format for downloading the presentation slides you created in TeraBox.