Experience in handling laptop chargers with broken wires
Charging a laptop is an indispensable part of every laptop, sometimes it is more important than a battery because many people have a habit of removing the battery charger to protect the battery, in addition to having to regularly use the cord. then remove the charger cord every time you use it, so it is in places close to the transformer that often have a broken wire.
This is a disease that many people have to be annoyed, and it turns the computer into a puppy all day to caress the pet to charge.
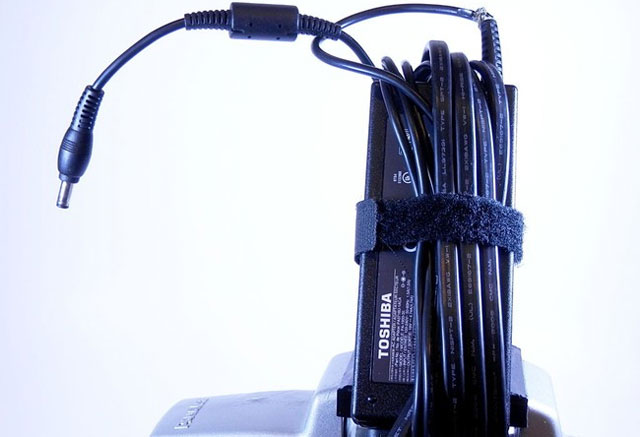
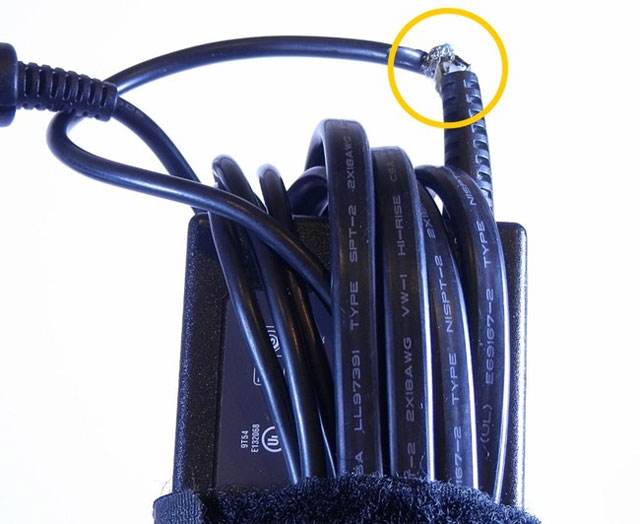
The way most computer users do when encountering this problem is to buy a new charger while all the key components of this charger work normally.
If you have surrendered and are prepared to pay for a new charger, linger a bit and try doing some simple things, maybe you will save some money and still Used "genuine" with the device.
First, you need to prepare some tools to operate this charger:
- Paper knife (5k - 10k).
- 2-sided screwdriver (10k -15k or use the type of motorbike kit).
- Welding torch (about 120k this can be bought once and used more for other things).
- Electric tape (3k-5k / roll).
In a power supply, there will usually be 2 heads, including a removable head and connected to the 220V home power socket, the other end is a round head that will plug into the computer, usually we will be broken at the head has just got out of the transformer because this is the position when the cord is folded most.

First, you remove the input neatly and cut off the broken wire completely. There are many types of underground, there are types of scratched outer shells due to heavy objects, so it is easily recognized from outside. The heavier type is without any trace but just lay the plug, sometimes the power is on sometimes. This type you have to plug into the machine and fold each piece of wire to detect the location to be removed.
If the broken position is in the middle, then it is not difficult to just cut off the suspicion and connect the healthy part together in the right color, making sure the insulation between the two wires is okay.
The more difficult problem is that the wire is broken at the base and if there is no place to connect, then you need to open the transformer cover (which is the square plastic part of the charger).
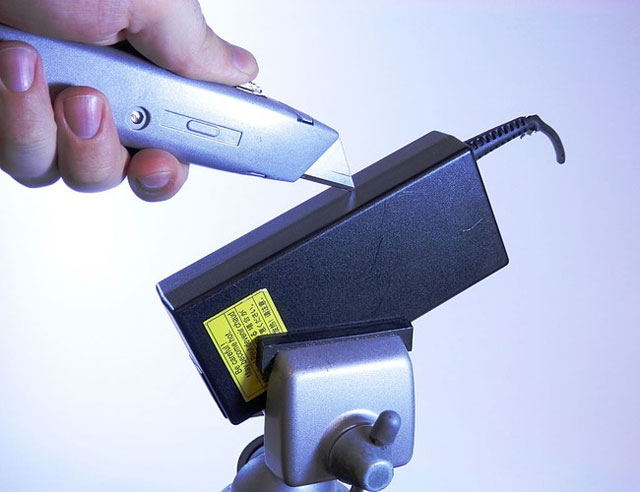
Use a paper knife to cut around the groove of the half of the charging box, which requires a little effort to cut the plastic inside.
Using a screwdriver with 2 sides to bend into the newly cut slot and cut the 2 half halves apart, pay attention to both turn the screwdriver and press it inside.
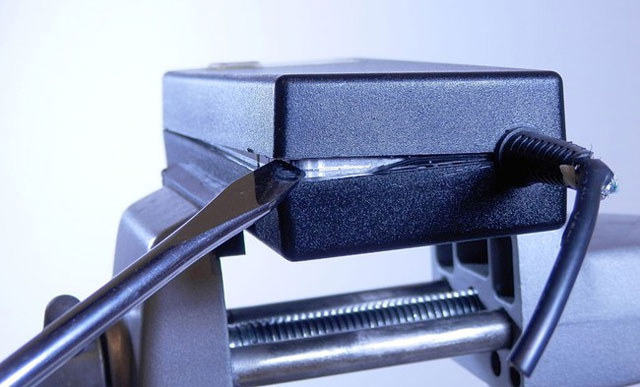
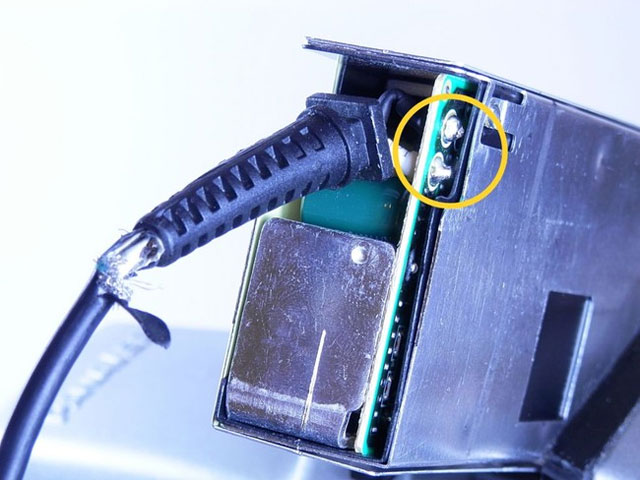
The position needs to release the weld to cut the wire.
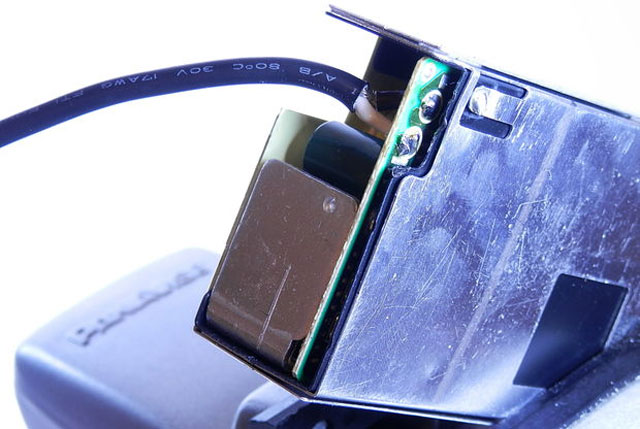
When you open the case, you will see the output of the soldered solder pinned on the board just like the outer edge as shown, you just use this two-headed fused soldering torch to pull out the broken wire out (remember to hit 2 wire placemark to solder again).
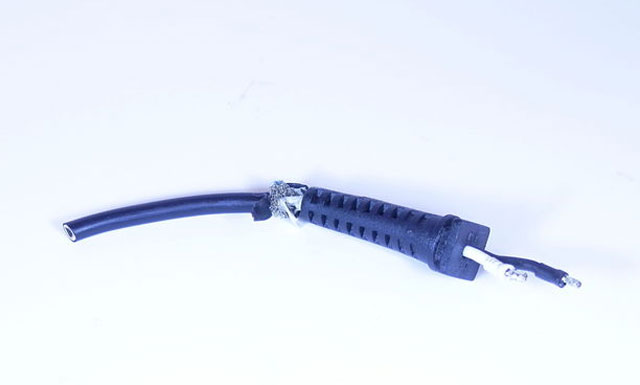
If you pay attention, you will see the plastic wrap up on the wire base, this piece of plastic works to keep the wire against stretching and can be removed from the broken wire to put it into use. If you remove this plastic, it is difficult for you to use a hot fire to pull it out more easily or you can tie it at the end of the string and put that knot inside the box after re-welding.
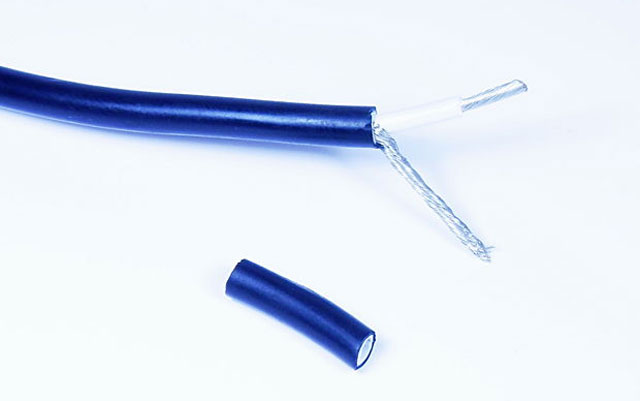
With the remaining wire, you cut off the plastic part of the wire to reveal the length of the metal wire about 2 cm long, notice that this wire has 2 separate poles, separate this wire into 2 to avoid touching each other. . And use the same crust to reinsert it as an insulator or you can use electrical tape instead. Finally, use the welding torch to re-weld the new piece of wire to the position of the broken wire section according to the position marked above. If you can re-use plastic to hold the rope or use a knotted string to hold it, you must insert it into the wire or knotted before welding again. If using glue or adhesive tape, it is possible to finish welding and handle it.
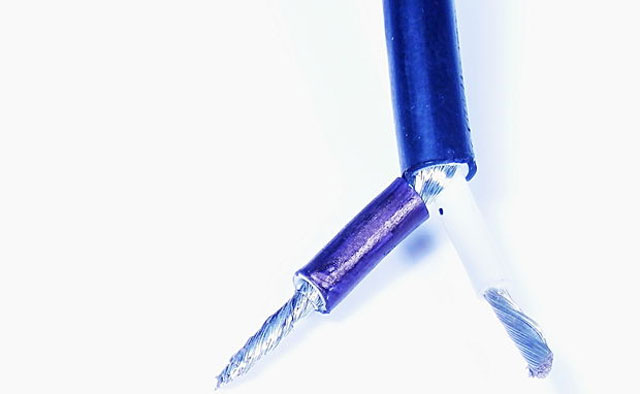
After the mending process is completed, you re-arrange the wire as if it was the same and close the box, you can use hot silicone glue to pump into the position where the wire has just been cut to hold the wire against tension.
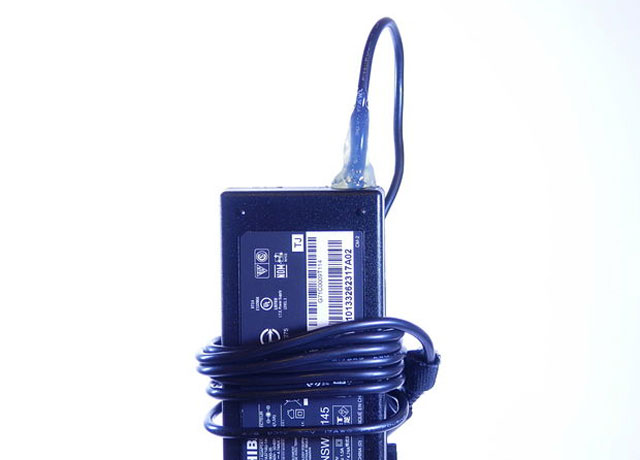
So that's it, you have equipped yourself a way to handle the broken power cord, see you again at the post experience tips to fix hardware later.
Good luck!