Enable the Quick Removal feature to quickly remove USB drives on Windows.
Microsoft's new Quick Removal feature, developed for Windows 10 and earlier versions, allows users to quickly remove USB drives. For more details on this feature, please refer to TipsMake's article!.
Users have traditionally clicked the Safely Remove icon before removing a USB drive from their computer to prevent damage or data loss. However, Microsoft has now addressed this issue with the Quick Removal feature . In the article below , TipsMake will guide users on how to activate the Quick Removal feature to quickly remove a USB drive on Windows.
Enable the Quick Removal feature to quickly remove USB drives on Windows.
Table of Contents:
1. What is Quick Removal? 2.
How to activate the USB Removal feature .
1. What is Quick Removal?
Quick Removal is a feature that allows users to safely remove a USB drive from their computer without losing data on the computer or the USB drive.
2. How to activate the USB Removal feature
To enable USB Removal, you need to update your Windows version. However, if you haven't updated Windows yet because you're worried it might not be compatible with your machine, follow these instructions to change the default removal mode for USB devices:
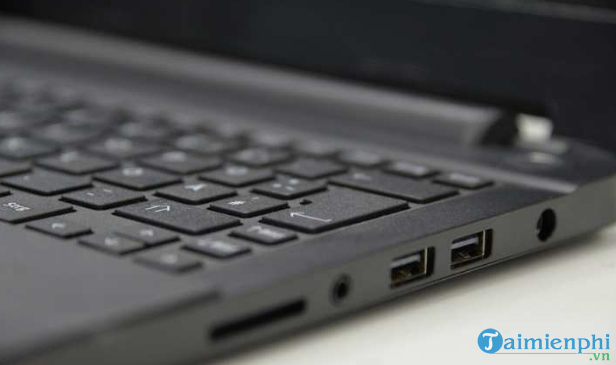
Step 1: Plug in the USB drive.
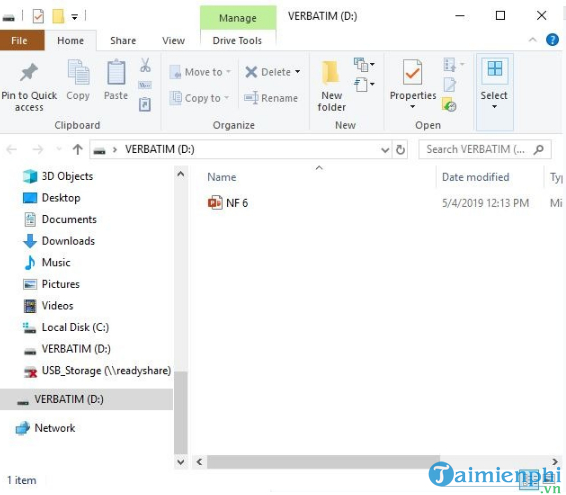
Step 2: Name the drive (e.g., D:, G:, H:,.)
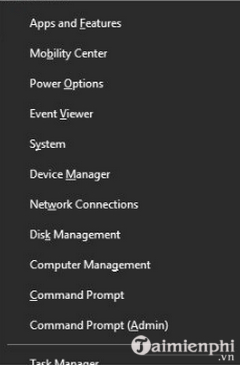
Step 3: Press the Win + X key combination.
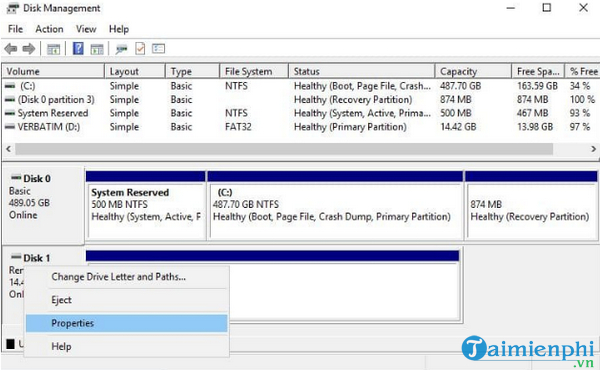
Step 4: Click on Disk Management.
Step 5: In the bottom corner of the Disk Management window, right-click on the device and select Properties.
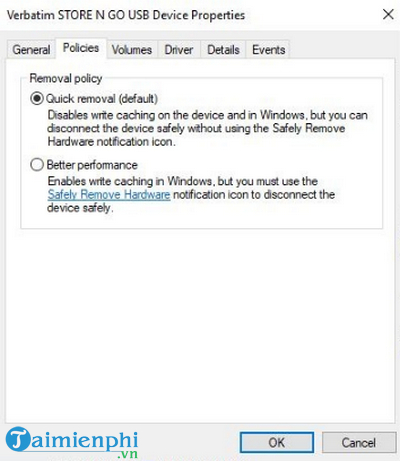
Step 6: Check the "Quick removal" option. If you don't select this option, you can choose "Better performance" instead , then click OK.
Above, Taimienphi.vn has just guided readers on how to activate the Quick Removal feature to quickly remove USB drives on Windows. If you have any questions or need clarification, such as how to fix the problem of your computer not recognizing a USB drive , please leave your comments in the comment section below the article!