Ways to turn your photos into Pixel Art
Do you feel your photo is pretty ordinary? Try transforming it into pixel art; it'll be much more interesting..
Do you feel your photo is pretty ordinary? Try transforming it into pixel art; it'll be much more interesting.
Before learning how to transform your photos into pixel art, let's first understand what this type of artwork is.
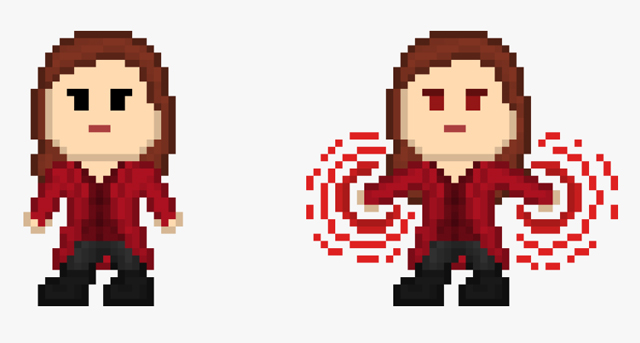
What is Pixel Art?
Pixel art is a form of digital art where images are created and edited at the pixel level using graphic editing software. The key to pixel art lies in its unique image display style, where individual image elements are used as building blocks to create the final image.
With its unique and nostalgic style, Pixel Art is gradually regaining popularity. Many graphic designers are fascinated by it and apply it to various design purposes, for example:
- Designing user interfaces for websites.
- Create animated images (GIFs)
- Emoji
- Profile picture (avatar)
You can also try transforming your ordinary photos into Pixel Art using some of the methods below.
Use Pixel Art Village
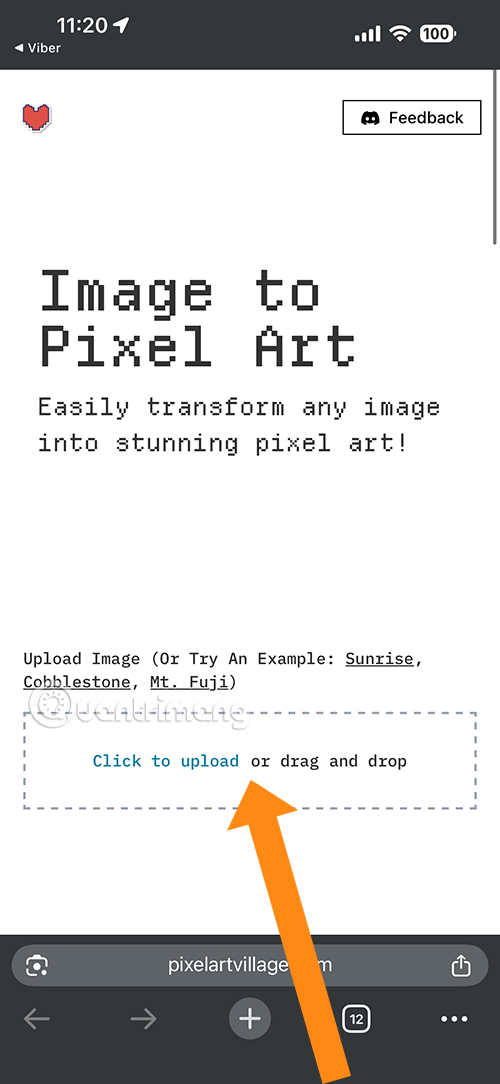
Step 1: Access the Pixel Art Village link below, then select "Click to upload" to upload the image you want to edit.
Pixel Art Village
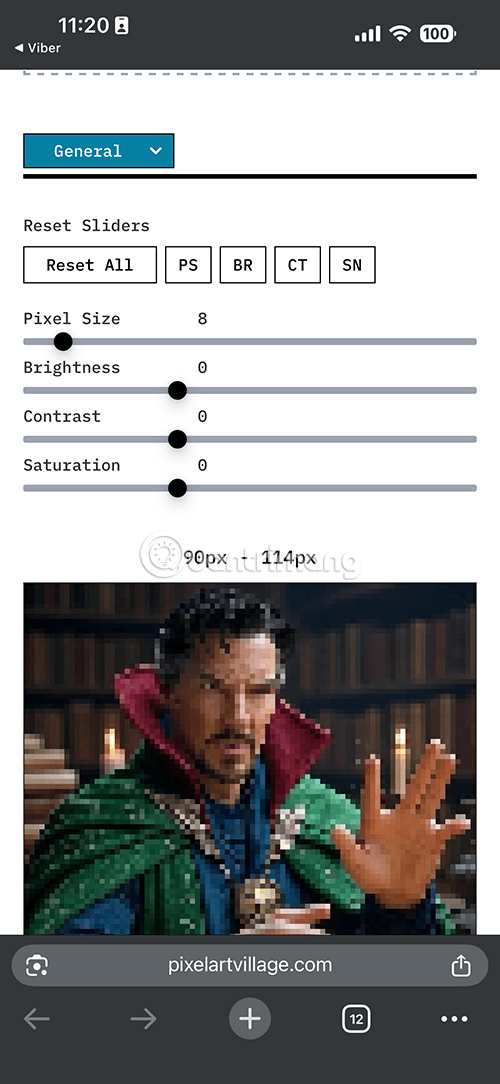
Step 2: Once the image has uploaded, edit it using the following options:
The "Reset Sliders" button group
- Reset All: Resets all sliders to their original default values.
- PS (Pixel Size): Resets the pixel size to its default value.
- BR (Brightness): Resets the brightness to its default value.
- CT (Contrast): Resets the contrast to its default value.
- SN (Saturation): Resets the saturation to its default value.
Adjustable sliders
- Pixel Size: Adjusts the size of the pixels. The larger the value, the larger the pixel blocks, resulting in a rougher and simpler image. The smaller the value, the more detailed the pixels.
- Brightness: Increases or decreases the overall brightness of the image.
- Contrast: Adjusts the difference between light and dark tones. Increasing contrast makes light and dark colors more prominent, resulting in a sharper image. Decreasing contrast makes the image appear duller.
- Saturation: Adjusts the intensity of a color. Increasing saturation makes colors more vibrant. Decreasing saturation makes colors appear paler, leaning towards a grayish tone.
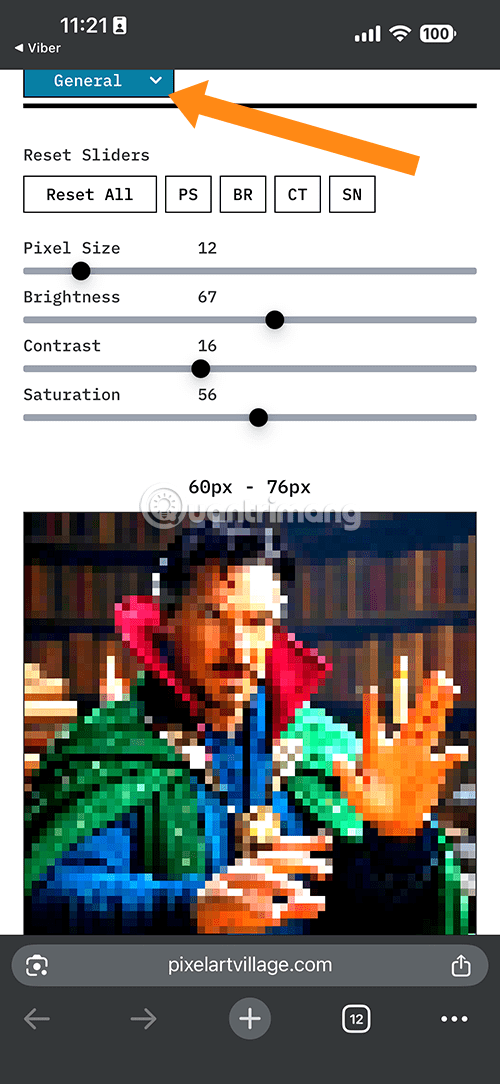
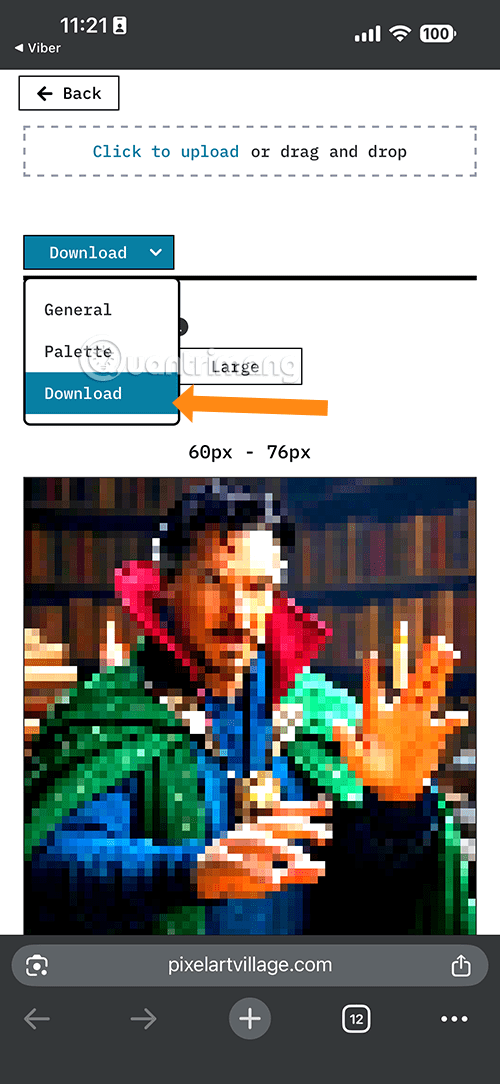
Step 3: After you have edited the image to your liking, select the General button.
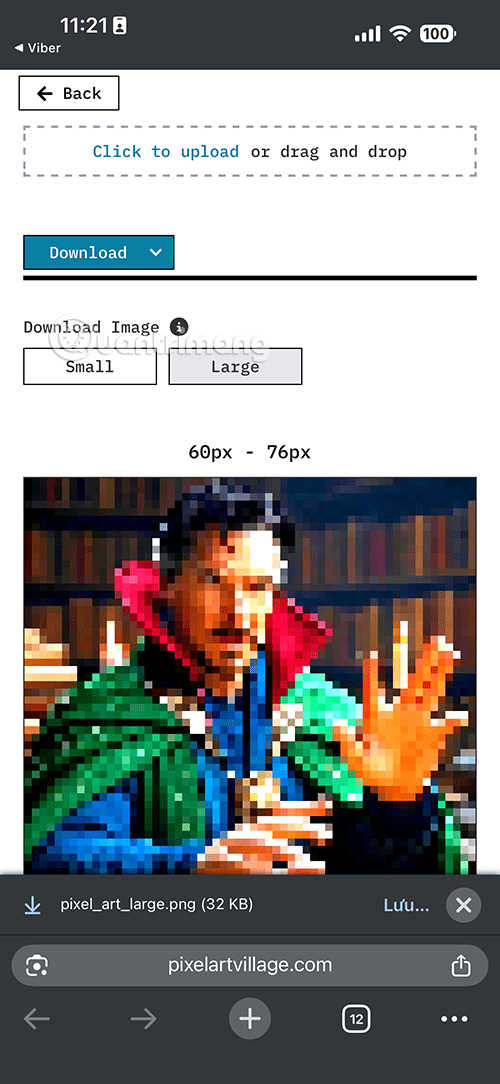
Step 4: Select Download to save the image to your computer.
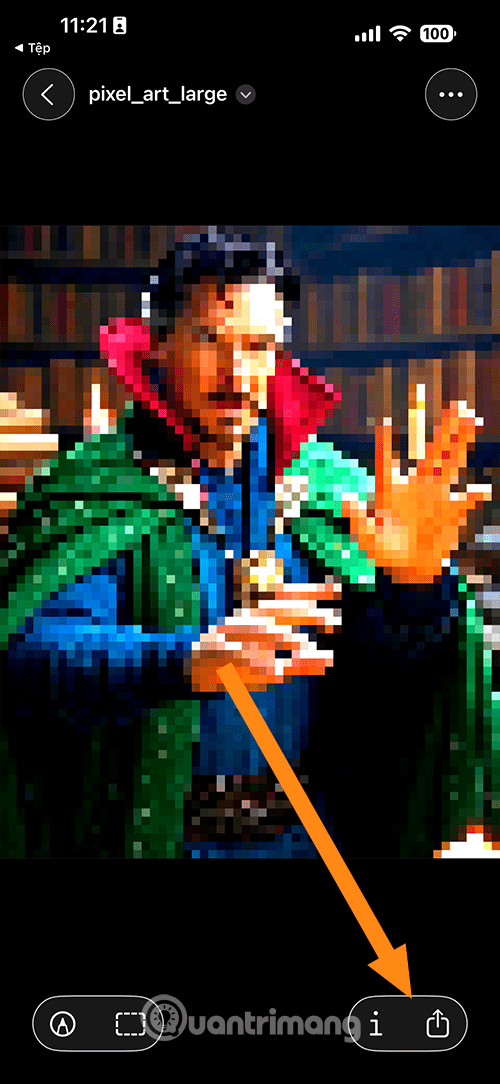
Step 5: If you are using Pixel Art Village on your iPhone browser, you will see
Select the share icon in the bottom right corner of the screen, then select Save Photo to save the image to your device's photo album.
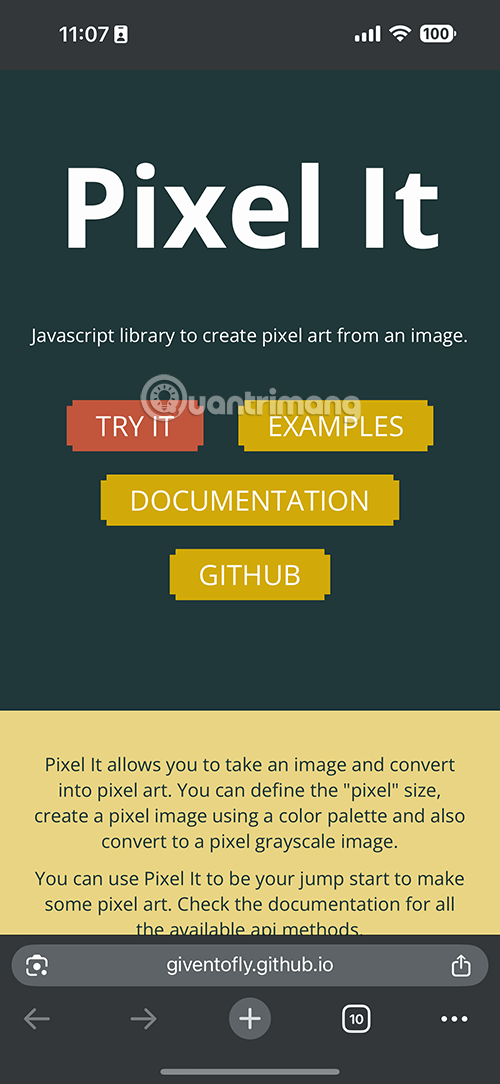
Create Pixel Art images with Pixel It
Step 1: Access Pixel It using the link below, then upload your photo by selecting Try It.
Access Pixel It
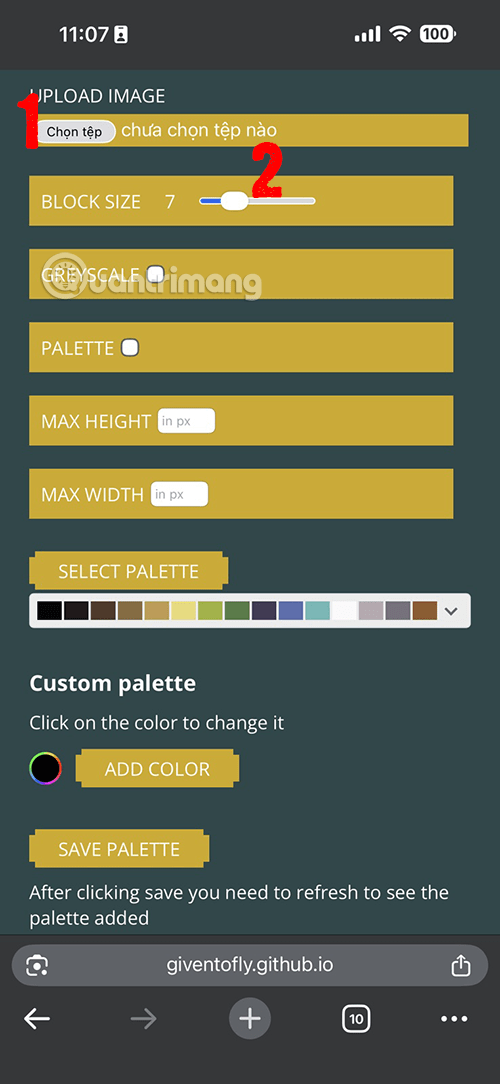
Step 2: Next, click Select File (1) and then select the level of pixelation of the image (2). The larger the value, the larger the pixel blocks, creating a rougher and simpler image. Conversely, the smaller the value, the more detailed the pixels. Below are options to adjust the size, color palette, etc.
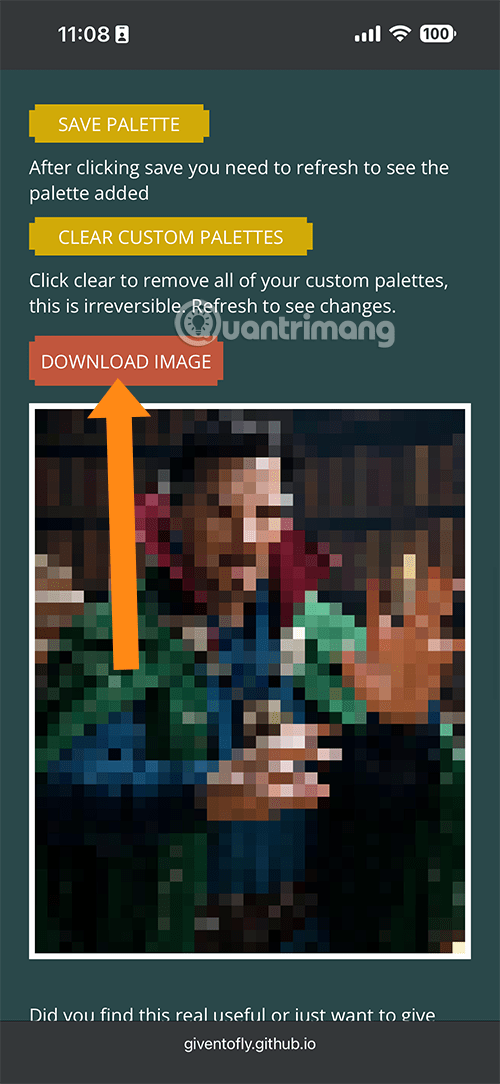
Once you've finished editing, scroll down to view your image, select "Download Image" to download it, and make sure it's the edited image you're most satisfied with.
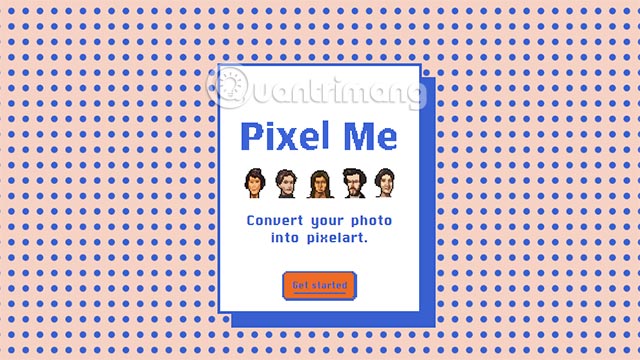
Pixel Me - Transform your photos into Pixel Art
This is a software program that helps you quickly convert photos into pixel art. Just follow these few steps.
Step 1: Go to the Pixel Me website and select Get started.
Step 2: You will be taken to the Select Image section. Here, click Select from the library to upload the image you want to convert into pixel art.

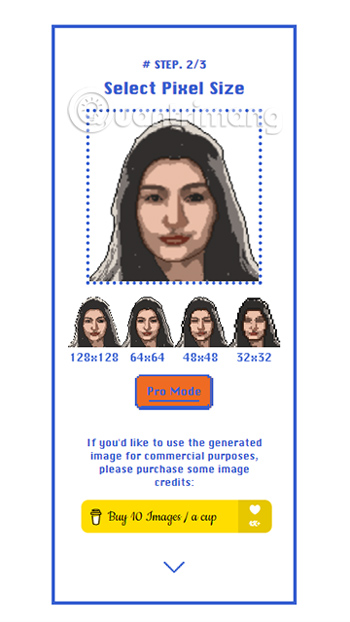
Step 3: In the Select Pixel Size section , you can choose the size of the pixels you just converted. Note that the larger the pixels, the more detailed and realistic your image will be.
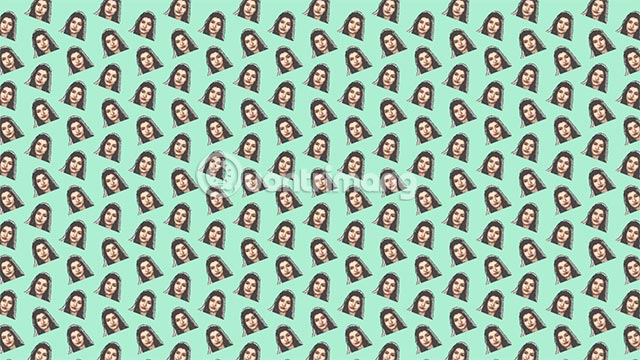
Step 4: You can further adjust your pixel image to make it more interesting in Create Pattern. Here are some settings you can adjust:
- Background: Adjust the background color.
- PixelSize: Adjust the pixel size (similar to step 3)
- Spacing: Adjust the spacing between pixels.
- Scale: Adjust the pixel aspect ratio.
- Rotation: Adjusts the orientation of the pixels.
- Brightness: Adjusts the brightness of the pixels.
- Contrast: Adjust the level of contrast.
- Saturation: Adjust the saturation level.
- Color: Adjust the color.
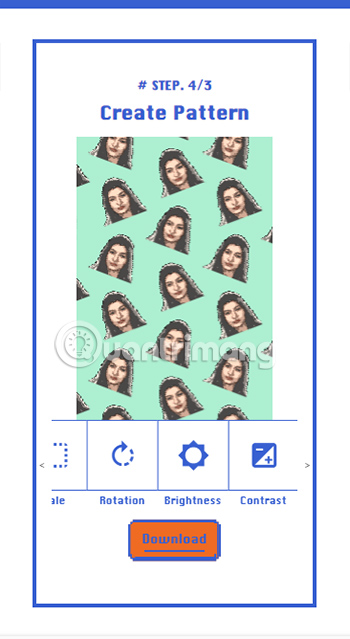
Step 5: After adjusting the image to your liking, press Download to download the image.
Pixel Me has developed a mobile app with two versions compatible with both Android and iOS . You can download it and experience many more cool features.
Download Pixel Me on Android | Download Pixel Me on iOS
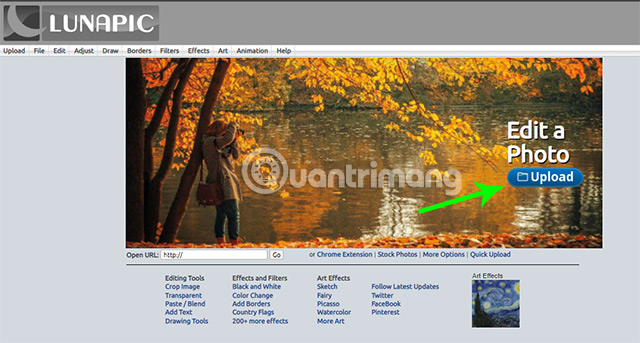
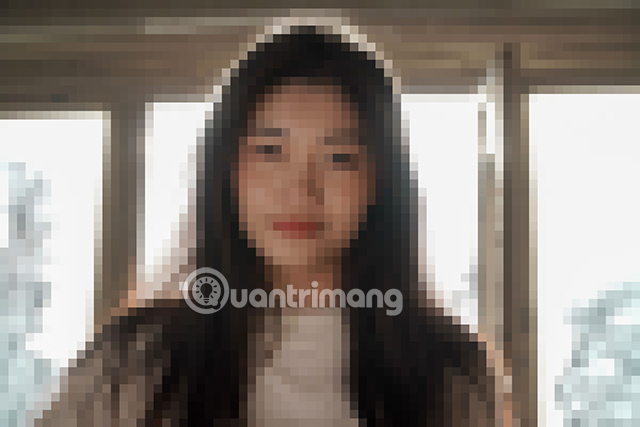
Create pixel art quickly with Lunapic.
Lunapic can be considered an online Photoshop application. It provides all the basic and advanced photo editing tools. You can create pixels, blur, resize, crop images, and more.
Step 1: Access Lunapic and upload the image you want to pixelate by clicking the Upload button.
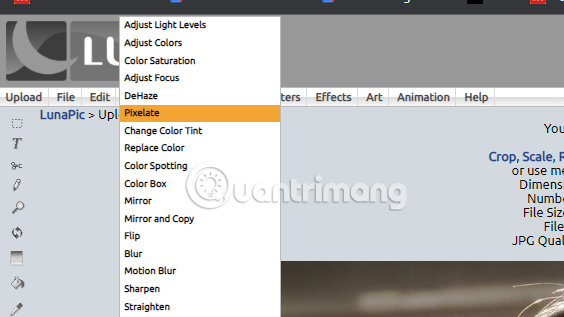
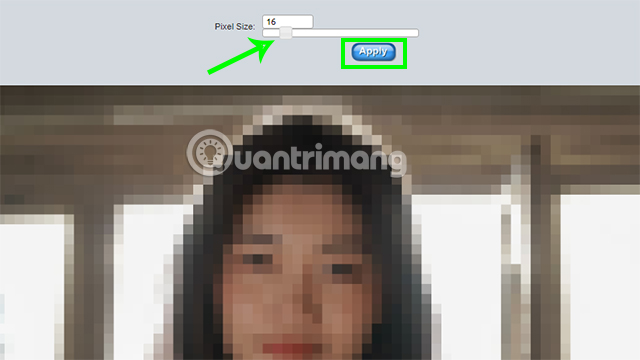
Step 2: In Adjust , select Pixelate.
Step 3: Move the pixel slider to adjust the pixel size. You will notice the change in the image below. Press Apply to confirm that the pixel size adjustment is complete.
Step 4: Go to File and select Save Image to save the image.
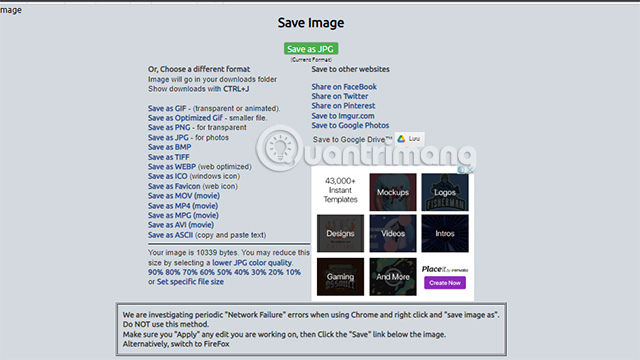
Step 5: You will have several options to save the image, such as JPG, GIF, PNG, etc.
You can even reduce the image quality to 90%, 80%. or share the image directly to social media platforms.
Some interesting facts about Pixel Art
Key points to note:
- Nostalgia and unique style: Pixel art evokes the golden age of 8-bit and 16-bit video games. This style brings a nostalgic, warm feeling and has a distinct appeal.
- Easy resource optimization: Because of its small file size and low detail, pixel art is lightweight, making it suitable for low-configuration devices, web applications, and mobile games.
- Easy to learn: Basically, a beginner can grasp the fundamental principles of pixel art much faster than other more complex digital art styles.
Some limitations:
- Limitations in detail: Due to having to work with a small pixel grid, rendering intricate details, smooth curves, or realistic lighting and shadow effects is very difficult or impossible.
- The challenge of working at large sizes: When enlarging a pixel art piece, the pixel blocks become rough and broken, losing their subtlety. Creating high-quality pixel art at high resolution requires patience and skill.
- Requires meticulous attention to detail: Although easy to learn, creating beautiful and professional pixel art requires the artist to be very meticulous and careful with each pixel, especially in choosing colors and composition.