Table of Contents
Resetting Network Adapter on Windows 11 is very simple when you can do it in some of the following ways, such as doing it via PowerShell according to the article below.
Restarting the Network Adapter on Windows 11 can resolve connection issues and fix temporary errors. When you restart the network adapter, it will disable and then re-enable the network adapter. And resetting the Network Adapter is straightforward when you can do it in some of the following ways, such as doing it via PowerShell according to the article below.
Restart Network Adapter on Windows 11
Step 1:
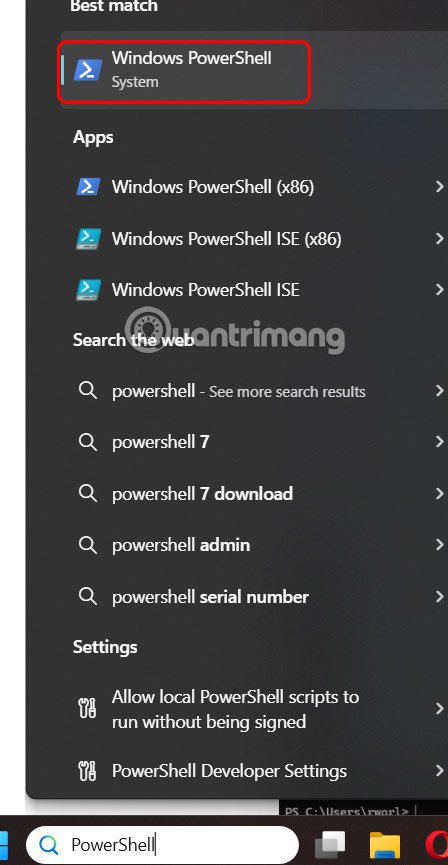
You Open PowerShell On your computer as usual.
Step 2:
Then we enter the command below to list all network connections on the computer.
Get-NetAdapter | Format-Table -AutoSize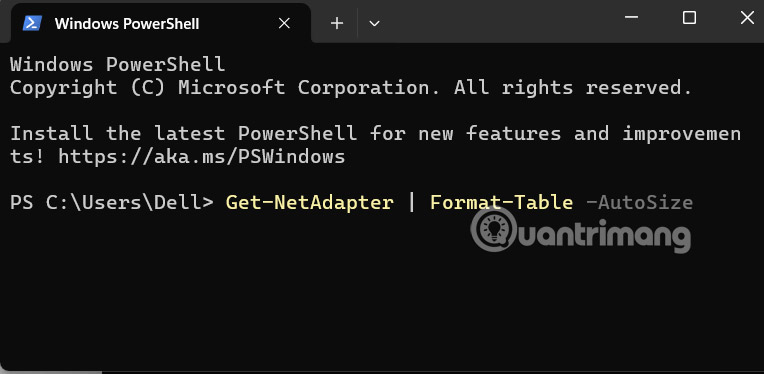
Now you will see the names of the network protocols connected on the device to choose to reset.

Step 3:
Enter the command below to reset the network you want on Windows.
Restart-NetAdapter -Name "Wi-Fi"Press Enter and wait a moment for the reset process to take place. You can also turn off and on the network adapter on your computer.
- How to turn on and off Wifi on laptop very quickly
- How to reset Ethernet connection in Windows 11
Frequently Asked Questions
How do you reset network adapter Windows 11?
In practical terms, resetting Network Adapter on Windows 11 is very simple when you can do it in some of the following ways, such as doing it via PowerShell according to the article below.
What should you check before getting started?
Review the requirements, compatible device or software version, and any warnings described in the guide before making changes.
What should you do if the steps do not work?
Repeat the steps in order, confirm that your app or system is up to date, and review the troubleshooting details provided above.
Was this article helpful?
Your feedback helps us improve.
Related Articles
 How to Fix the Error of Not Seeing Network Adapter on Windows 107 minutes read
 How to View Network Adapter Details in Windows 105 minutes read
 Instructions 2 Simple Ways Reset Windows 10 (the Last Part)9 minutes read
 This Is How to Reset Network Settings on Windows 10 with Just One4 minutes read
 How to Reset the Network, Reset the Network Connection on iPhone4 minutes read
 How to Reset Windows 10 Internet Settings: Practical Guide6 minutes read
Reader Comments 0
Sign in with email or Google to join the discussion.