Table of Contents
A strong Seeker in MECCHA CHAMELEON does more than look for the wrong color. Skilled Hiders copy the stage's palette, but they still leave clues in their silhouette, pattern alignment, lighting, placement, or movement.
The most reliable strategy is to search in layers: scan the room from the entrance, divide it into zones, inspect suspicious shapes from another angle, and take a shot only when several clues agree.
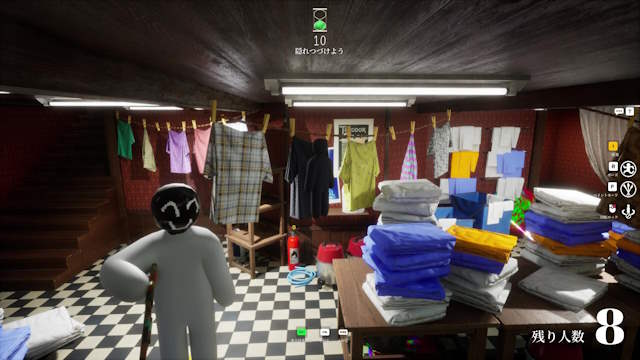
1. Pause at the entrance for a wide scan
Before walking into the middle of a room, use the doorway or another broad viewpoint. Fast movement changes the scene constantly and makes small inconsistencies harder to notice. A brief stationary scan gives you a visual baseline.
Look for:
- a human-sized curve among straight stage geometry;
- an extra object that makes a group feel crowded or asymmetrical;
- a color boundary that stops or bends unexpectedly;
- hands, feet, or a head extending beyond a prop;
- a shadow or highlight that does not match nearby surfaces.
Do not stare at one detail yet. The first pass is for building a list of suspicious areas.
2. Search silhouettes before exact colors
A Hider can sample or reproduce a convincing wall color, but the character still occupies three-dimensional space. Trace the outer edge of shelves, signs, boxes, pipes, and furniture. A bulge, soft curve, or unexplained gap can reveal where the body begins.

Pay special attention to the head, shoulders, elbows, hands, knees, and feet. These are difficult to align from every viewing angle. An excellent front-facing disguise may become obvious from the side.
3. Divide each room into zones
Randomly turning between suspicious objects wastes time and creates blind spots. Use the same order in every room. For example:
- scan the floor and low cover;
- check the left wall from near to far;
- inspect the central prop clusters;
- check the right wall;
- look above shelves, signs, beams, and door frames;
- revisit the two most suspicious positions.
Adapt the order to the map, but finish one zone before moving to another. If several Seekers are present, split the room by side or elevation rather than following one another through the same route.
4. Change angle and height
Parallax is one of the best camouflage tests. Step left or right while keeping the suspicious object centered. A painted Hider may no longer align with the background, revealing depth or a broken pattern.
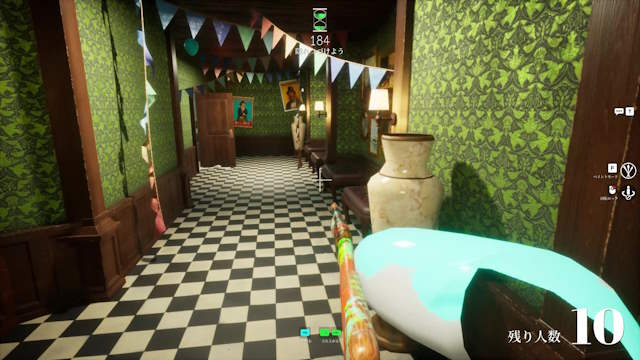
Crouch to inspect the underside of shelves and low props, then look up before leaving. Hiders often choose positions outside a standing player's normal eye line. Change height deliberately; repeatedly bobbing or spinning the camera makes inspection less precise.
5. Follow patterns across the body
When a wall or floor has tiles, stripes, seams, or panels, trace the line through the suspicious area. Hiders usually paint from one preferred viewpoint. Moving a few steps can expose a line that sits on the character rather than the stage surface.
Check three things:
- Does the spacing remain consistent?
- Does the line continue at the same angle?
- Does the pattern respond to perspective like the surrounding surface?
A slightly different hue is weak evidence by itself. A wrong hue combined with a broken seam and visible depth is a much stronger reason to tag.
6. Compare light and material response
Look for areas that are too bright, too dark, or too uniform. The stage may have directional light, ambient shadow, reflections, or surface texture that a painted character does not reproduce perfectly.
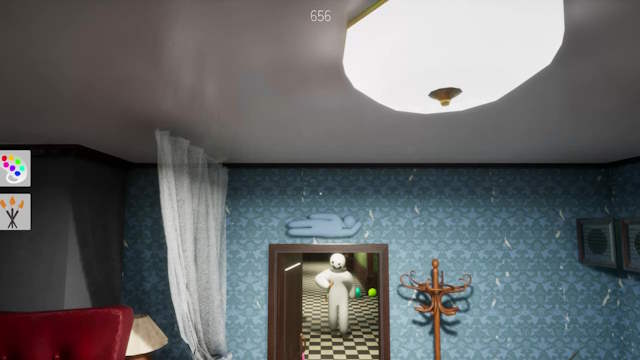
Lighting clues are easiest to use comparatively. Check the suspected patch against the same material immediately beside it. Do not assume every odd shadow is a player; map geometry and graphics settings can also produce unusual results.
7. Question placement, not just appearance
Ask whether the object belongs where it appears. A well-painted Hider may imitate a box but sit where a walkway should remain clear, duplicate a decoration that normally appears once, or create an oddly neat row.
Map familiarity makes this faster. Note recurring prop groups and empty spaces during normal play. You do not need to memorize every pixel; learn the room's visual grammar—what kinds of objects appear together and where.
8. Do not fire at every possibility
Some modes penalize a missed tag or shot, including loss of health or another limited resource. Check the current HUD and lobby rules, because patches and custom settings can change the exact consequence.
Use a three-clue rule before committing:
- Identify a shape, color, pattern, lighting, or placement anomaly.
- Verify it from a second angle or height.
- Watch briefly for movement, then tag if the evidence still holds.
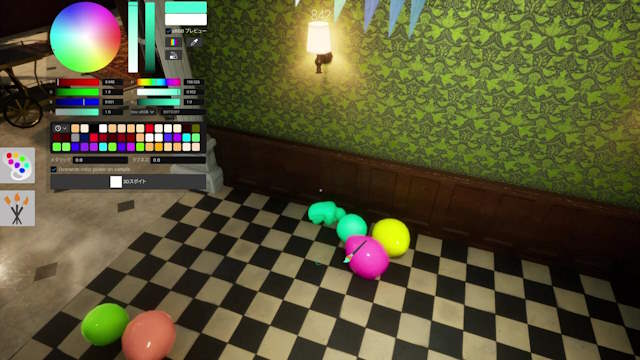
This does not mean inspecting every prop for several seconds. The goal is to replace panic shots with quick confirmation.
9. Revisit suspicious areas
If one position consumes too much time, remember it and continue the route. A surviving Hider may relax, adjust the camera, change pose, or attempt to move after the first scan.
Return from a different entrance so the viewing angle changes. Late in the round, revisit high-value spots rather than repeating the entire map in the same order.
10. Use the clock in phases
| Phase | Priority |
|---|---|
| Opening | Cover every major room and identify suspicious zones |
| Middle | Inspect shape, pattern, lighting, and low/high positions systematically |
| Final moments | Recheck the strongest candidates and likely movement routes |
Spending half the round proving one harmless object is real gives every other Hider free time. Set a mental limit for each uncertain target and return later.
Common Seeker mistakes
| Mistake | Result | Correction |
|---|---|---|
| Looking only for bright or wrong colors | Good paint defeats the scan | Trace silhouettes and pattern boundaries |
| Entering a room while spinning quickly | Small movement and depth clues disappear | Pause at a wide viewpoint |
| Checking only at standing height | Low and high Hiders remain outside the eye line | Crouch, look under, then look above |
| Following another Seeker | Both players duplicate the same work | Split the map into zones |
| Firing on one weak clue | Miss penalties accumulate | Confirm from another angle |
| Never returning to a cleared room | Moving Hiders exploit the first pass | Revisit top suspects late |
A 10-second inspection routine
- Stop and scan the room's overall shape.
- Trace prop edges and large color boundaries.
- Check the floor, under cover, and above eye level.
- Move sideways to test suspicious alignment.
- Compare light and pattern with the adjacent surface.
- Tag only after confirmation or mark the spot for a return pass.
The official MECCHA CHAMELEON page describes spots, poses, and painting as the heart of the game. A Seeker should reverse that process: decide what a Hider tried to imitate, then look for the one property the disguise did not reproduce.
Related Articles
 Meccha Chameleon Hider Guide: Camouflage Tips7 minutes read
 Meccha Chameleon Hide-and-Seek Game Tips for Beginners - Meccha Chameleon Tips7 minutes read
 MECCHA CHAMELEON: PC Control and Shortcut Guide6 minutes read
 MECCHA CHAMELEON: A guide to color combinations and paint4 minutes read
 The Best Hiding Places in Meccha Chameleon4 minutes read
 MECCHA CHAMELEON Beginner's Guide: How to Win14 minutes read
Reader Comments 0
Sign in with email or Google to join the discussion.