Just 3 steps to quickly install Ezviz Camera memory card
With just 3 simple steps, you can easily install the Ezviz Camera memory card. Learn about the best-selling Ezviz memory card lines on the market today..
Ezviz is one of the top selling camera brands on the market today. However, for customers who are using this security surveillance product for the first time, installing an Ezviz Camera memory card is difficult.
Understanding that, TipsMake sends you detailed steps on how to insert a memory card into an Ezviz Camera quickly and accurately.
General introduction
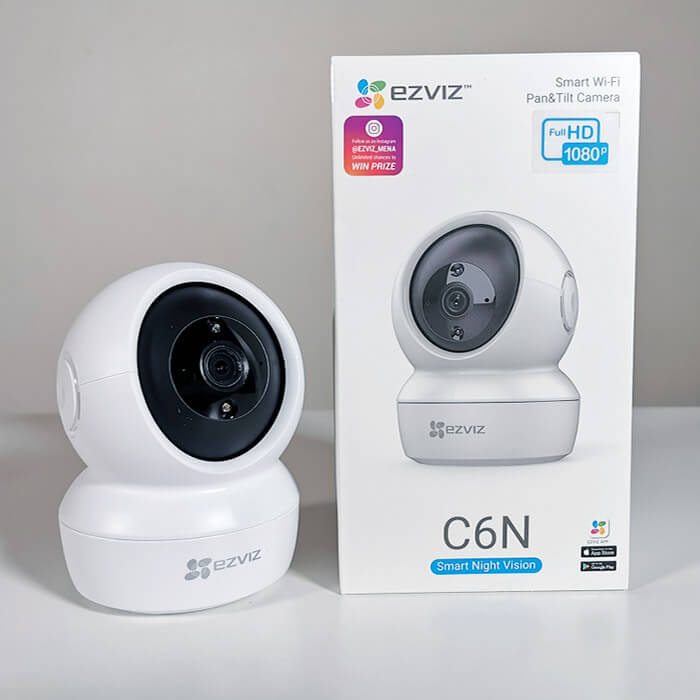
About Ezviz brand
Ezviz is a well-known brand in the field of security surveillance and smart cameras. With professionalism and innovation, Ezviz provides modern, simple and easy-to-use security products and solutions for families and businesses. Ezviz products include indoor and outdoor surveillance cameras, accessories and remote control applications via mobile phones.
About Ezviz memory cards
Ezviz memory cards are usually large in capacity and compatible with Ezviz camera recording systems. They help store and record videos and images from cameras, ensuring you don't miss any important details. Ezviz memory cards are usually designed to operate stably and reliably in security surveillance environments, ensuring safe and effective storage for your camera system.
Detailed instructions for installing Ezviz Camera memory card
Follow the 3 steps below to quickly use Ezviz Camera :
Step 1: Turn off the Camera
Before inserting the memory card, turn off the power to the Ezviz Camera to ensure safety and avoid damage. Then, gently open the cover or pull out the memory card slot. Usually, this cover or slot is located behind or below the Camera.
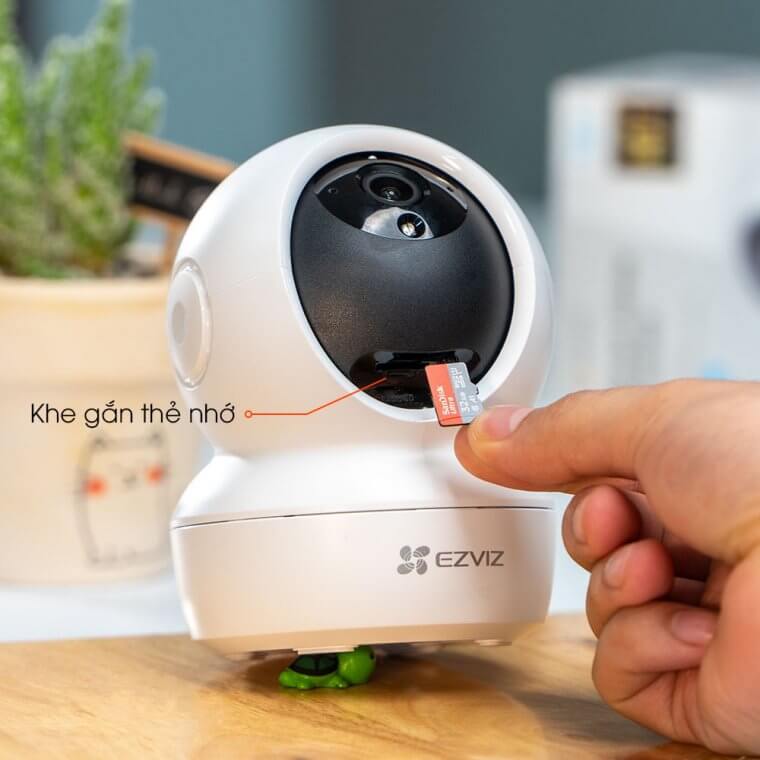
Install Ezviz camera memory card
Step 2: Insert memory card
Insert the memory card into the slot in the correct direction. Make sure the memory card is placed correctly and is not skewed. After inserting the memory card into the Ezviz camera, close the cover or push the memory card into the slot in the correct direction. Make sure the cover or slot is tight and secure.
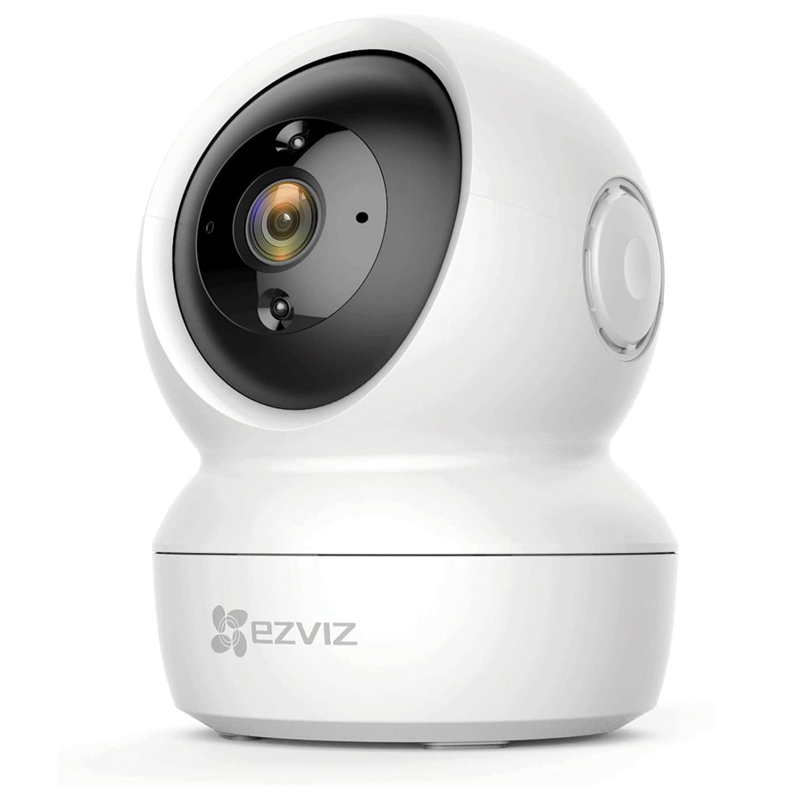
Step 3: Turn on the Camera
Once the memory card is properly installed, you can power on the Ezviz Camera. The camera will automatically recognize the memory card and begin using it to store and record footage.
Reasons why Ezviz Camera does not recognize memory card
- Incompatible Memory Card: Make sure the memory card you are using is compatible with the Ezviz Camera. Check that the memory card matches the type and capacity supported by the Camera.
- Improperly inserted memory card: Make sure you have inserted the memory card into the Camera slot according to the manufacturer's instructions. Sometimes, improper insertion can cause the memory card to not be recognized.
- Damaged or defective memory card: Use a memory card reader or other device to check if the memory card is working properly. If not, the memory card may be damaged and need to be replaced.
Reformat memory card
Why do I need to format the memory card after installation?
This is the process of preparing and configuring the memory card so that it works best with the Camera because:
- Erase old data: Formatting your memory card will erase all existing data on the card. This gives you a clean start and removes unnecessary or corrupted files from your memory card.
- Compatibility Guarantee: When installing a new memory card or changing the memory card, formatting will ensure that the memory card is prepared and compatible with the Ezviz Camera. This ensures that the Camera can write and read data from the memory card accurately and stably.
- Troubleshooting and Fixing Problems: In some cases, memory cards may encounter errors or have difficulty writing or reading data. Formatting a memory card can help fix these issues by re-initializing the memory card and clearing any possible errors.
- Optimize Performance: Formatting the memory card helps optimize the performance of the Ezviz Camera. This process deletes temporary files, optimizes the file system, and prepares the memory card for maximum read and write speeds.
Detailed steps to reformat memory card
Note that formatting will erase all data on the memory card, so make sure that any data is backed up before formatting.
Step 1: Access your Ezviz account on your phone or the Ezviz Camera management interface on your computer.
Step 2: Find and select the Ezviz Camera whose memory card you want to format.
Step 3: In the Camera management interface, find and select Settings or Device Management.
Step 4: In settings or device management, find and select the memory card (SD Card) or storage (Storage).
Step 5: In the memory card or storage section, you will see the option to Format or Erase Data. Select this option.
Step 6: Before formatting, the Ezviz system may ask for your confirmation. This helps remind you whether you have backed up your data before formatting.
Step 7: Confirm and accept the memory card format. The Ezviz system will proceed with the memory card formatting process.
Step 8: After successful formatting, you can continue to use the memory card in the Ezviz Camera.
Conclude
Hopefully, with the useful information that TipsMake provides above, it will help customers install Ezviz Camera memory cards easily and quickly. If you want to buy Ezviz memory cards but still have any questions, you can contact us. TipsMake will answer and support you the best!